Okay, welcome to Fiddly Bits Theatre, lots and lots of little pieces this time around. So let's get started!
First we take this guy and the bracket with the 12 little track-looking things:
Put 3 of the tracks on the back, like so:
Then 3 more on the front, just opposite them:
Do the same with the (almost) identical part:
Now take the two long pieces, and attach the assemblies you just made to them like so:
It is at this point that I discovered I had screwed up the inner mandible walls. I'm not applying any details on here just now in case it keeps the model from coming together. We'll revisit that later. In the meantime, I'm just glad I'm not doing a movie-accurate model, as otherwise I'd be tearing my hair out.
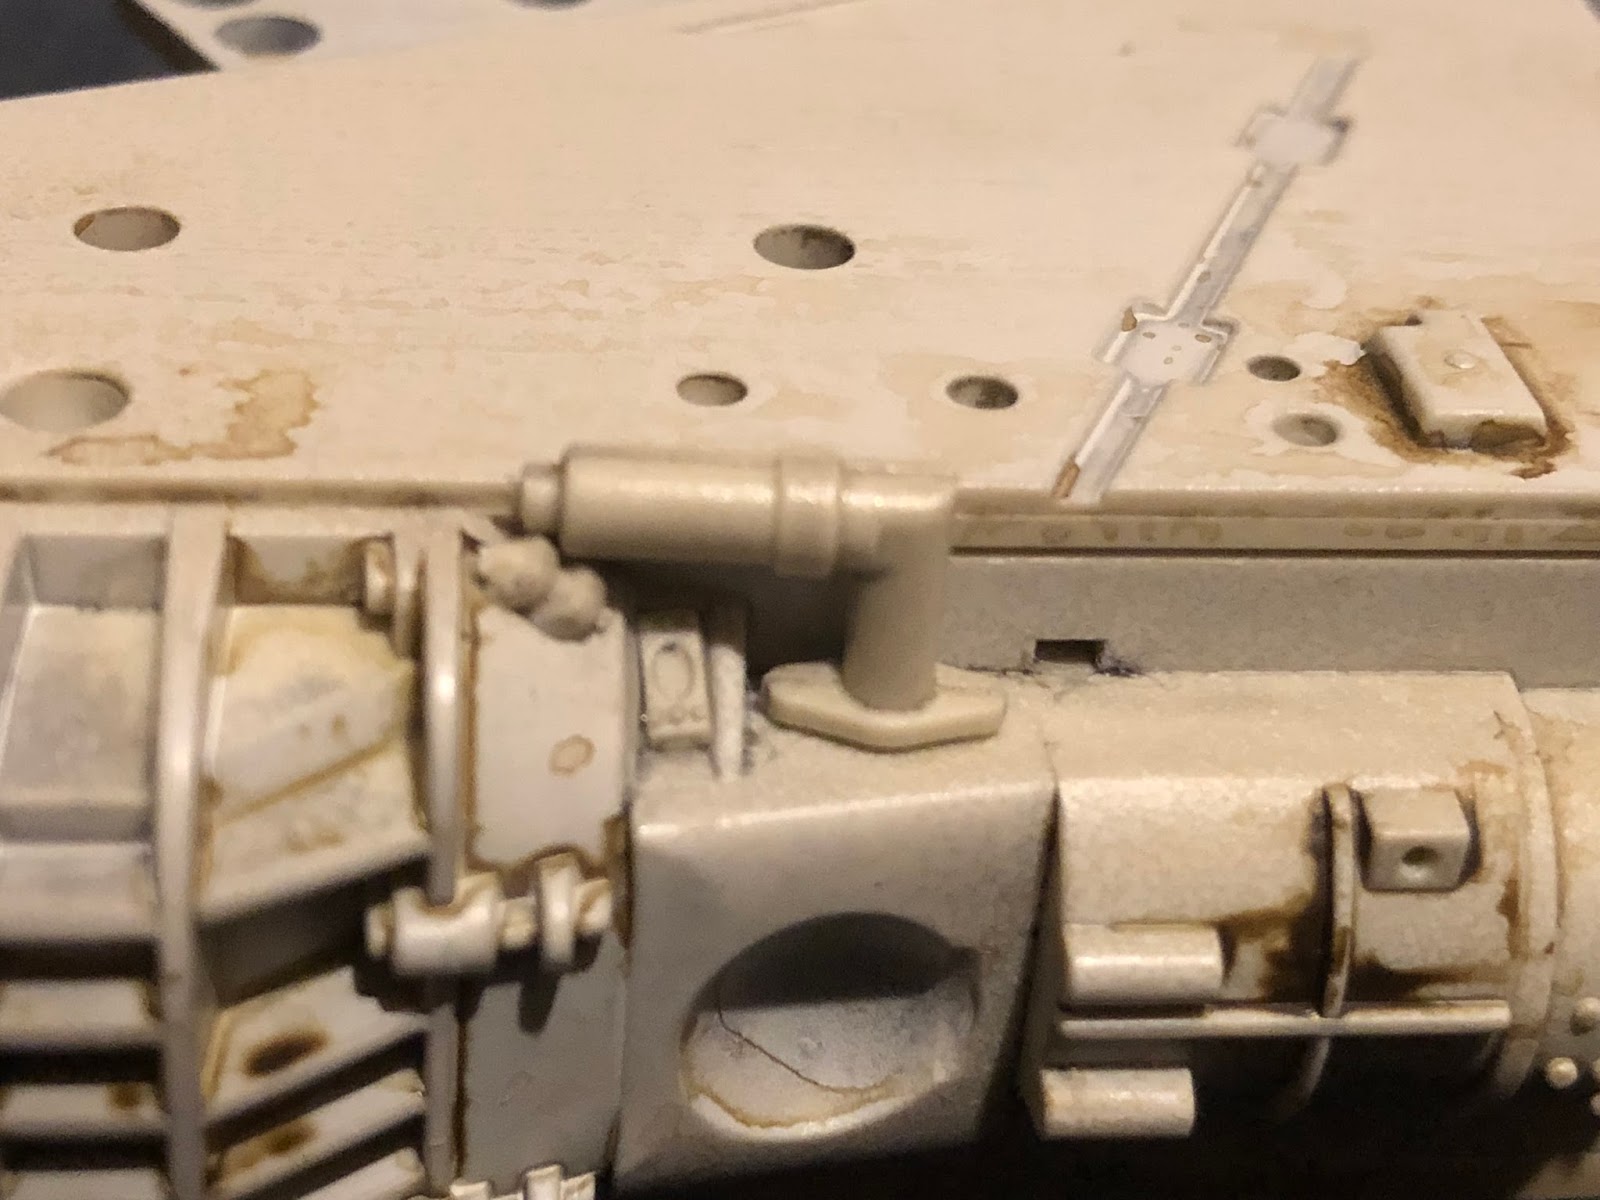
Anyway, over to the other side, and lots of greeblies:
Whew!
OK, last up, the headlight.
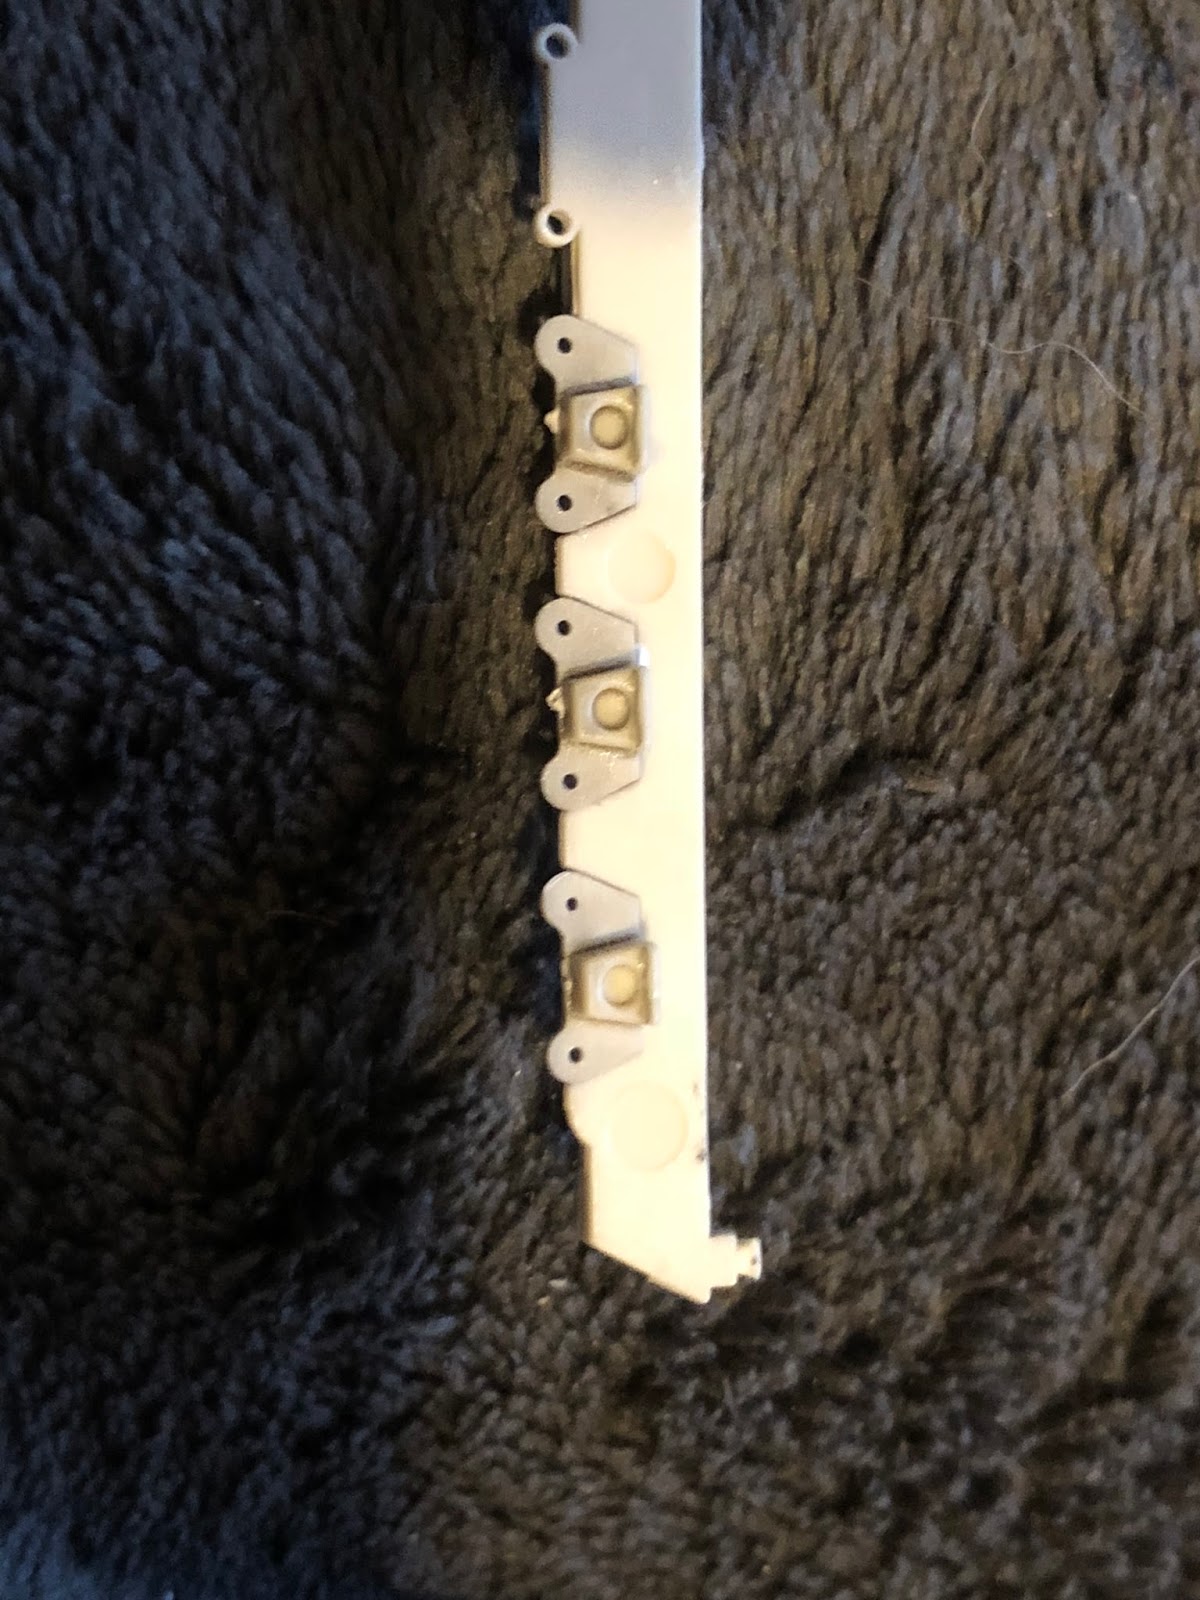
First, we bolt in the front metal panel, making sure to face it so the screws will fit flush into the countersunk holes:
Now, we take these 3 pieces and put them together:
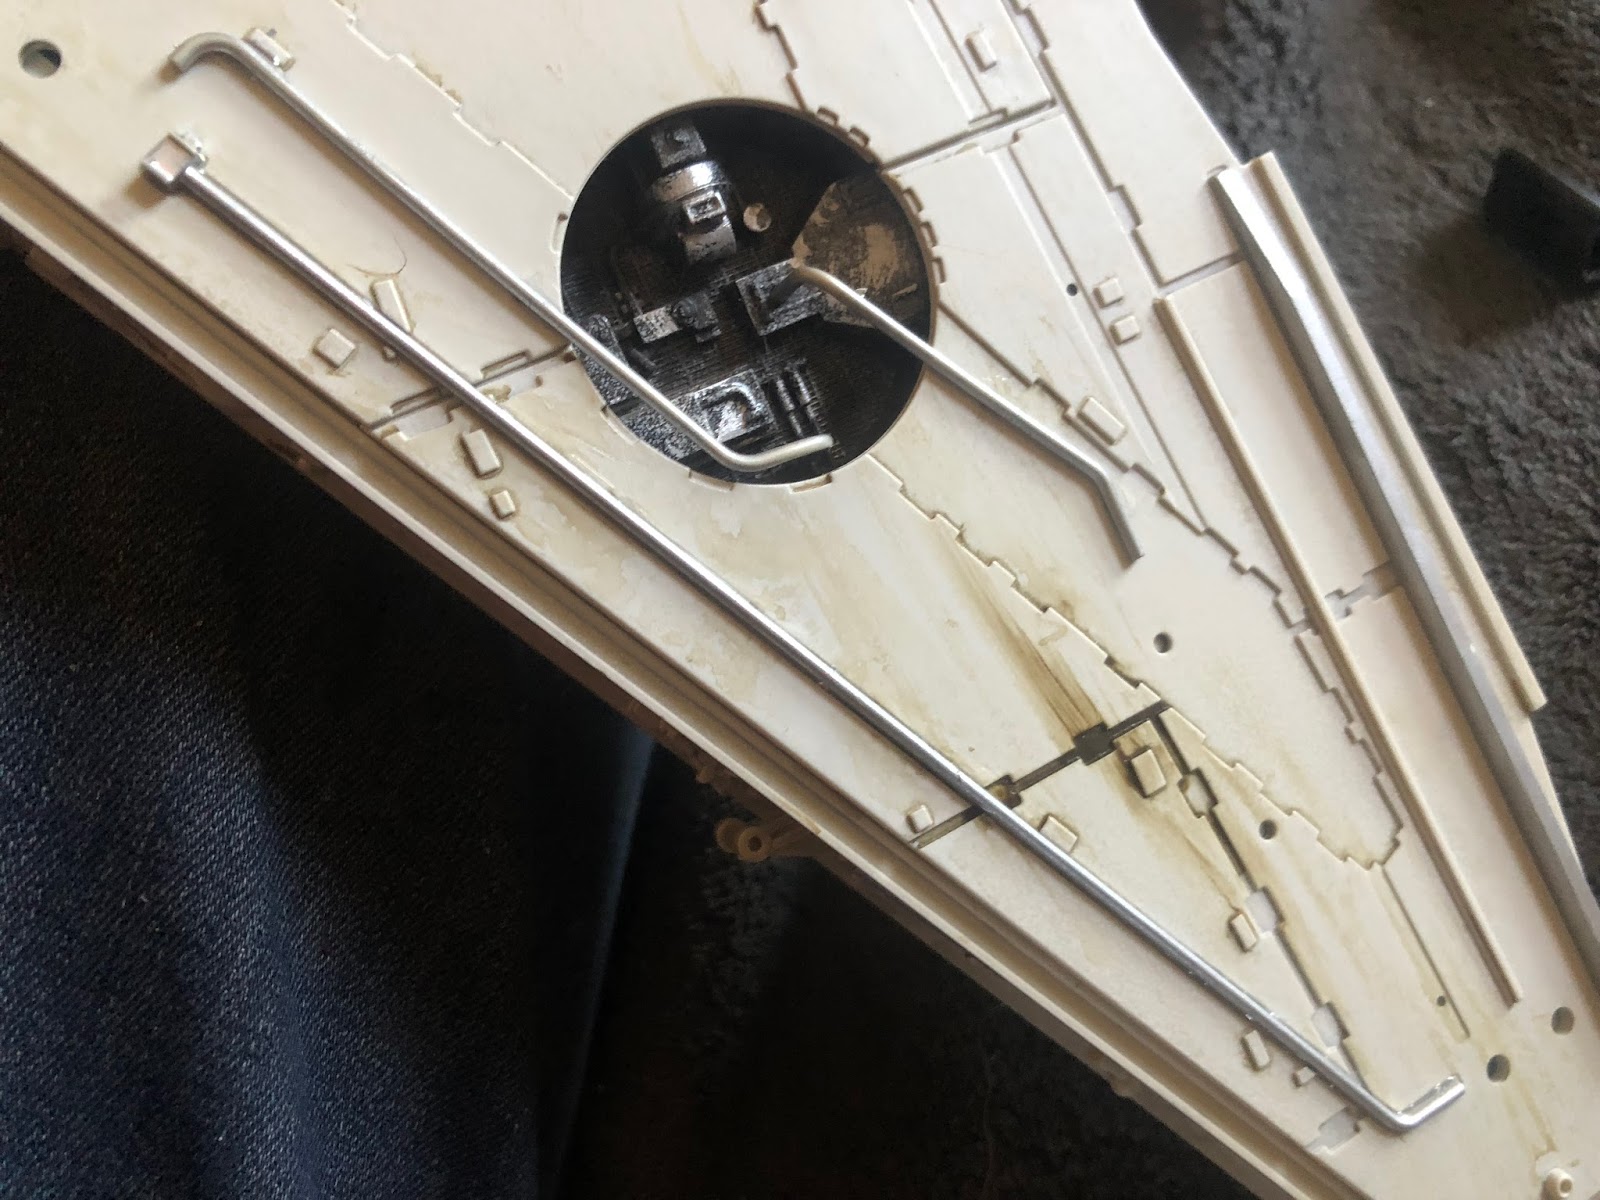
The light assembly gets bolted in:
And the whole assembly goes into the front, the wire being threaded out the back.
Well, except for that mistake on my part, that's one mandible out of the way. Any guesses what's next?