Sunday, February 4, 2018

Issue 98

Welcome back to yet-more-engine-stuff.

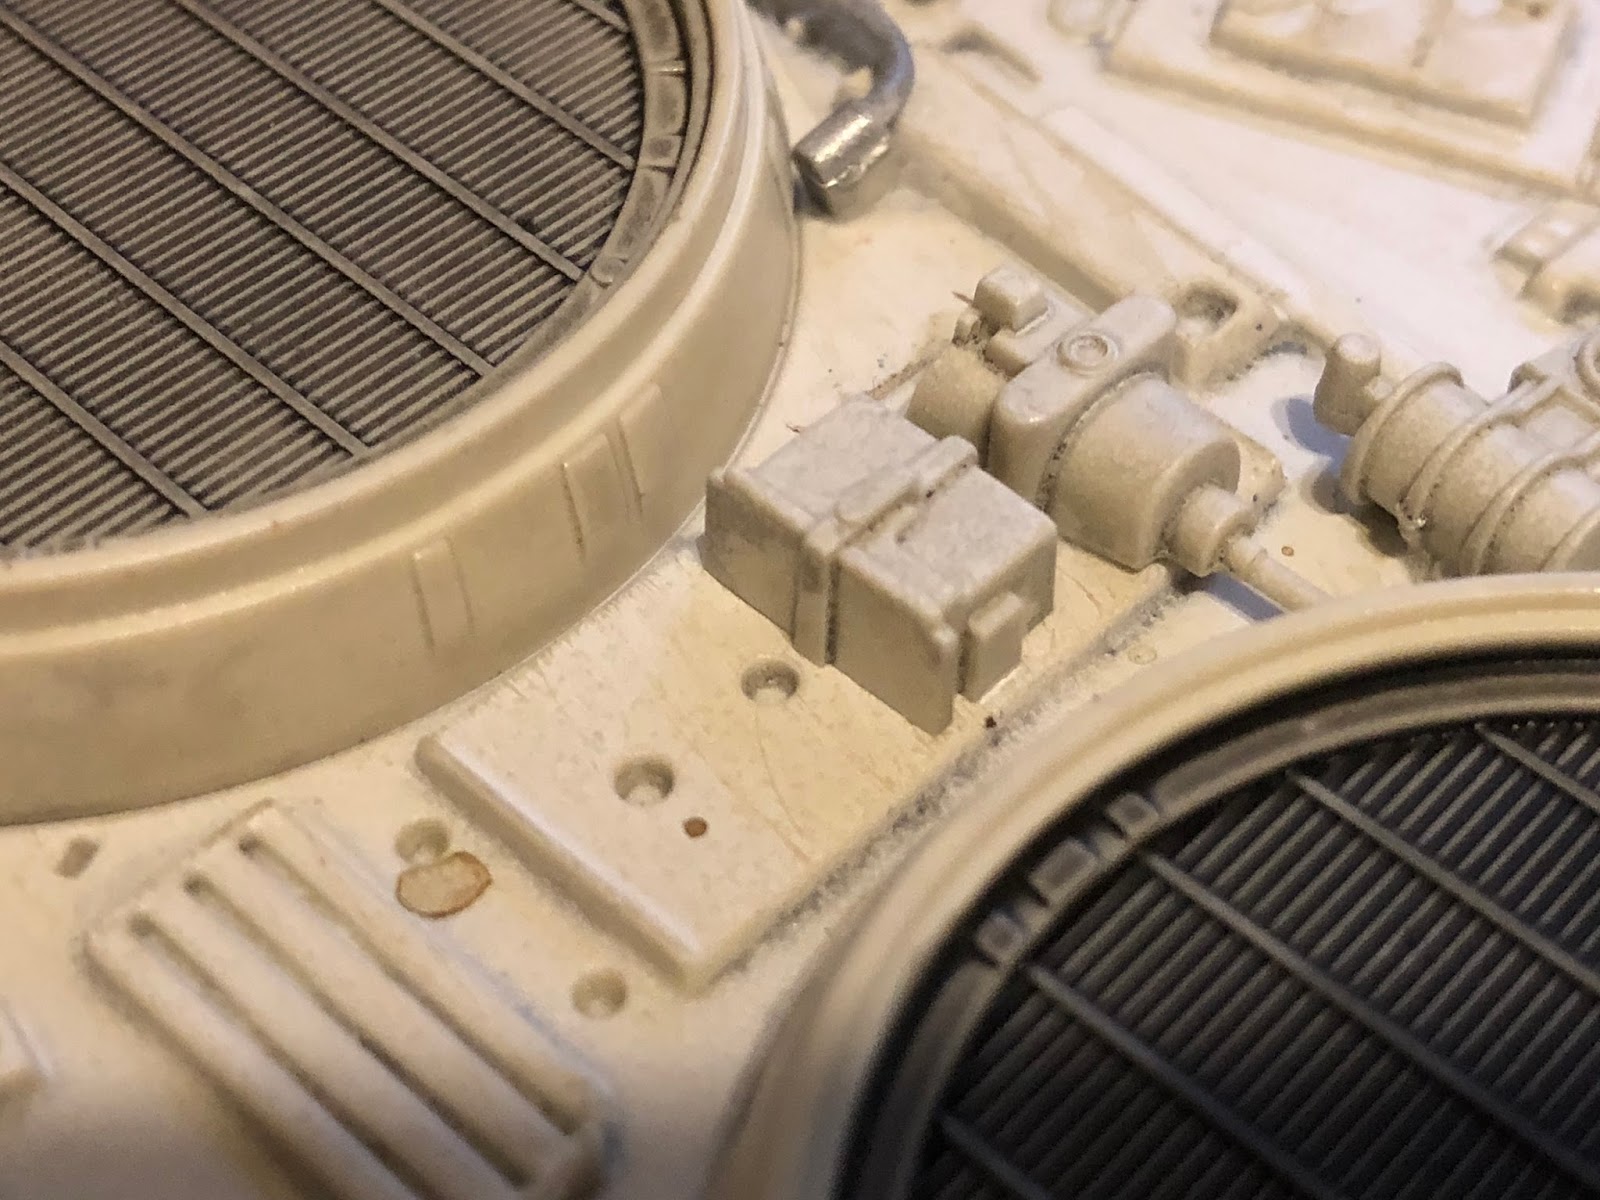
Let's start off with a mistake. You see that new piece--the pole with a knob on the end in the middle of the photo below? Yeah? Now, you see the hole just up and to the left of it? Guess where that part was supposed to go.

Uh-huh.

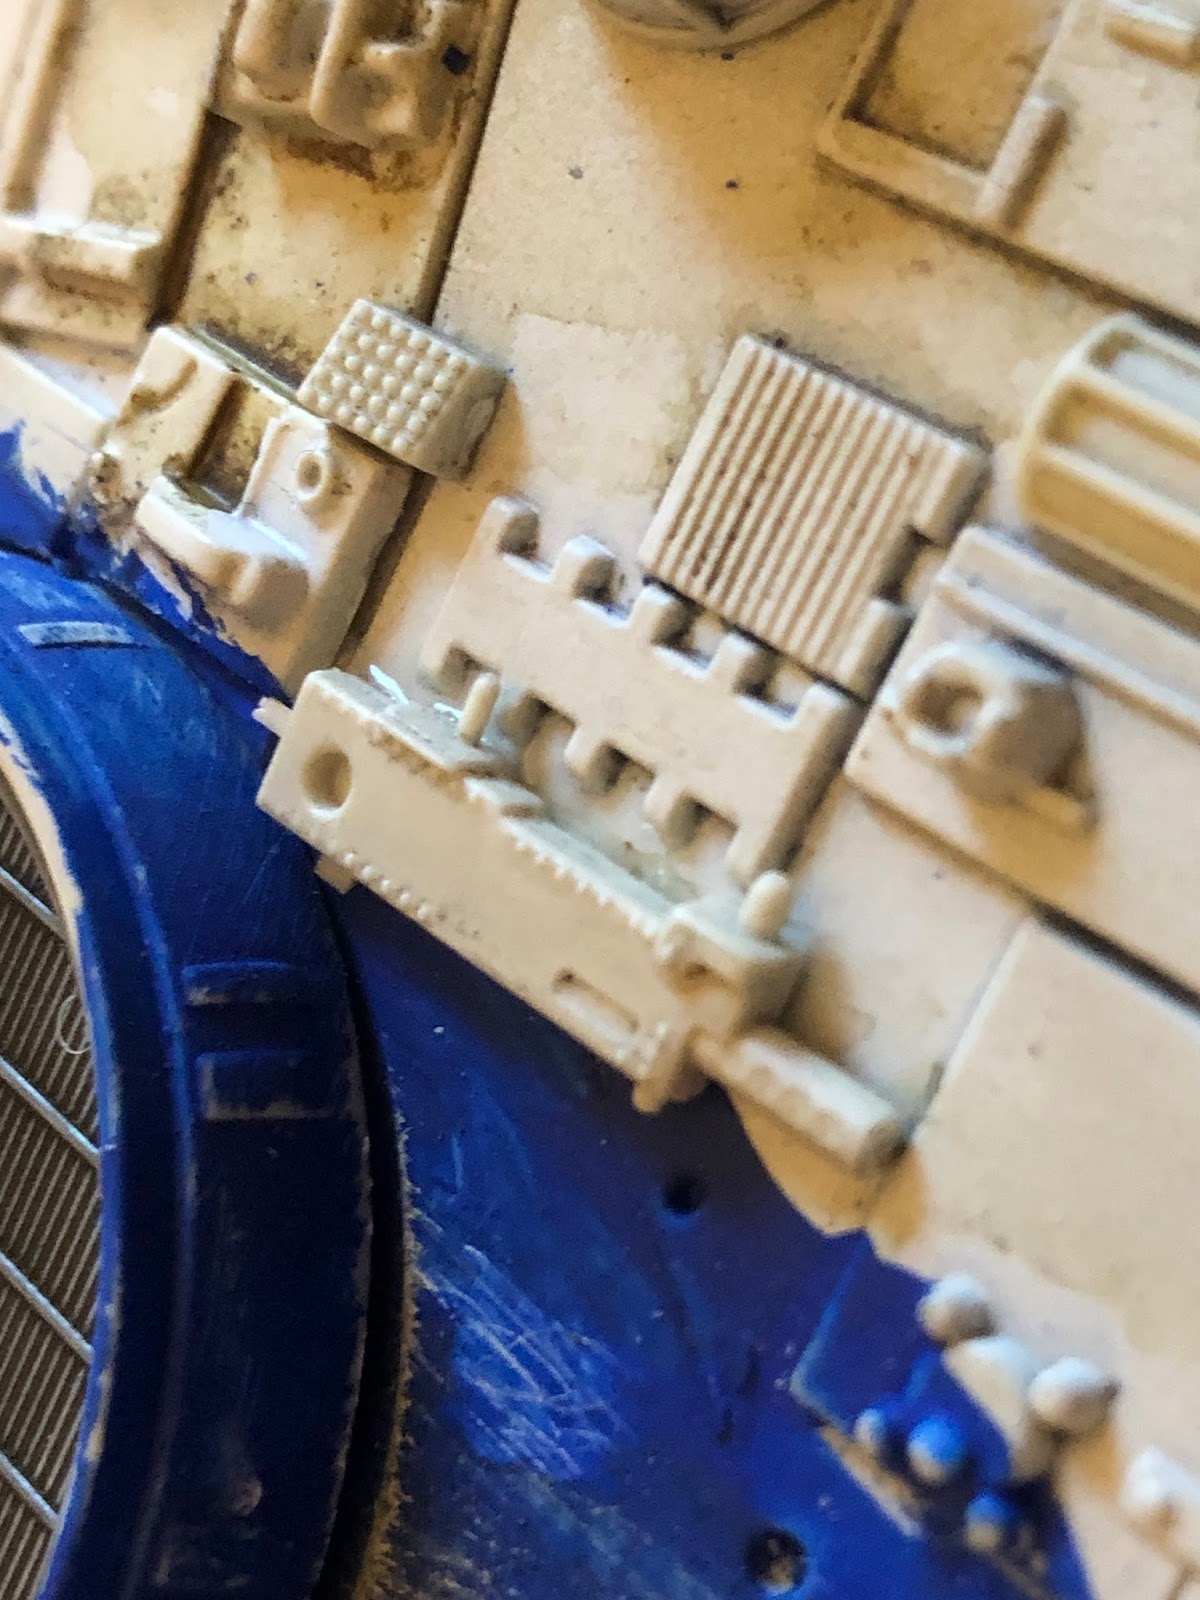
So, basically, these two shots are what not to do with these parts. And they're too delicate an fiddly to really worry about doing over, so they shall say as a testament to my goofing up. Oh well.


Anyway, moving on, here go another couple dozen fiddly bits. Off we go...


 (missing photo: like above but on other side)


Here's the bits that should have gone where I glued those first bits. I just swapped places--they don't really work, but what the heck.


These next two pairs are close enough I just shot them together:


Now, there's 4 of these, and they all go along the aft where the fins will be going. Just do this 4 times:


Now, glue together the 4 fins just like we did for the bottom of the ship:


And plant them in place, shown here:


Okay. Now, you may or may not be doing the landing gear thing. I am going to leave the gear off for now, but here's a walkthrough of one of the gear assemblies so you can see what's what.


Now at this point there's two tiny hydraulics that get glued to the "pie-plate" and then get glued on the other side to the landing foot. I was honestly sick of doing fiddly little pieces like that, and since this is a demonstration piece anyway, I just left them off. Here you go.


Anyway, we're getting closer. Won't be long now.

Issue 97

Welcome to Issue 97, aka the oh-crap-we're-running-out-of-issues issue.

Remember those issues where there'd just be a little bit of paneling to screw to some metal framework and that was it? Yeah, well, this is not one of those. Brace yourself, because we have over *50* pieces to go through this time.

Now, before we begin, I want to re-iterate: if you have the engine assembly attached to the rest of the ship, remove it. We've got a lot of fiddling to do with it, and it's just a lot easier to have it separate until it's done.

OK, first off we add the next 3 vents. I've got the middle one off to be painted, but that's just me.


Anyhow, prepare for a glue-on fest. As usual, just follow the order...


(whew! That's one whole chunk of parts--now the next chunk):


Hindsight alert: maybe don't glue this next bit down right away.


Here's another one you might want to leave loose-ish for the moment.


Note how this one actually goes underneath the A-frame part from earlier. Why are we doing it in this order, I hear you cry? Beats the hell outta me.


And another "put the part underneath the other part you already glued down good and proper" type part. Arrgh.


Now we get to put these teeny boogers in place. Good luck.


Whew! That's it! 52 pieces in one go. The engine block should now look like this, give or take a paintjob:


Next issue: you guessed it! More engine block details! Woohoo!