Friday was a good day for me. My COM8 frame showed up, as did the dome gear for the motorized rotation, and the first part of my PADAWAN automation system (a PS2 extension cable).
COM8's frames tend to come in "pizza boxes". They flat pack down but have a LOT of stuff in them:
Fortunately, they do include the instructions:
First, the top ring gets the two side panels where the legs go:
Then the middle ring gets attached to the bottom of those side panels.
Up at the top, this support bar gets mounted across the middle:
Note the circle cut out here in the middle: this is for a slip ring, which if you don't know is a mechanism that legs you hook wires to an object that spins. The slip ring rotates while keeping the connection and not letting your wires get all wound up in the process.
One slight flaw: it appears one of the holes wasn't drilled quite deep enough. I'll have to get a shorter screw.
Next up is the front assembly, with the three "shelves". The top is for the large data port, the other two are where the utility arms go.
Finally, the bottom disc is added, with 8 pipes to support it (also note the two long support bars in the back):
(The thing in the lower left-hand corner, btw, is the middle leg plate. That gets added when it's leg time.)
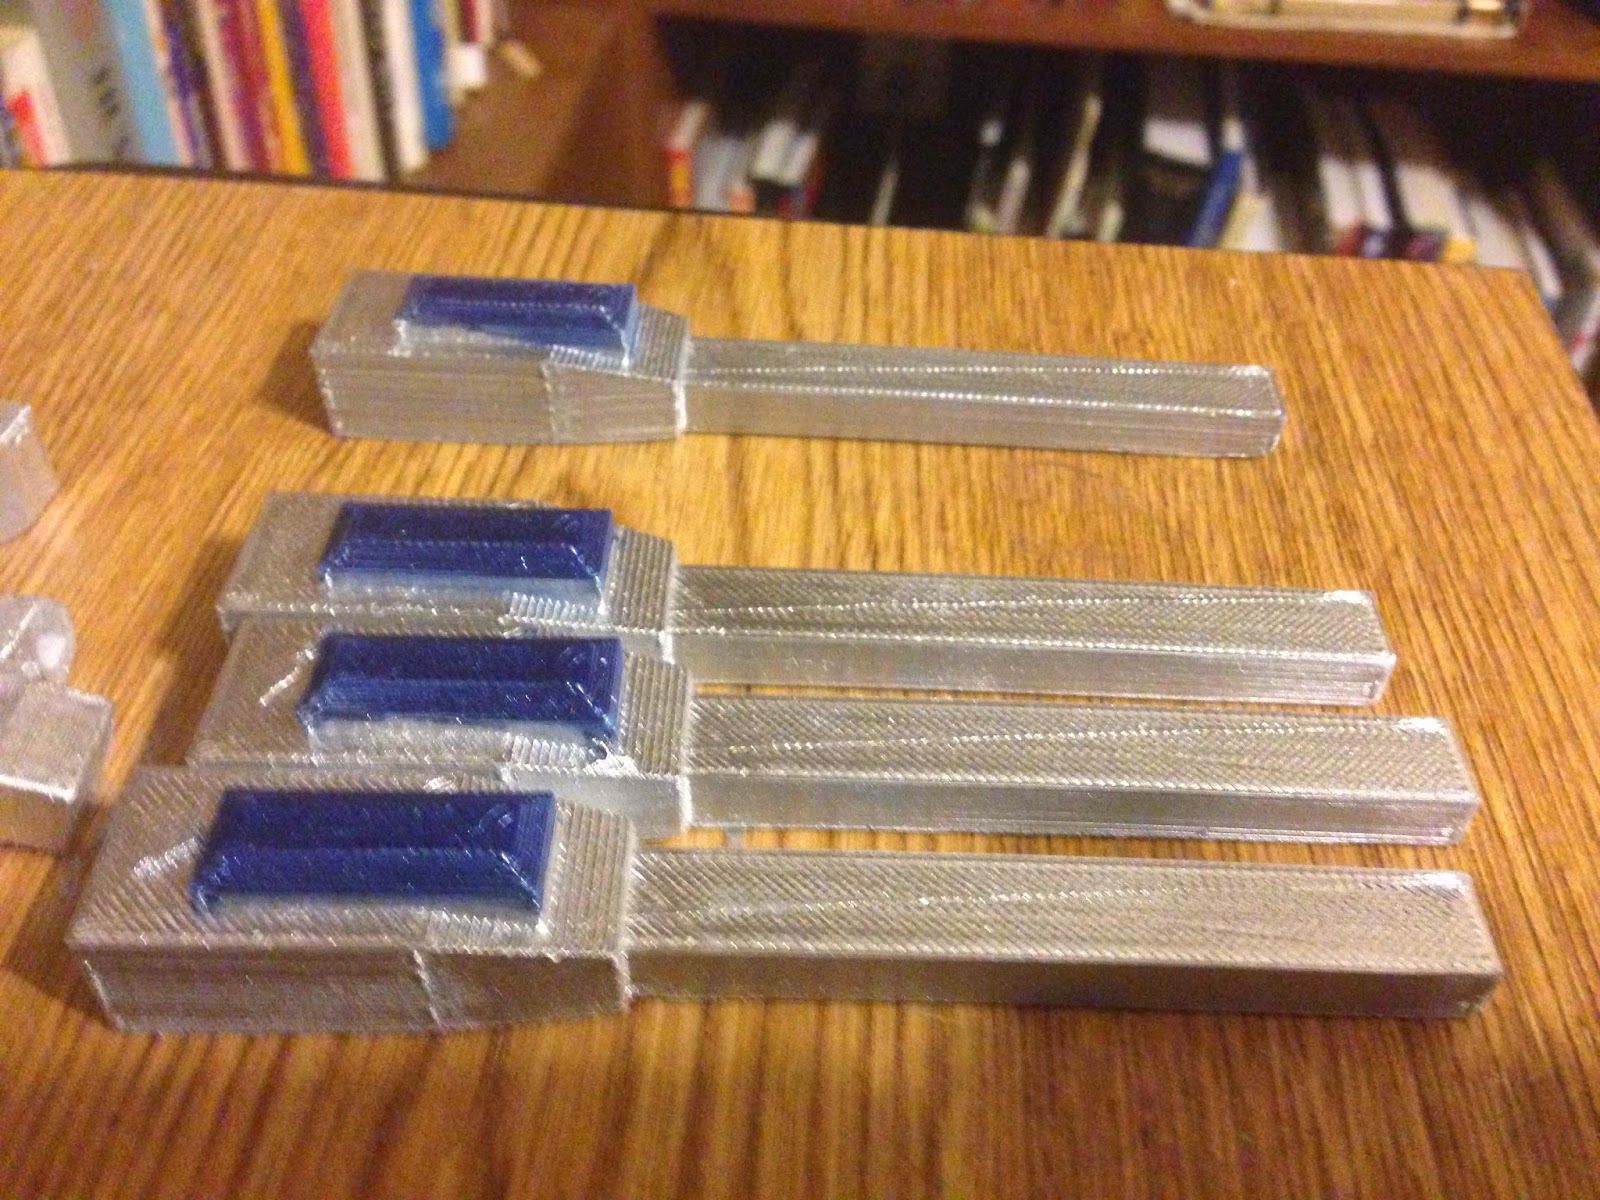
Anyway, off to the store to pick up some smaller screws for that one hole. While I was there, however, I came across these:
3/4 inch vinyl pads, just the right size for the dome buttons.
Anyway, while the paitn was drying on those, I broke out the dome gear and the rockler bearing and started to work on them. Turns out I hadn't drilled all the mounting holes in the outer ring yet, so I had to do that. And of course after that I had to disassemble and clean the rockler all over again.
Lesson learned:
- Drill ALL the holes in the rockler bearing, AND tap the holes for the outer ring, BEFORE you replace the bearings.
Okay. So once that was all done, I put the rockler together, then I bolted the dome gear to it. After that I took the whole thing and bolted it down to the frame where it fit like a glove:
Next stage was to drop the dome ring over the bolts (I used 2" ones to get enough clearance, and 3 nuts for enough space that the ring could spin without disturbing the main body):
After that, it was just a question of mounting the dome to the bolts and using a couple of wingnuts to keep it in place.
After that, I broke out the bondo and started working on the legs. They and the horseshoes were very uneven, so I went ahead and gave them both heavy work on the edges:
I'll sand them down later, but for now I'm just letting them cure up nicely. Besides, all things considered, I think I've done enough this weekend:
(And that's fighting a cold!)
.jpg)