Confession: by this point I just want to be done with it, so I skipped some of the body details I didn't care for.
OK, first off, I printed off some art and text onto decal paper, and was able to successfully transfer them over (fortunately, I printed multiples of the "big" one):
(translation: Kelly M Luck USAF)
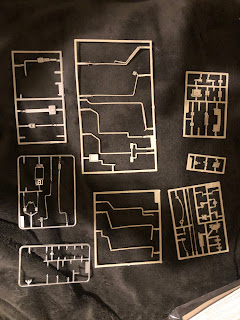
Now it's time to go back and scrape up all the parts leftover that we haven't used yet.
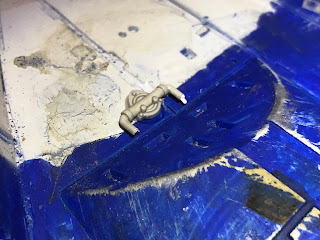
First, a few for the topside turret:
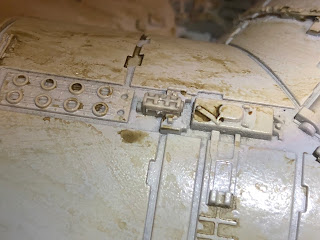
Now a few for the starboard airlock area:
Now the fore starboard recess gets a set of pipes:
As does the portside.
And the rear port recess.
Now, the rear starboard recess.
Now, there's bit 100A, which is a group of really tiny details for the excruciatingly detail-oriented.
...and so on. There's a bunch, and I couldn't honestly be bothered at this point.
Viola, the completed ship, the "Correllian Thunderbird":
Post-mortem: Well, it's been an interesting year. Fun model, huge and heavy. Expensive as anything. Not quite sure what I'm going to do with it now. The fun was in the building, you know. I'll have to find somewhere to put it on display. Not sorry I did it, but all things considered I don't think I'll be doing another partwork.


