
A side by side comparison, old one on top:

Think I'll be going with the new one. Just looks better, not to mention more accurate.
Anyway, on to this issue.
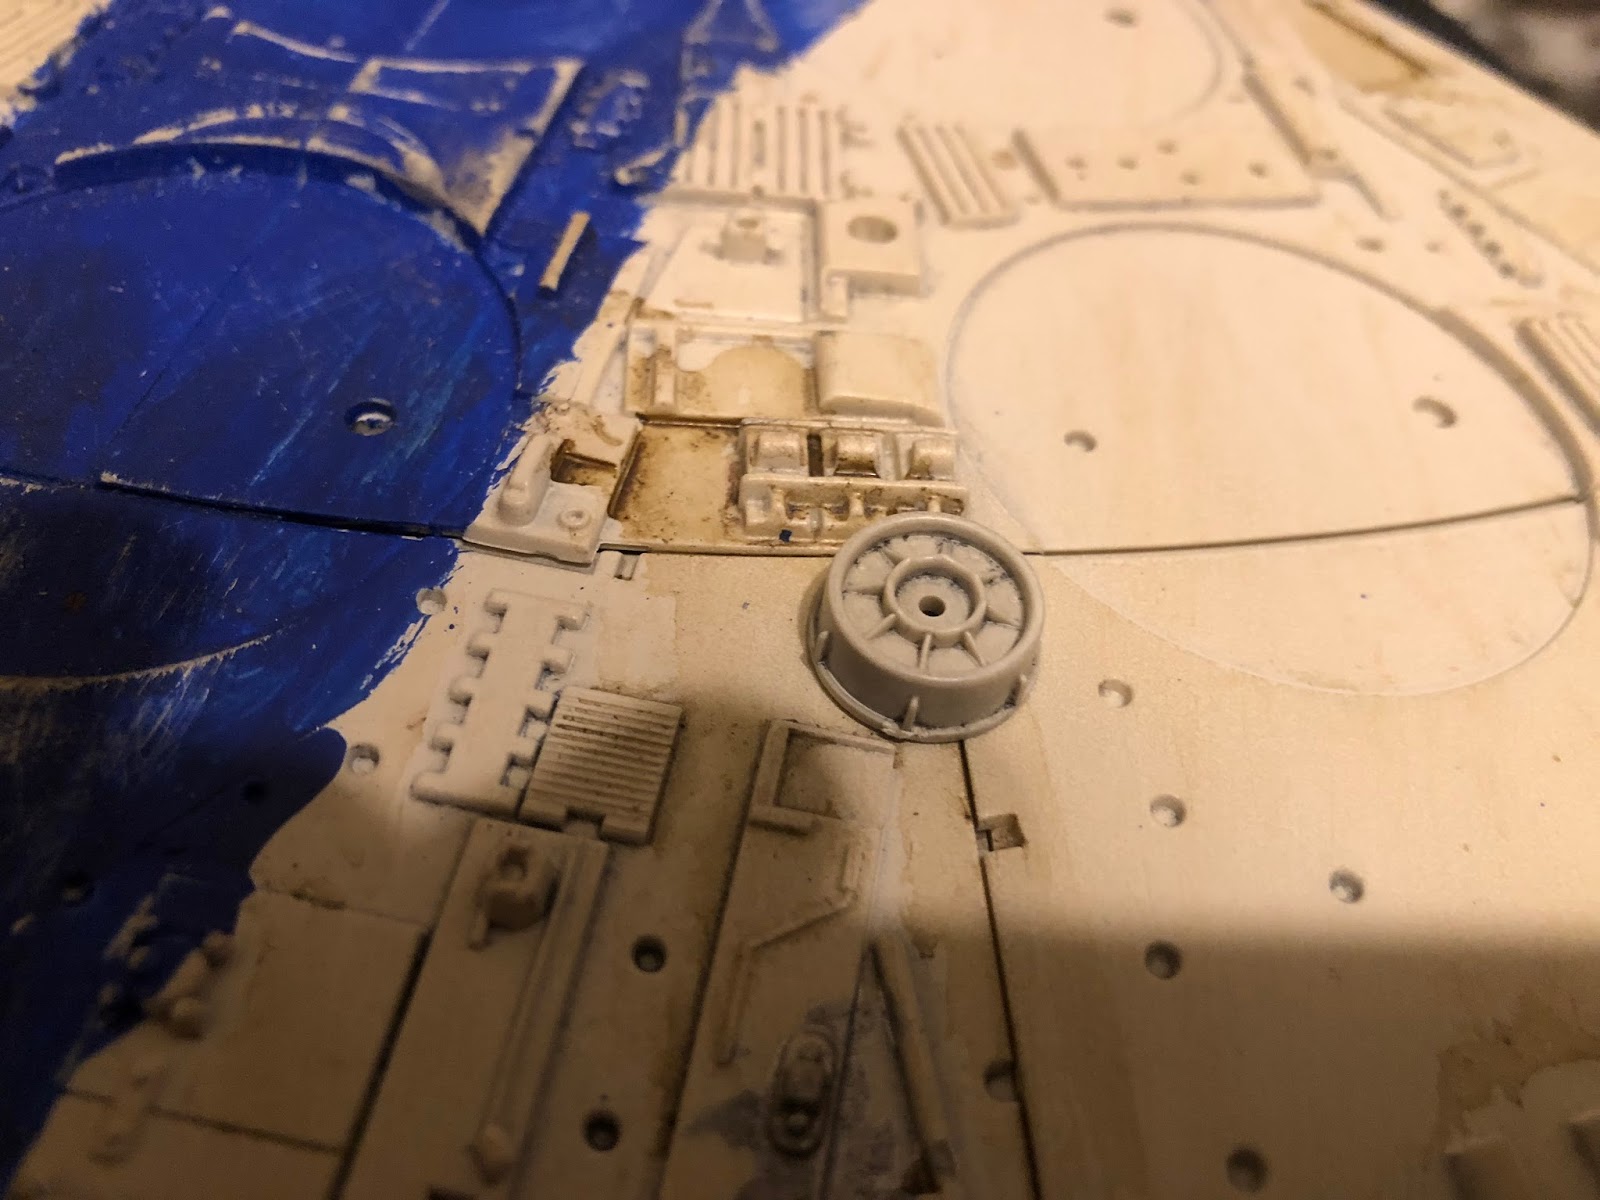
First up, these 3 vents. Now, the vents are all teh same, but I want to customize them. So first, I test fit them in, so:

Next, I painted little marks on the two side vents to show where I wanted to pick up the blue color. The middle one, of course, will be blue all the way around.

Off to the paint department, and they all get some nice blue.

While they're drying, let's do the glue-on details for the engine housing:

The details, as usual, are shown in their order of appearance.


And here's the result.

That's a good point to stop and lay the paint to the new arrivals, so I'll do that now.

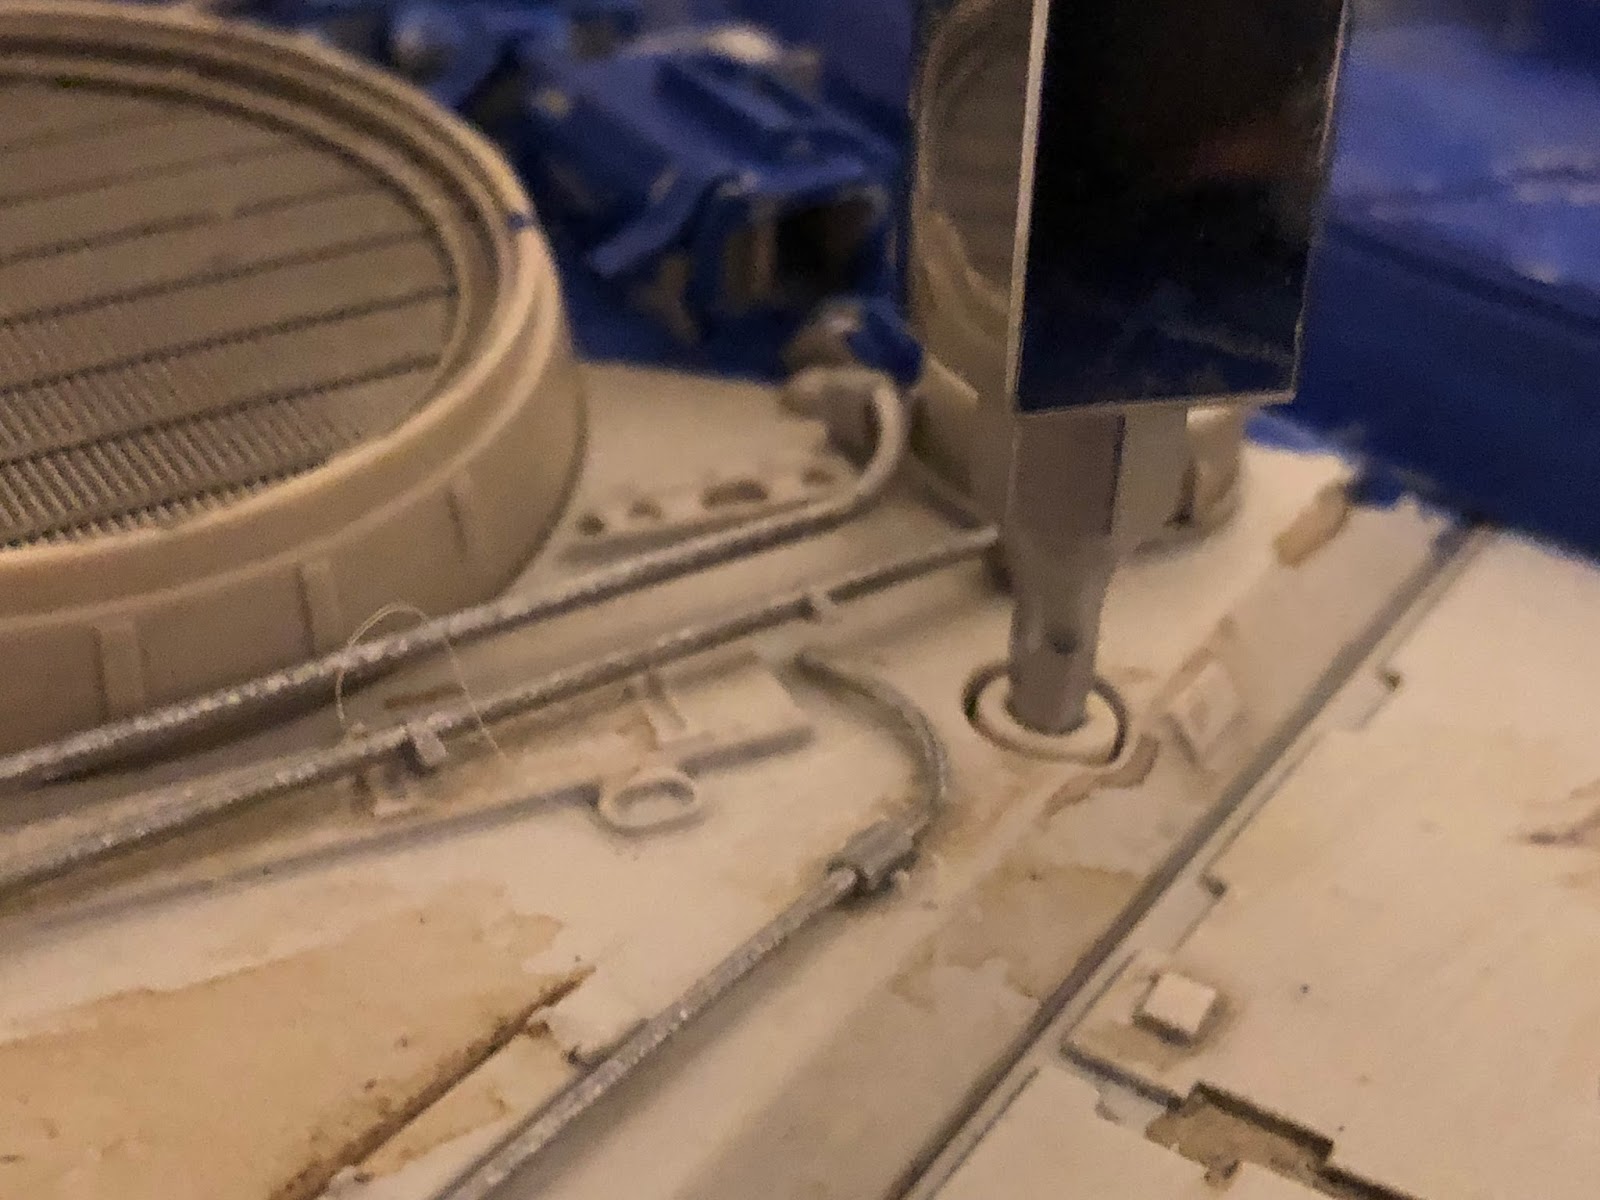
After everything's dry, I scuff up the vents and the details a bit, and glue the vents down (be sure to use some glue on the circumference of the vents; the two little knobs aren't enough to hold them).

Now for some pipework:


Final result:

Now, this next bit i'm going to recommend you not do right away, but I'll show you how to for future reference. You take these two trees--supposed to be 8 screws, but only got 7 in my case. Fortunately, we only need 6.

We use these to affix the engine block to the rest of the ship. a 2.5 allen wrench will do the job.
I had a little trouble with one of mine not fitting flush, but it's not a deal breaker. Anyway, get it down nice and snug, making sure the sublight diffuser is in the right position.

Few more details. The airlocks each get a little greeble as shown:

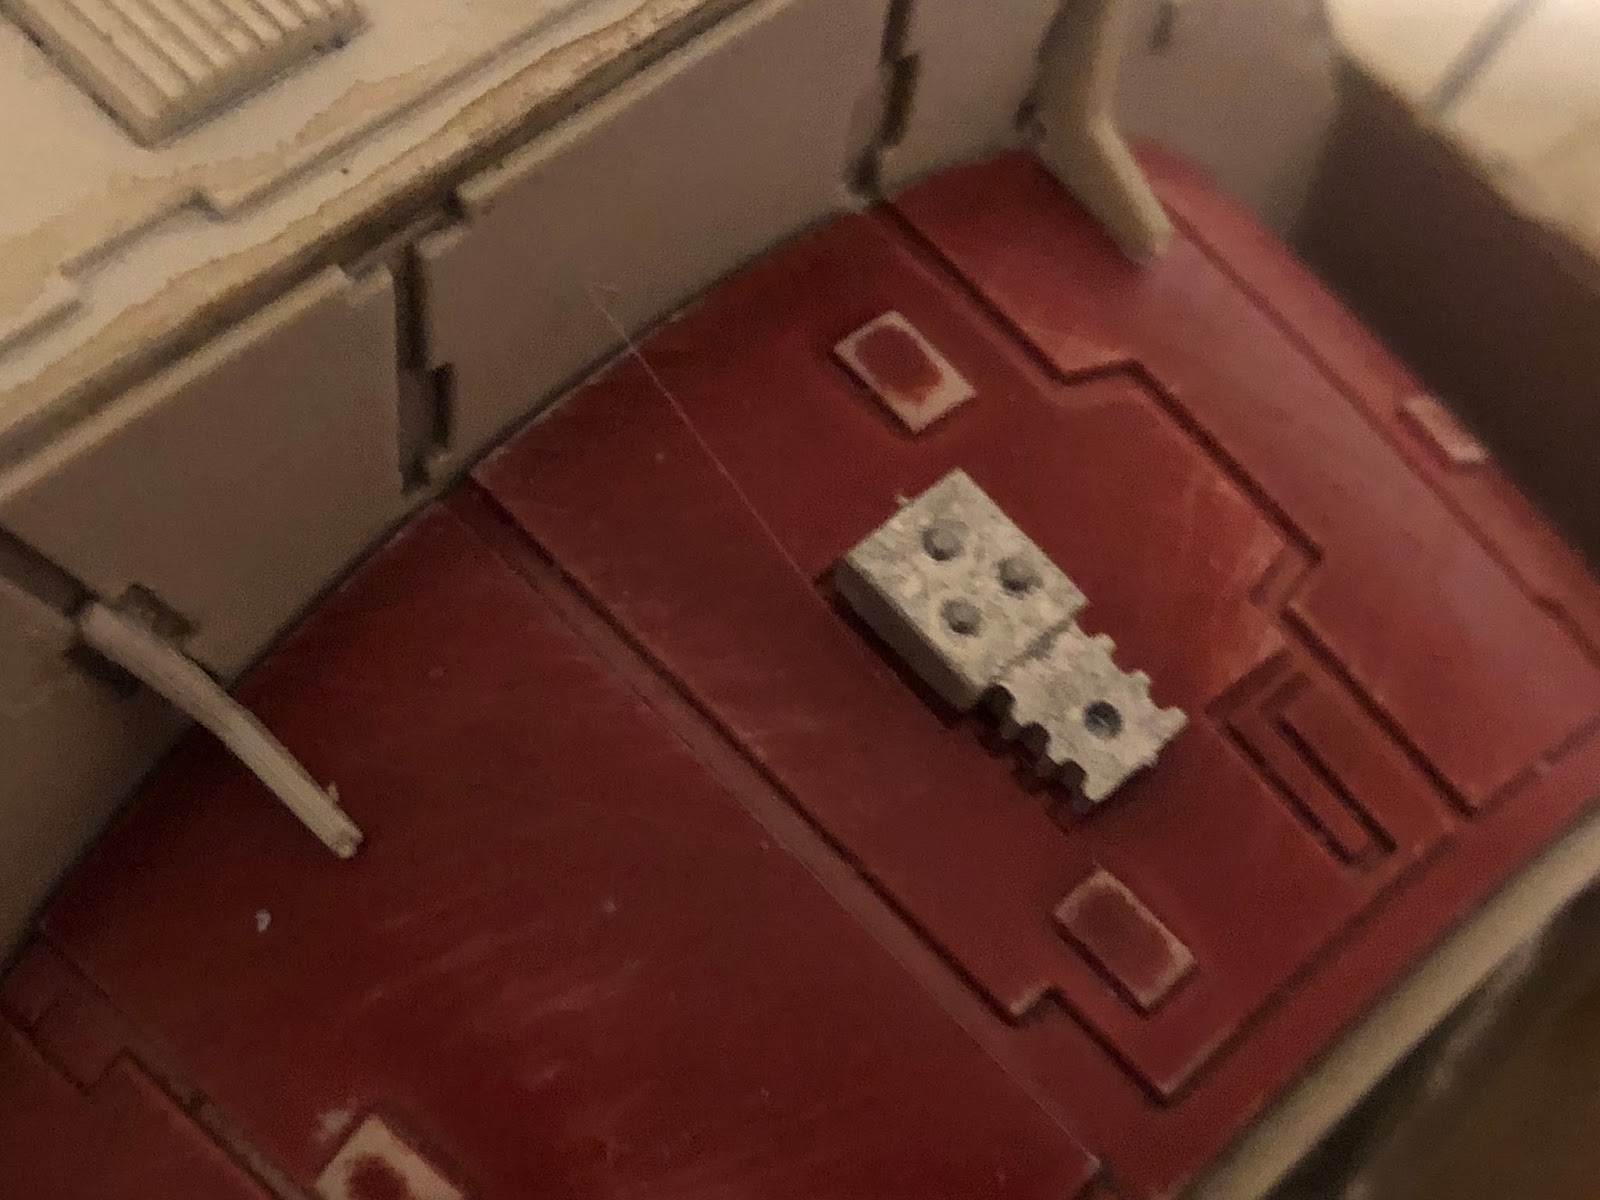
And the port mandible gets this pipe going to the body proper.

OK, that's it. Next time, way more engine stuff!
No comments:
Post a Comment