Remember those issues where there'd just be a little bit of paneling to screw to some metal framework and that was it? Yeah, well, this is not one of those. Brace yourself, because we have over *50* pieces to go through this time.
Now, before we begin, I want to re-iterate: if you have the engine assembly attached to the rest of the ship, remove it. We've got a lot of fiddling to do with it, and it's just a lot easier to have it separate until it's done.
OK, first off we add the next 3 vents. I've got the middle one off to be painted, but that's just me.

Anyhow, prepare for a glue-on fest. As usual, just follow the order...


(whew! That's one whole chunk of parts--now the next chunk):


Hindsight alert: maybe don't glue this next bit down right away.


Here's another one you might want to leave loose-ish for the moment.


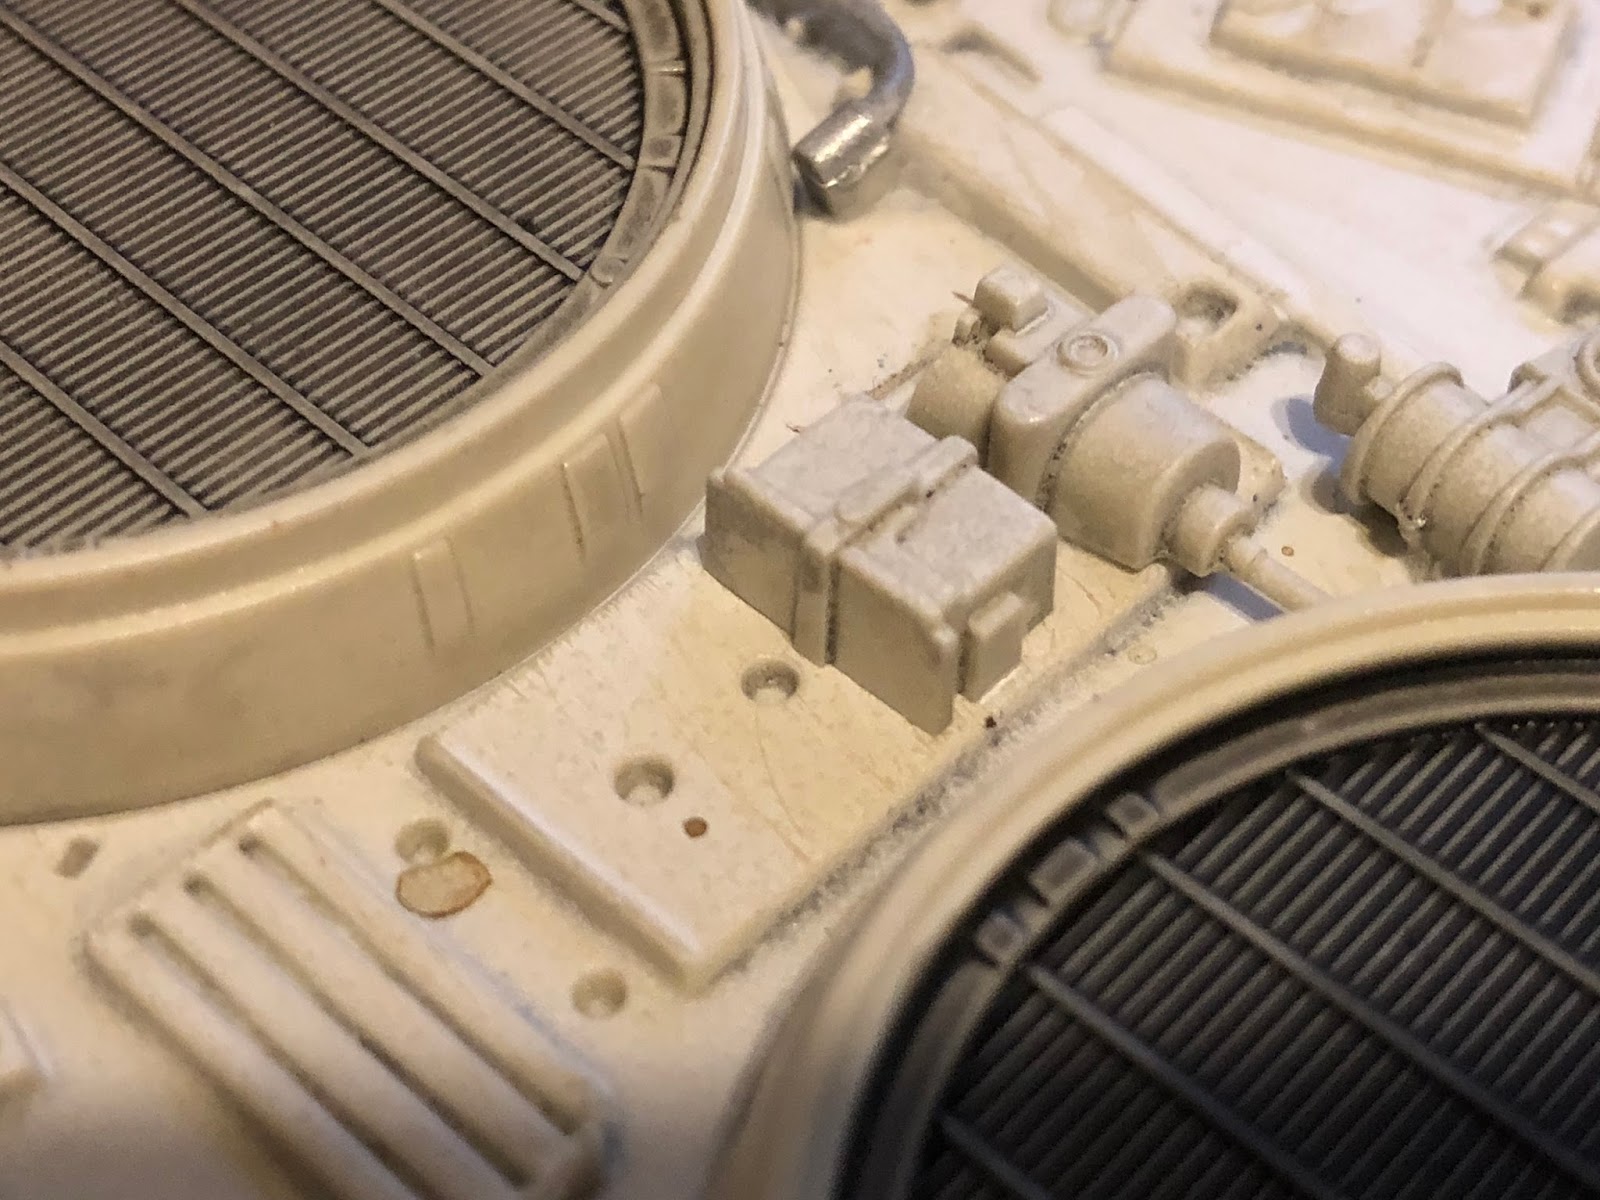
Note how this one actually goes underneath the A-frame part from earlier. Why are we doing it in this order, I hear you cry? Beats the hell outta me.


And another "put the part underneath the other part you already glued down good and proper" type part. Arrgh.


Now we get to put these teeny boogers in place. Good luck.


Whew! That's it! 52 pieces in one go. The engine block should now look like this, give or take a paintjob:

Next issue: you guessed it! More engine block details! Woohoo!
No comments:
Post a Comment