So I asked around about attaching the booster covers to the legs, and the consensus seems to point toward E6000, a craft adhesive I hadn't heard of before but folks seem to like. So I got some at Lowe's and have tested it out on the holoprojector which got knocked out of place when I was putting R2 in the car after Planet ComiCon. It says to give 24 hours to cure, so I gotta keep my cotton pickin' mitts off until tomorrow night. Hopefully this stuff will do the trick.
Meantime, I put another dose of metal paint on the wooden hubs. They're looking better, but I think I'll give them one more coat tomorrow morning before work. Also, I want to take the ankle shims with me so I can cut the back parts off and actually mount them in place. I'll see how the E6000 stuff works there, metal to wood. That's probably all I'll be able to do before I take off for the weekend. Hopefully next week I'll be able to cover some more ground on the legs, at least get the outer ones finished up and ready to go.
Tuesday, March 31, 2015
Monday, March 30, 2015
Legs and drives: getting closer
Well, I've been working to get the legs together. And they're coming together pretty decent, all things considered. Still trying to decide how I want to attach some of the various bits. I did manage to get some work on them done, however:
First I painted the outer legs...

...and then the middle one.

Just for fun, I laid out all the stuff on one of the legs:


Eee, can't wait.
Anyway, tonight I got some bolts from the hardware store, and one of the wooden hubs that I sawed in half to make two proper sized ones. In any case, I was able to drill some holes using the hub as a guide and was able to bolt in one of the legs as a proof of concept. Very cool.

Meanwhile, my drives and things came. The DDRII drives came from the same guys who do the temp wheels and mounting kits for Midwest R2, so they combined shipments for me. I got two full motorized drives, two mounting blocks to attach to the drives until I get my shells (the white things on the right), a stand-in center foot (the white thing in the top right-hand corner), and a wheel system for when I get the foot shell (top left). Lots of good stuff in here, solid as a rock too. Very glad I went with these guys.

First I painted the outer legs...
...and then the middle one.
Just for fun, I laid out all the stuff on one of the legs:
Eee, can't wait.
Anyway, tonight I got some bolts from the hardware store, and one of the wooden hubs that I sawed in half to make two proper sized ones. In any case, I was able to drill some holes using the hub as a guide and was able to bolt in one of the legs as a proof of concept. Very cool.
Meanwhile, my drives and things came. The DDRII drives came from the same guys who do the temp wheels and mounting kits for Midwest R2, so they combined shipments for me. I got two full motorized drives, two mounting blocks to attach to the drives until I get my shells (the white things on the right), a stand-in center foot (the white thing in the top right-hand corner), and a wheel system for when I get the foot shell (top left). Lots of good stuff in here, solid as a rock too. Very glad I went with these guys.
Sunday, March 29, 2015
More leg prep
So this week I got the aluminum parts to attach to the frame, including the hubs... and ran into a bit of a snag. It seems the frame and alum hubs are assuming 4 holes, like a square, whereas the legs themselves have six holes. What's more, the legs use 5/16" bolts and the frame 1/2". So it's kind of a bummer. I picked up some spacers and such, and I can do two of the bolts through the existing holes, but I think I might drill additional holes into the frame to accommodate.
Meantime, I've got ot finish 'dressing' the legs. I need to attach the panels, details, etc. I was thinking of using screws to fasten the booster covers in, or possibly keyhole slots. I'll try the latter first, hold the former as a reserve. Then I gotta fasten down the shoulders and glue in the details there. And I gotta do it before too much longer, because the drives and stuff are showing up on Monday!
No way I'm gonna get it done this week, what with my trip and all, but hopefully I can get the legs dressed and prepped for installation by mid-month. And then get the wheels and drives onto the frame proper and get that sucker rolling around. It's a tall order, but it's like the last real big thing before the skins and such.
Sunday, March 22, 2015
Today is a leg day
More specifically, this weekend has been mostly me sanding down the legs and shoulder horseshoes, and then painting them. I finished up my first can of white gloss, and am looking to polish off another. Fortunately, the weather was nice enough that I could put them outside to paint. Multiple coats all around, of course. I have to say it looks pretty good, all things considered. Should have pictures tomorrow of the results.
The plan is this week to go to the shop and do a little drilling to secure the leg details to the leg proper, get everything fastened down. That should look nice. And then I can wait for the motors and wheels to show up. Can't wait.
The plan is this week to go to the shop and do a little drilling to secure the leg details to the leg proper, get everything fastened down. That should look nice. And then I can wait for the motors and wheels to show up. Can't wait.
Wednesday, March 18, 2015
3 down, 9 to go
So, a quick update: Planet ComiCon went rather well, though I do feel that I have a hell of a long way to go compared to everyone else's stuff. It was so much fun being there, answering questions, explaining how everything worked.
Anyway, looks like the next one is going to be the Maker Faire in June or July, I forget which. I've been thinking about then, and trying to decide what I want to have ready by then. Now, there's no sign of a skin run on the horizon, but I do have the legs more or less, and so I have decided to see if I can have R2 up and rolling around by then. Toward that end, I picked up a Sabertooth 2x32 driver for the motors, slipped in to the latest DDR2 foot driver run after there was a cancellation, and have begun soliciting info from other builders on how to put it all together.
I think probably the Sabertooth will not be going on the motherboard, if only because of the sheer size. Also, there is a heatsink on it, so I will probably mount it to the frame, let the heat dissipate. Still on the fence on 12v vs 24v. When the drives and things arrive, I'll have about 67 pounds of robot tooling around, so 12 should in theory do it, but I suppose in any case we'll see. The system I'm getting is easily adaptable either way.
In the meantime, I'm working on the legs. Got the horseshoes sanded down the other day and have begun to paint. I've got some nice white gloss which should do the trick. Then this weekend I'll see about sanding and painting the legs, possibly even starting to work on attaching the bits together. Come to think of it, need to print up some more ankle cylinders. Get a full set. Hopefully, the drives and things will ship out next week (I got some mounting hardware and a center foot mount as well so they can roll around until I get a foot shell) and I should be rolling along in the not too distant future.
Sunday, March 8, 2015
Installing PADAWAN
So I have been working on getting the PADAWAN system installed as much as possible for Planet ComiCon. First things first: I need a motherboard to mount all the different pieces to, so they're not just floating around inside the robot body or something. Also some way of getting to them easily. Based on some pictuers I've seen of someone else's build, I've decided to go with a wooden panel that can fold down once the rear door is removed. So, I picked up some wood at the store and cut it to about an 8x10 rectangle, and added my first few components, thus:
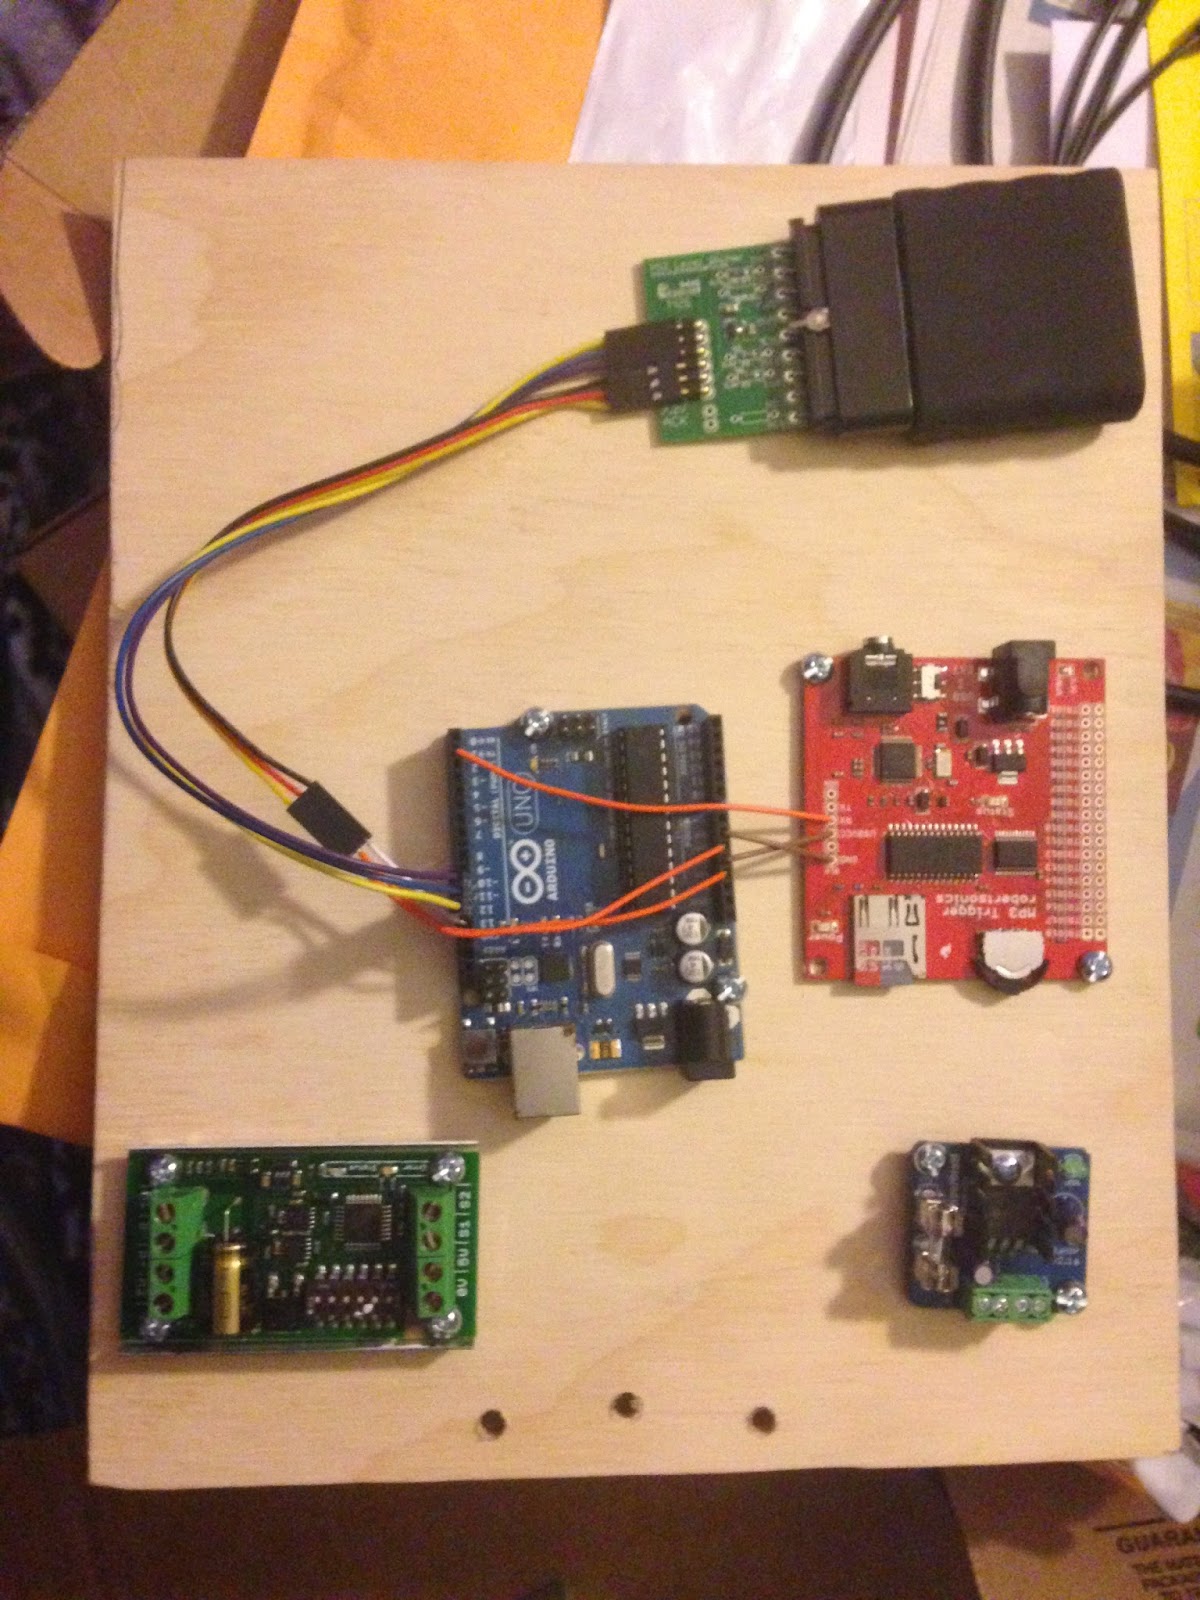

Incidentally, here you can see the slip ring in the middle of the dome which feeds the power up. You can see I've attached a small quick-connect plug on the end there, and bundled up the wires so they're not kicking around all over the place.

And here's the motherboard bolted inside the R2 unit. There's a hinge n the back so it will fold down, and I'm using velcro tie-downs to hold it up. The shot is a little dark, but you can see a lot of wires going up the right-hand pole to the dome motor, dome lights, and speaker (the black rectangle in the top foreground). It's one of those USB powered ones, so since USB is a 5v draw, I was able to put it in with the dome lights downstream from the regulator. Kind of a pain though, as once I snipped off the USB plug, the actual power wires within were very tiny, maybe 24-26 gauge.
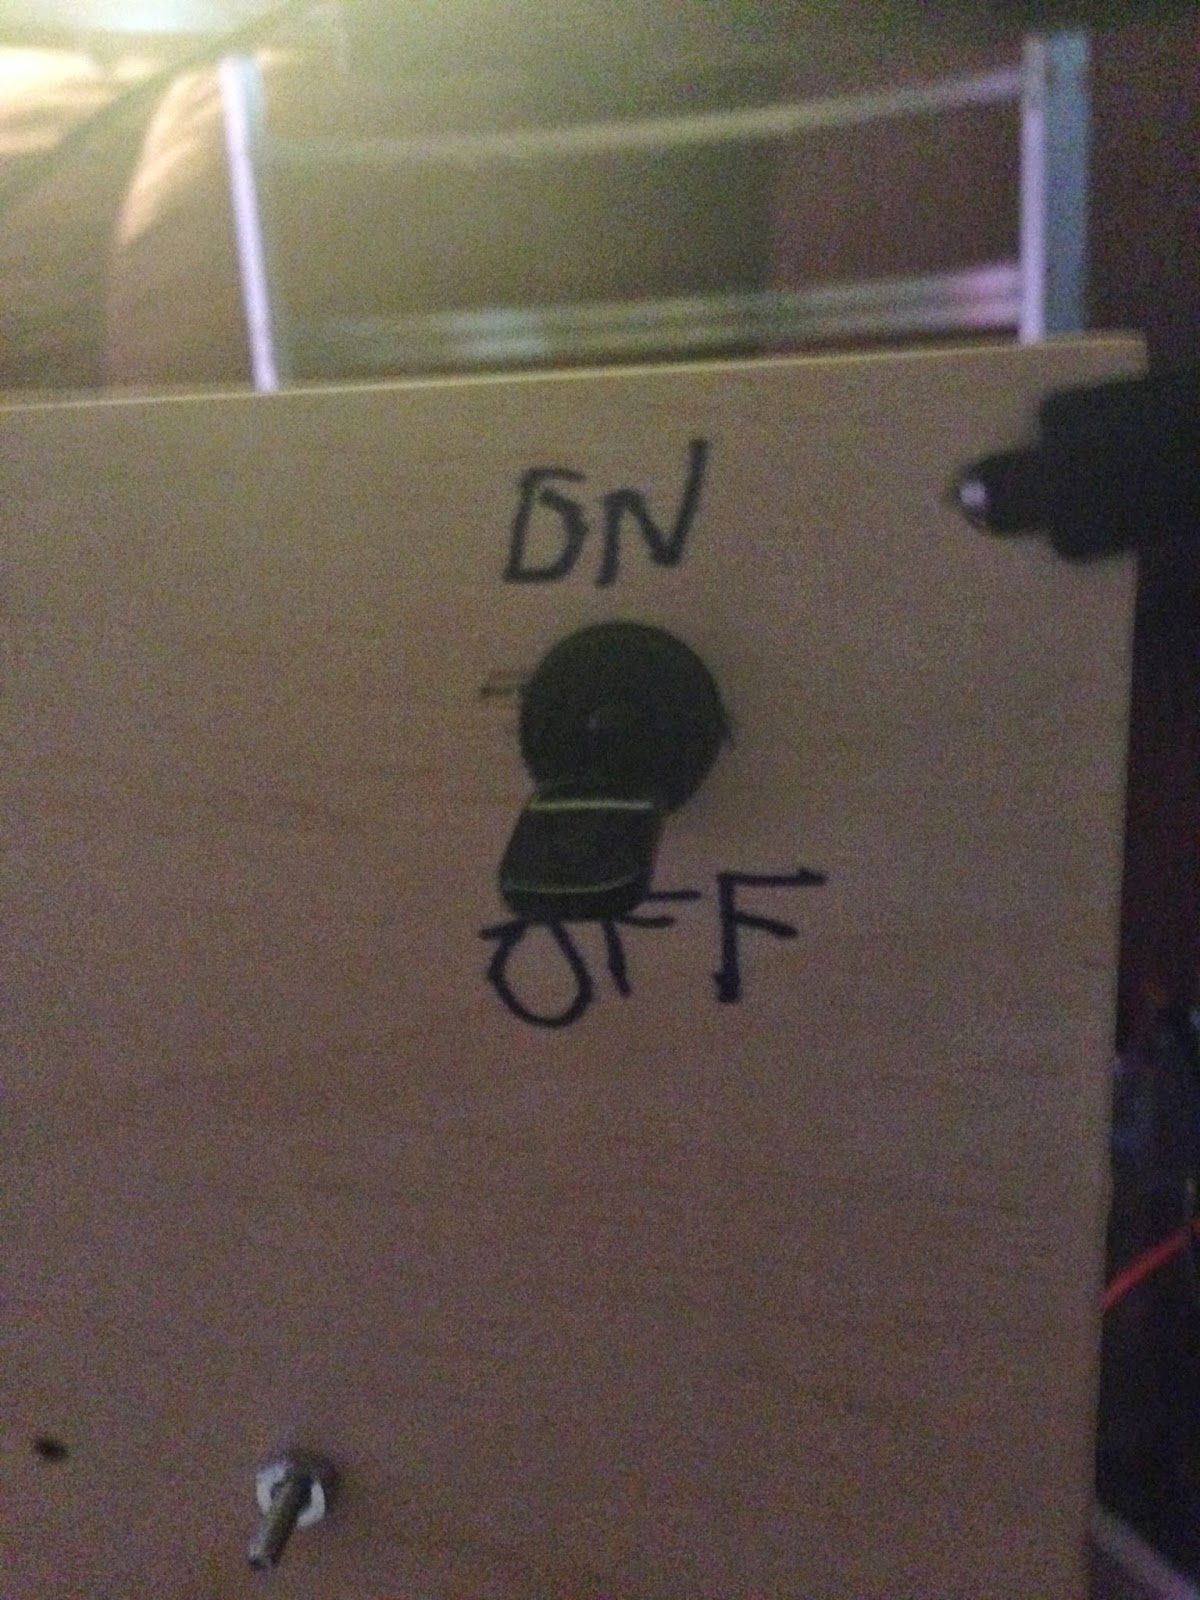
On the back I mounted a big ol' power switch (I'm actually going to have to replace it with a DPDT (double-pole, double-throw: that means I can turn two circuits on at once) switch later, as I'll want this to toggle both the 12V and 24V circuits at the same time. The 24V circuit will be strictly for the foot motors, actually moving this sucker around).

And here's R2 on his brand new handtruck, ready for his debut :)
I think this week I might get back to 3-D printing body parts. After the con I'd really like to tackle as much body stuff as possible,and work on getting the legs together. Then snag some skins as soon as a set show up, and after that... I gotta figure out how to move this sucker around.
Oh, boy.
From top to bottom that's the playstation 2 remote control receiver, the arduino that runs everything (in blue), the mp3 player (in red), the motor driver for the dome motor (on the left) and the 5V regulator for the dome lights and speaker (on the right). Since the battery is 12V, I need to run it through the voltage regulator to feed the dome lighting system.
Incidentally, here you can see the slip ring in the middle of the dome which feeds the power up. You can see I've attached a small quick-connect plug on the end there, and bundled up the wires so they're not kicking around all over the place.
And here's the motherboard bolted inside the R2 unit. There's a hinge n the back so it will fold down, and I'm using velcro tie-downs to hold it up. The shot is a little dark, but you can see a lot of wires going up the right-hand pole to the dome motor, dome lights, and speaker (the black rectangle in the top foreground). It's one of those USB powered ones, so since USB is a 5v draw, I was able to put it in with the dome lights downstream from the regulator. Kind of a pain though, as once I snipped off the USB plug, the actual power wires within were very tiny, maybe 24-26 gauge.
On the back I mounted a big ol' power switch (I'm actually going to have to replace it with a DPDT (double-pole, double-throw: that means I can turn two circuits on at once) switch later, as I'll want this to toggle both the 12V and 24V circuits at the same time. The 24V circuit will be strictly for the foot motors, actually moving this sucker around).
And here's R2 on his brand new handtruck, ready for his debut :)
I think this week I might get back to 3-D printing body parts. After the con I'd really like to tackle as much body stuff as possible,and work on getting the legs together. Then snag some skins as soon as a set show up, and after that... I gotta figure out how to move this sucker around.
Oh, boy.
Subscribe to:
Comments (Atom)