Tuesday, April 28, 2015

On my own foot-like appendages

Well, the new plate for the center ankle arrived yesterday, so I was able to bolt the center leg on. It took a little trial-and-error as the ankle was rather too long, but after a couple of trips to the maker space I managed to get it just right.


Test mounting. It works, but the ankle is still a little too long.


Ah, much better. The plate is mounted with spacers and bolted to the frame. That oughta hold 'er.

Anyway, the upshot is that I can finally dispense with the box support, and let R2 support himself, thus:


Right on.

Also, it looks like my foot shells will be coming in the mail tomorrow, so I get to start working on mounting those up and making them all gussied up properly and all that jazz. Also gotta get some craft foam to put on the center ankle plate to boost up the batteries so they'll be secure in their holes. Get that done, make sure the motor drives scoot around properly, and all that's left is the skirt and skin. Cruisin' along like nobody's business.

Sunday, April 26, 2015

Wiring up the drives

Well, I heard from the frame guy that he mailed out the center ankle hardware Friday, so it should be showing up tomorrow or Tuesday. In the meantime, I'm prepping the center ankle itself and also wired up the drive controller.

After talking to a few people, I decided to go with a switch instead of a diode arrangement, chiefly because I intend to roll the R2 around sometimes with no battery inside it. So I mounted a switch just below the main power one to control power flowback from the motors to the controller:


Just so happens I had a DPST (double pole, single throw) switch left over from my proton pack build, so I just used that. It has both motors going through it, so I can toggle them both at once.

Anyway, the driver itself looks like this now:


On the left, the top 2 wires are going to the left foot, the middle two to the battery, and the bottom two to the right foot. I'm using landscape lighting wire as it's extremely flexible for 12-gauge.

On the right, the top two wires are going back to the signal pins on the arduino, where they control the actual movement. The bottom one is a ground going back to the arduino's ground pin.

(You can also see that the DIP switches have been toggled over to the correct configuration, with 1 & 2 off, and everything else on).

So that has come together very nicely. I'm hoping I can get it together pretty quickly and have the robot scooting around before too long. At least I should have it on its own 3 feet by the end of the week, if all goes well. In any case, this pretty much makes the wiring-up portion of the build complete. So that's pretty cool.

Sunday, April 19, 2015

Getting ready to wire up

So now that the legs are on, it's time to thin about the foot drives. I've been working to get those fastened together, and finally got that done Saturday morning. Pictured here is a foot drive with the rear caster mounted and the ankle mount clamped on:


Now I've got to wire up the actual drives. I grabbed some sheet aluminum the other day and cut it to 6x7 inches so that it would mount inside of the leg braces on the frame. Since the motor driver is too big to fit on my current motherboard I'm breaking it off by itself. And since it's got a big heat sink on the bottom of it I went with a conductive base attached directly to the aluminum frame. Here is the driver--a Sabertooth 2x32 (2 motors & 32A each) mounted to the plate:


And here's the plate mounted inside the leg brace:


Pretty exciting. Hopefully the center ankle hardware will show up very soon, and I can get that done. In the meantime, I had a little side project over at Hammerspace this weekend, where one of our members is doing a two-part class on building lightsabers. He brought in a whole bunch of plumbing parts and whatnot, and we put them together however we liked. I took mine home for a little painting and touchup work, and this is the result:


Next class, hes' going to show us how to add sound effects, and make it compatible with the popular "blades" available out there. Very cool. I'm thinking I'm going to have to make some of these for gifts for my geeky friends.

Incidentally: this weekend marks not only Star Wars Celebration VII (wish I was there!), but also month 4 of this build. I now am 1/3 of the way through my projected build tome to get R2 up and running. I do believe I'm more than a third of the way through the build too, so feeling pretty good about that. Will I make it? Hope so. But we shall have to see.

Tuesday, April 14, 2015

We have legs. (And we know how to use them.)

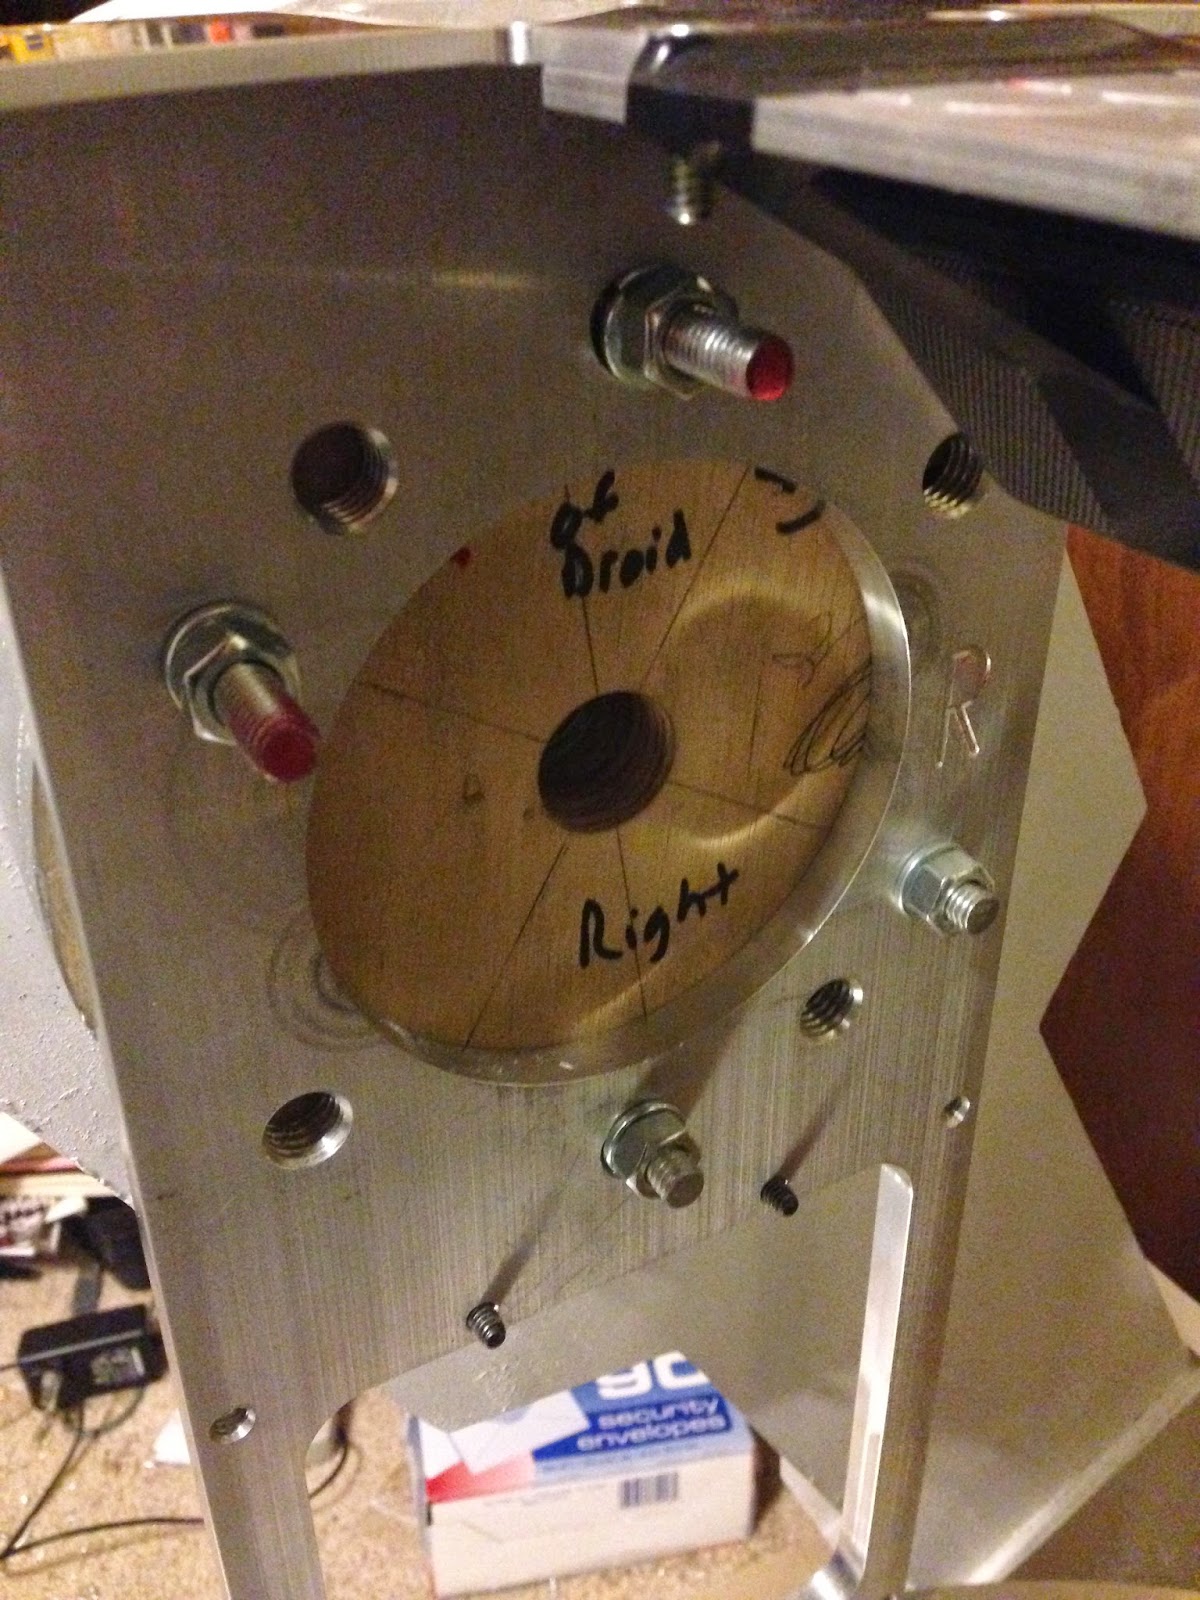
So last night I put the first leg on. It was pretty awesome. I had originally planned on feeding a bolt out through the frame holes, through the shoulder hub, and into the leg sockets, but that proved to be a royal pain in the butt getting everything lined up properly. So instead, I snagged some threaded rods and put them in the legs first. Then I dropped the shoulder hubs down onto the rods, put them through into the frame, and fastened them with nuts and lock washers, thus:


Due to the 4-6 difference, I had to do some extra drilling and only had 4 holes in. But if 4 is good enough for the aluminum legs, it oughta be good enough for the wooden ones.

Anyway, while I had the dome ring off (I had taken it off to put the skin mount points on before the legs went on), I finished off the utility arms. It seems I hadn't noticed it but the frame kit came with the proper mounting hardware for the arms, so I went ahead and put 'em on while I was at it. So at the end of tonight, R2 was looking like this:


(also pictured, my faithful assistant Uzume)

So anyway, the next step is the center ankle. It turns out I had the hardware for an aluminum center ankle, but there's a different one for the wooden version. Which I didn't know. But the frame guy is swapping me this week, so hopefully I'll have the proper hardware in my hands soon, and I can put on the center ankle, followed by the wheels and foot drives, and R2 will be standing on his own 3 feet. Can't wait.

Sunday, April 12, 2015

Robot Petting Zoo

So Saturday I took the bot down to Union Station's Science City with the others and we set up the robots for a "robot petting zoo" as part of robot week over there. It was pretty cool: the makerspace in there was showing kids about robots, some high school robotics team had their works on display (high school robotics teams! Where were these when I was a kid!?), lots of kids running around and digging the robots. The science museum is a neat place. Have to take my niece & nephew sometime. Anyway, had a leg and foot drive on display, so we could show how they work. Just about got the legs done and ready to attach, so that's pretty cool. Won't be long now.

Set up and ready, the calm before the storm:


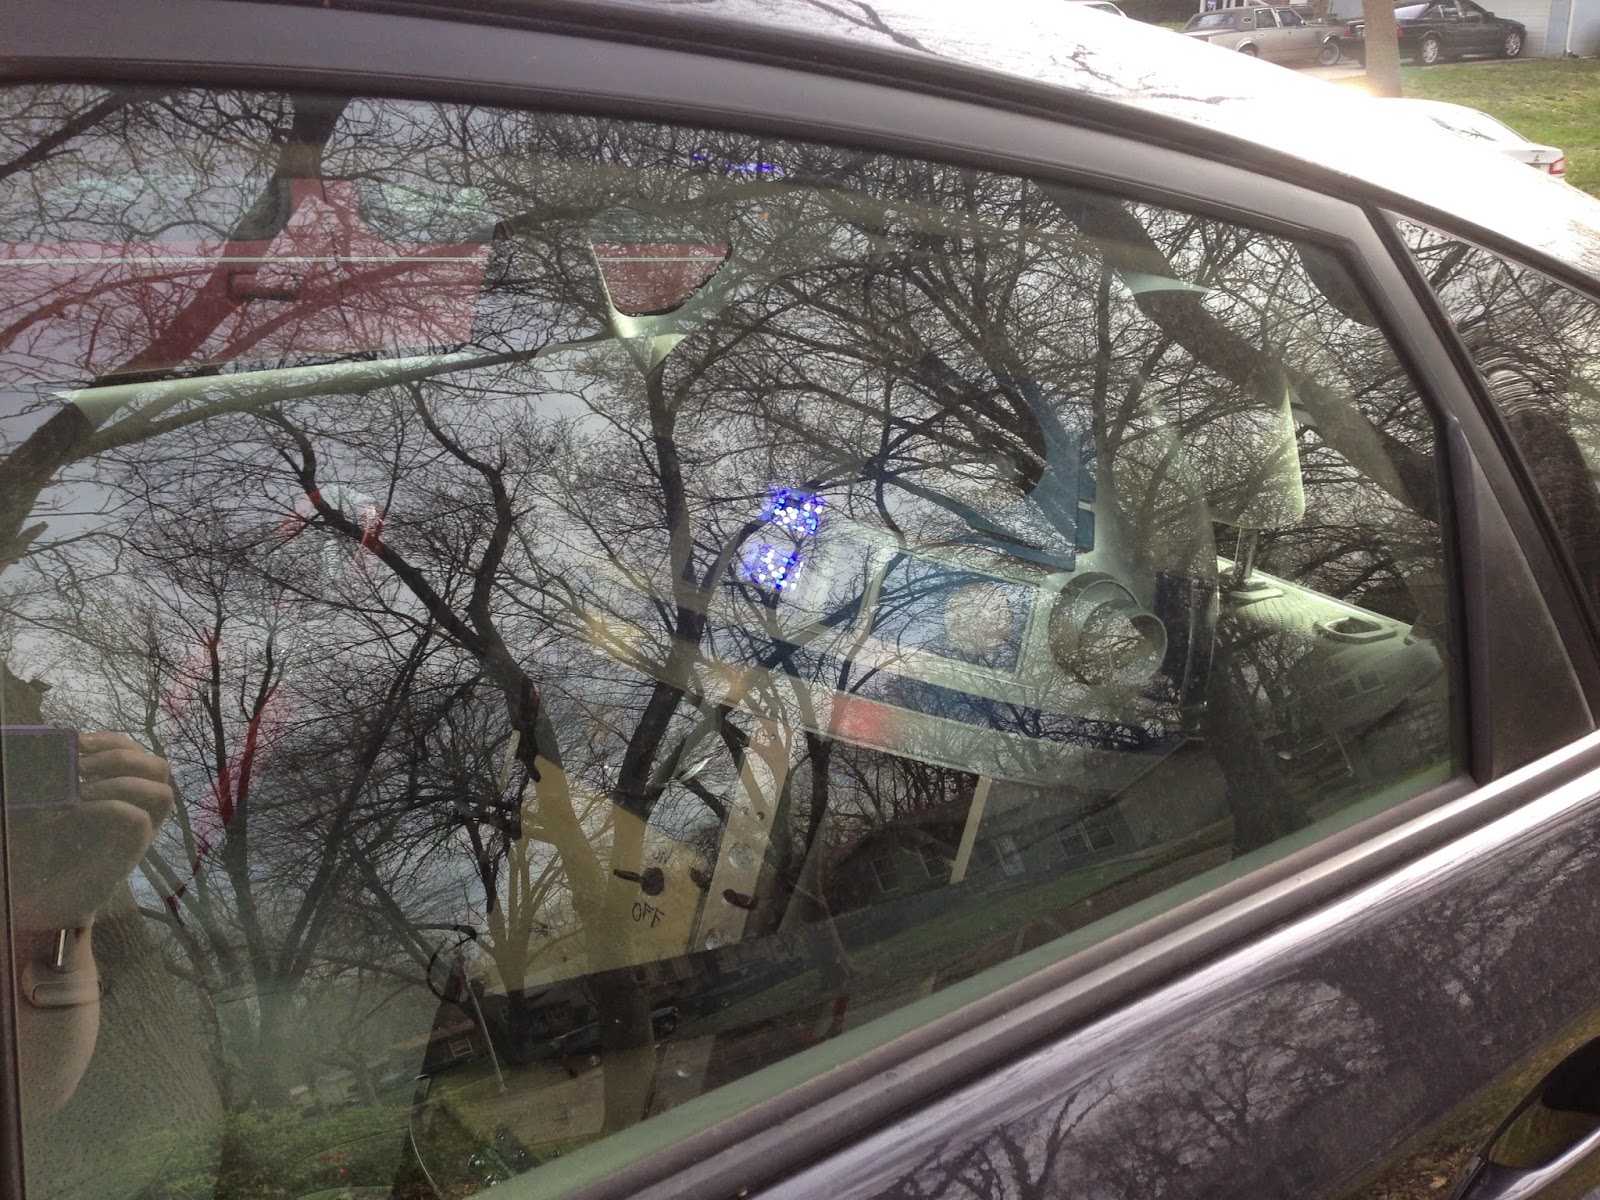
R2 riding in the back seat. Last time he'll be able to do this: