Monday, April 24, 2017

Issue 13

So now here's Issue 13, and it's mainly more hull parts and the pipe details for the forward wall.First off, I finally got around to repainting the seats with a nice leatherette kinda deal:


Then I painted up the pipe holder and its braces with a gloss black to make it look like metal.


A little drybrushing to reflect the effect of schlepping big heavy pipes back & forth...


...and the braces go in and get similar scratch & dent treatment.


Finally, the pipes themselves are added.


There's a bit of pipe that comes up from the nav console, but I've elected to put a wire back there instead, as I have a feeling I'm going to be wiring this up for lights at some point anyway, and besides it just looks better.


So that's that. One more wall to go, and this room will be done. Looks like there's some corridor stuff coming up, so that should be interesting. Til then!

Tuesday, April 18, 2017

Issue 12

All righty! The big buildup is over: time to put all those skeleton bits together!

So, take inventory. You're going to need all of the following pieces, plus all the bags of screws. Also, please note one of the 2-hole connectors is missing in this picture because I had momentarily mislaid it. Annoyingly, there doesn't seem to be any spares of it. Not yet, anyway.


Lots and lots of screws:


First off, we're attaching the bars to the framework as shown in the picture above. The magazine dosn't quite show how everything is oriented, so here you go with a quick shot to see which way up everything is and who's on top, etc.


Anyway, one of these bar thingies goes on like so:


And you basically mount the other three off of it, following the instructions.


 When bolting the two long bits together (once in the middle, once on the left), you might find that the brass bolts are kind of on the loose side. I'm hoping this won't be a problem as we put more of the frame together, but I may give them a dab of glue later if not. As always, your mileage may vary.

Anyway, here's all the bits together:


And that's a fair whack of the bottom hull, I'd say about a sixth of it right there. Pretty nice, and satisfyingly substantial to boot. Nice way to round out the month, even if the rest was a bit yawnsville.


Issue 11

OK, another issue here that consists of lots of parts we're not going to use yet. Set 'em aside as usual.


Now we're going to do a little decoration of the aft wall. They have some "cables" on the model trees that you can cut off and use if you want; for the first couple I had a wild hair to just use some actual wire:


Looks kind of neat, I thought, and more organic in that "real-life kitbash" kinda way that the Star Wars aesthetic brings with it.

So I used two wires, two of the standard unpainted "cables",  and a third one I painted metallic to look like piping.


Yeah, that's literally it this time around. Fortunately, issue 12 is a bit more interesting, and we finally pick up all those pieces we've been accumulating over the past few issues and put 'em to work.


Issue 10

Okay, not a whole lot of excitement this issue; we're going to put the doorway together.

First off, see these nice pieces? Yeah, set 'em aside. We won't be using 'em.


We will, however, be working on the doorway and aft wall. First go the two details that are to be mounted on the wall. Paint 'em however you like and get 'em glued in, so:


Next, paint the outer ring of the doorway and glue the little pad-things around the inside of the inner ring. Note for future reference: do weathering on the inner ring and padding after they are glued together. It would look better. Here I used metallic paint and did a little rust wash:


A quick test fit:


Not bad. Go ahead & glue the rings together and let them settle in situ. I found the doorway snug enough I didn't have to glue the outer ring, but your mileage may vary.

Anyhow, that's 10 in the can. Hard to believe we're one tenth of the way through this thing.

Wednesday, April 12, 2017

Issue 9

OK, so next up is issue 9, with some nice bits & pieces and...hooray! Lights!


2 boxes, eight issues. That oughta hold me for a while :)

Issue 9 has some exciting bits in it, including the genesis of the lighting system:


So, wasting no time, I popped 4xAA into the battery box and plugged it in:


Voila.


Though I have to say with the back lit up like that, the side walls look kind of tatty with no lights and all. I am seriously considering the ParaGraphics photoetch set, and at least partially replacing the bits in here with it. At least the back walls, anyway.

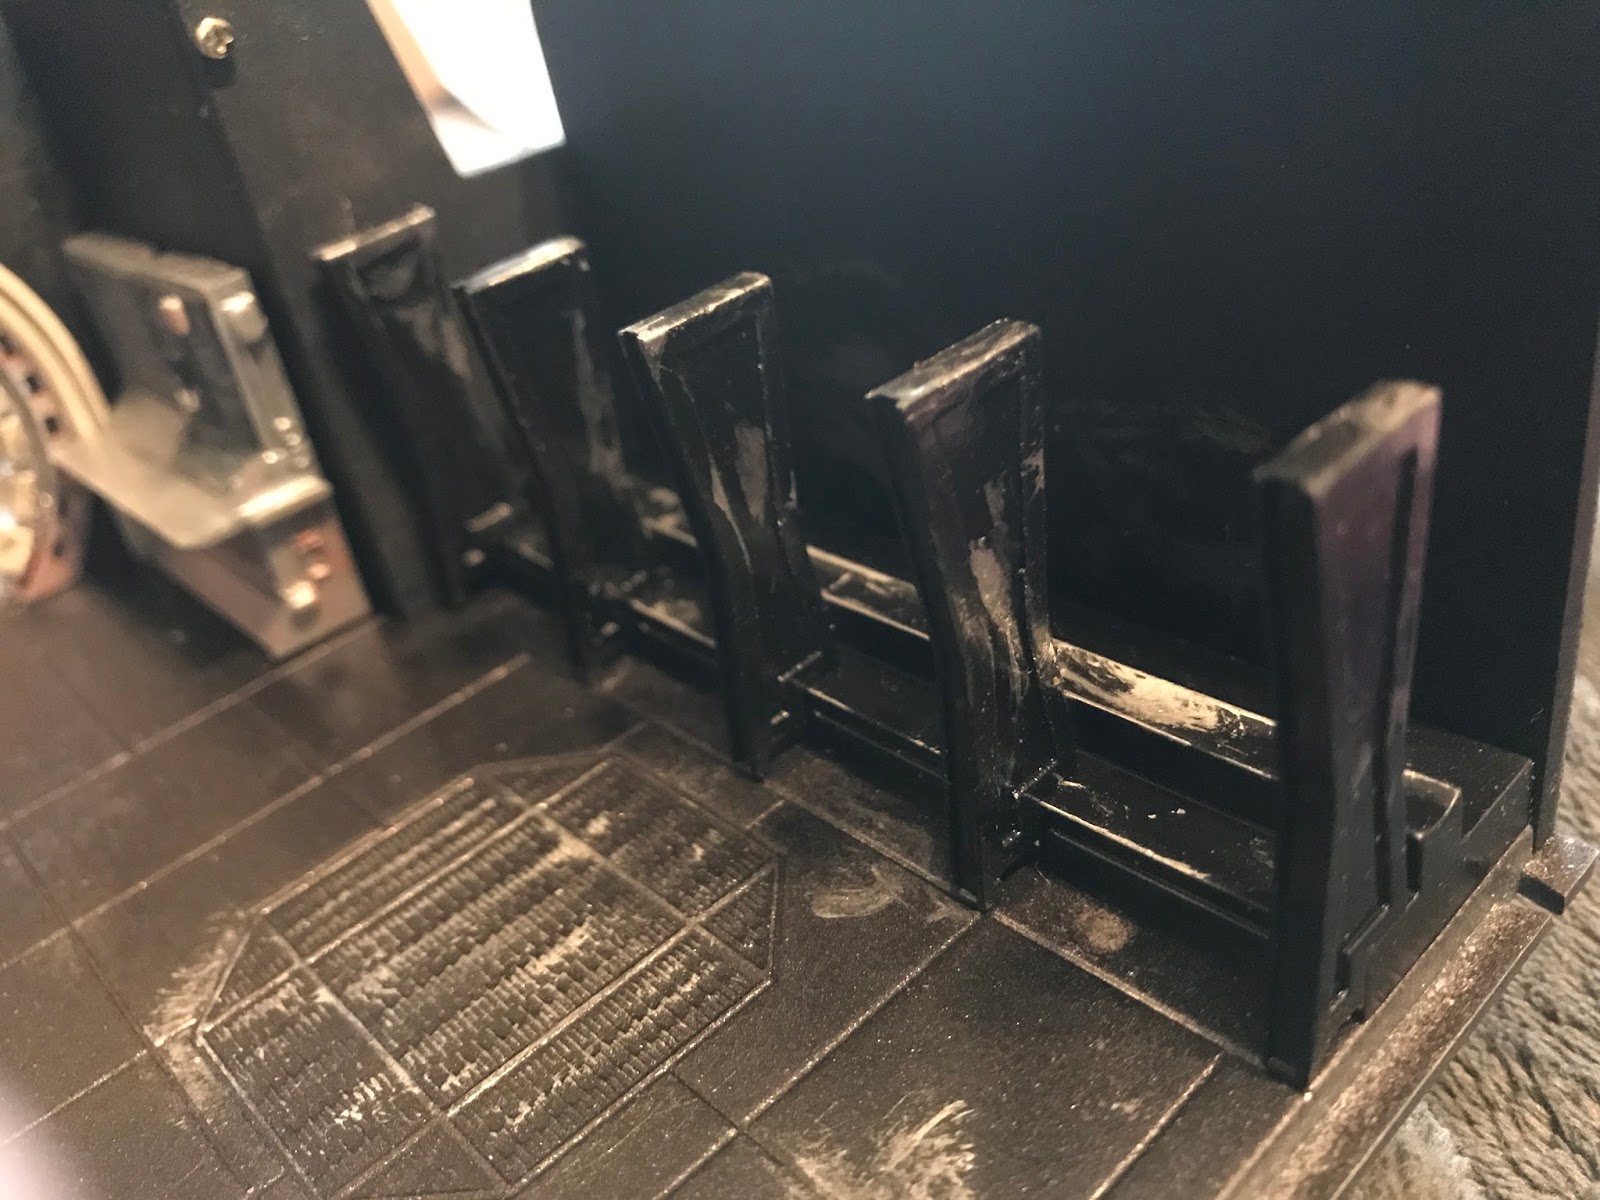
Anyway, in the meantime, next step is to mount the lightproof tape. You have to hand cut the strips to fit past the mounting pegs inside the shell, as seen here:


Pretty easy to eyeball. Then you just put the tape down in each half, as shown:


If you want to mount the cockpit now, you can do that (but read the section below first). Just make sure the back wall goes into the notch in the shell, as seen below:


Then drop the side walls in:


And very carefully mount the top shell on, making sure to keep the back wall in the groove.


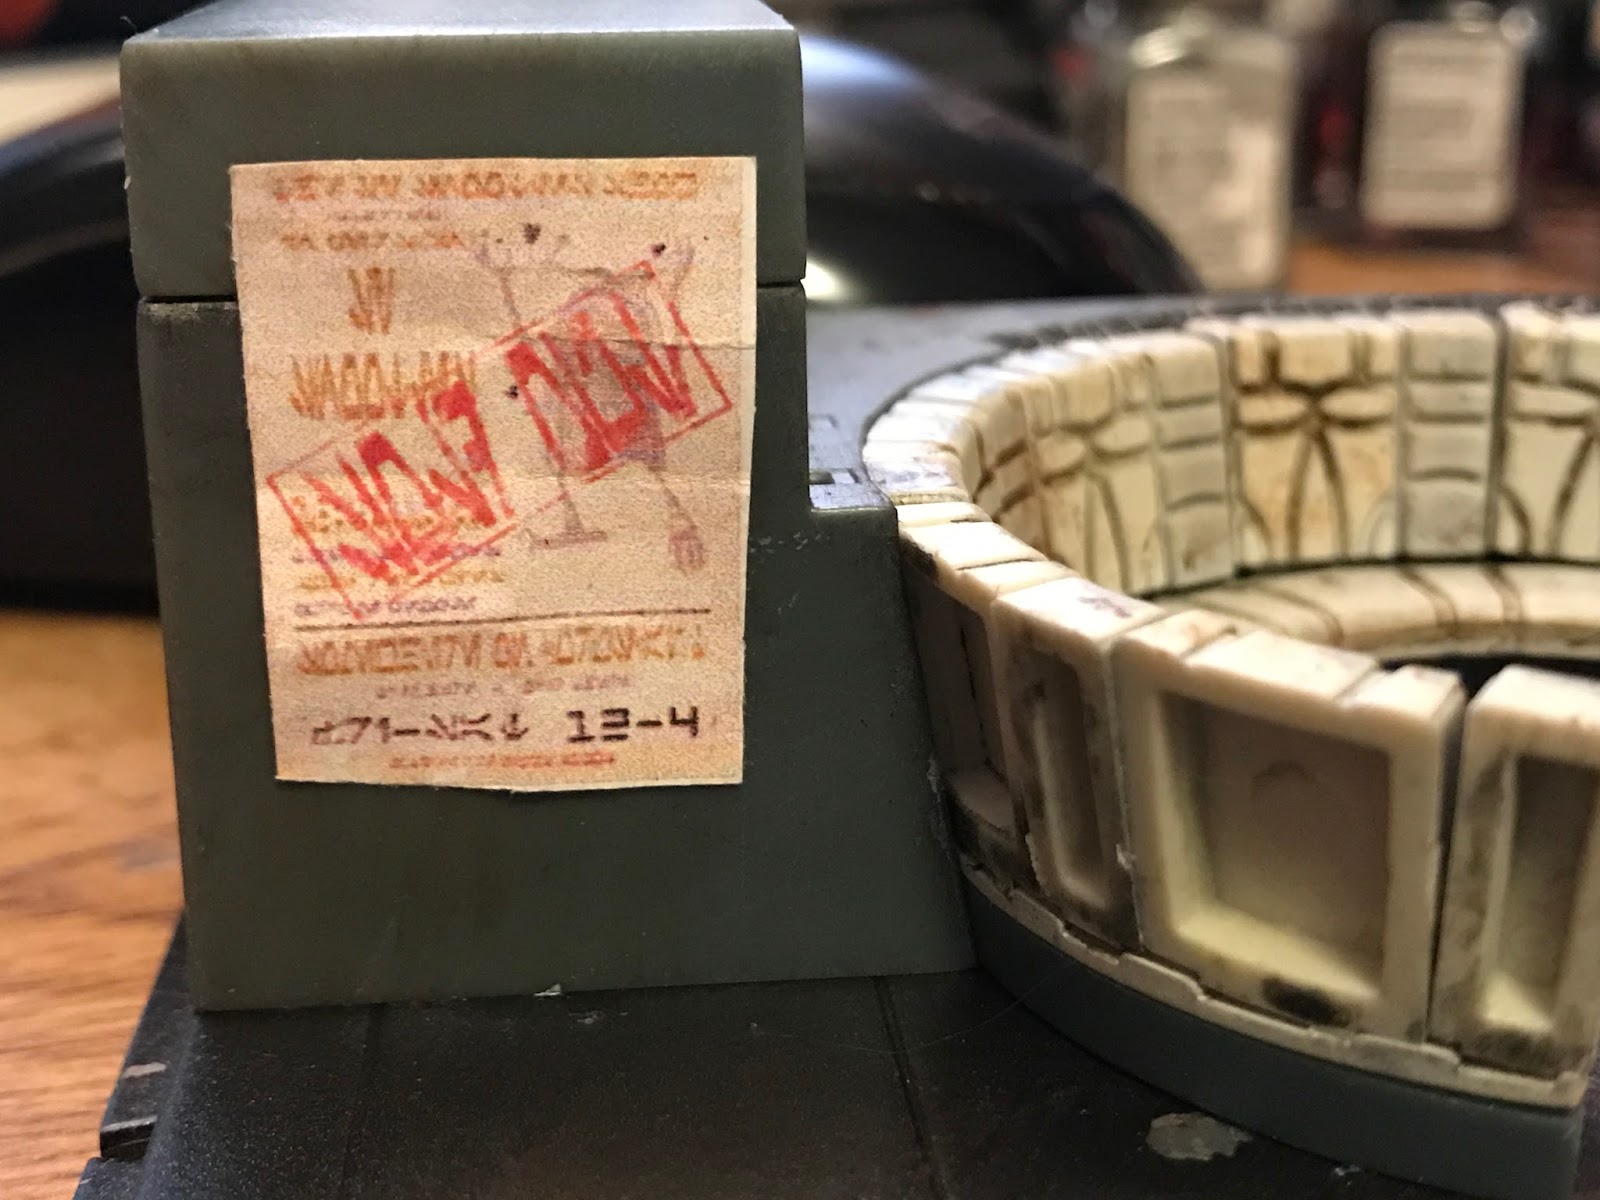
I wouldn't do all that just yet because it's time to glue some fiddly bits on. First for the top:


And now the bottom:


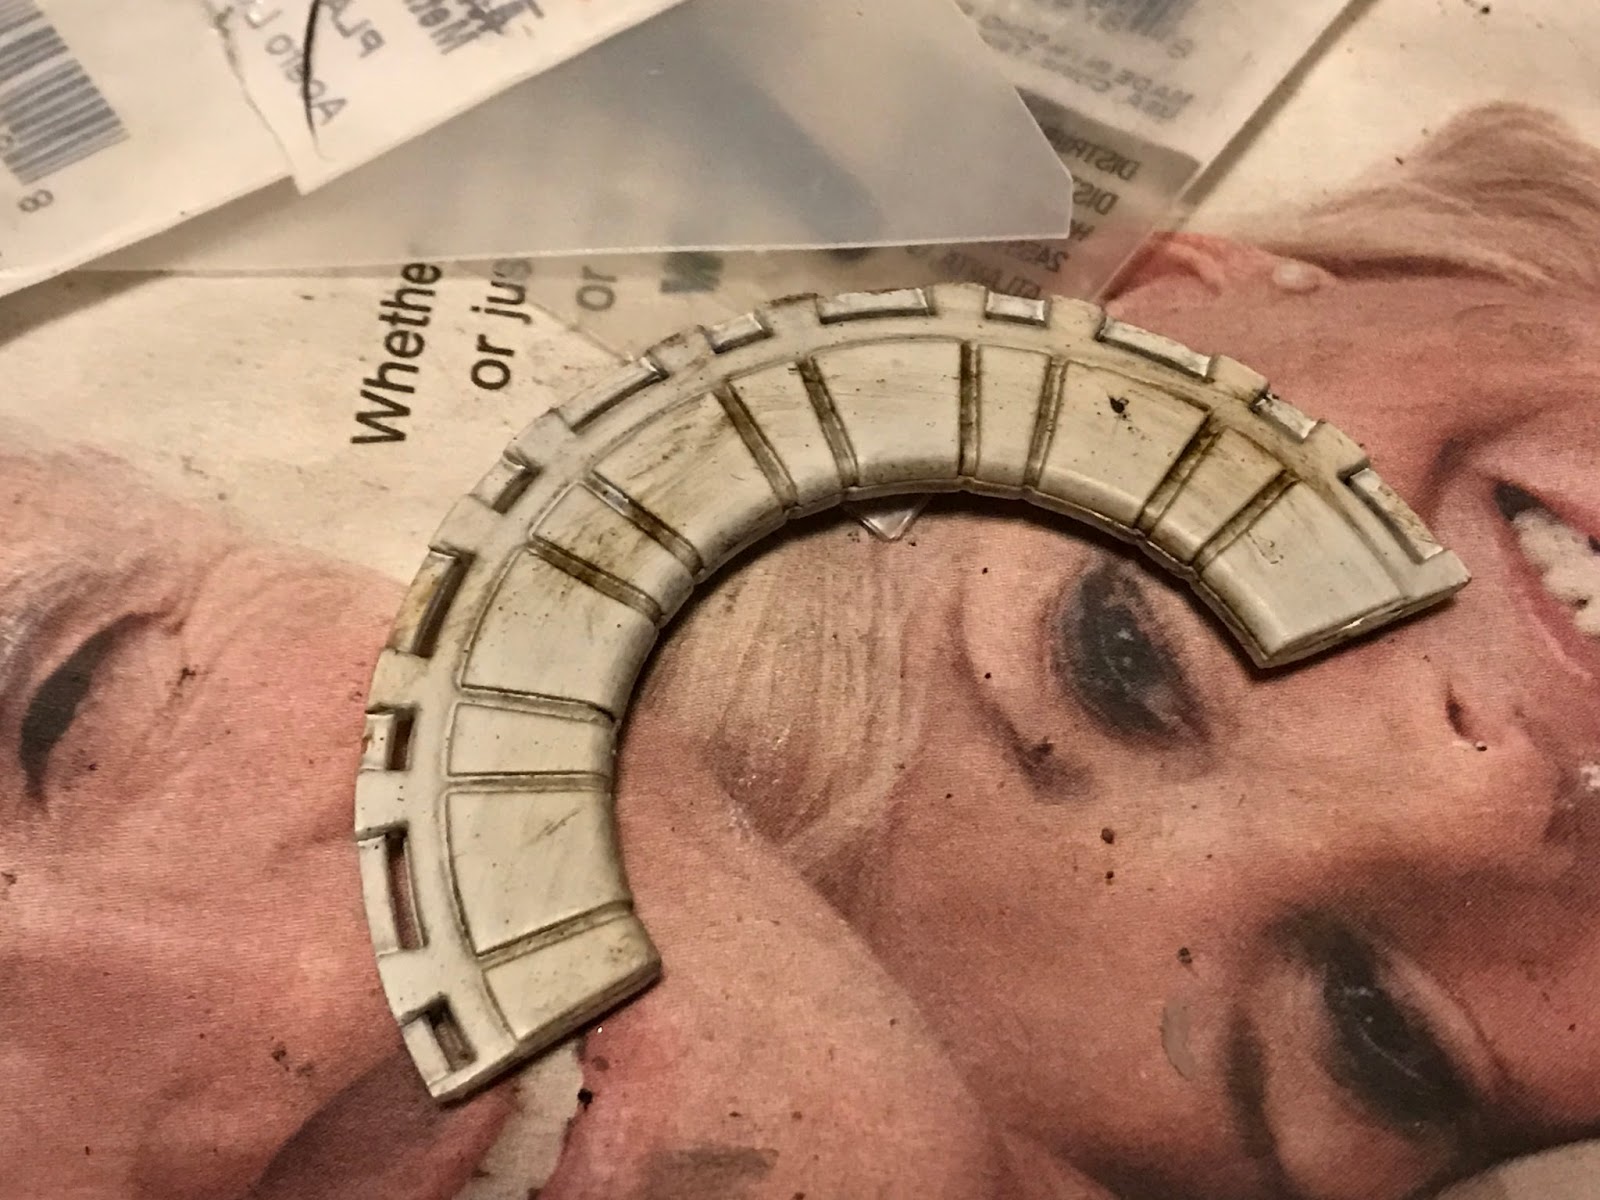
 Be extra careful. These are very fiddly bits indeed. I accidentally broke one of the bits when removing it from the parts tree, and had to perform some very careful surgery to make it right.

And....that's it for Issue 9. I think this may be the first issue where the majority of pieces get saved for future work. Look at all this stuff:


Well, I'm sure we'll get to it, all in good time. Til then, later!

Sunday, April 9, 2017

Issue 8

OK, time for the last issue in this set. Mostly building on what we've been working on already.

First off, let's pick up with the backs of the seats from Issue 7. As usual, I spray 'em clean, and add my own weathering:


I also decided the floor was too rough, so I repainted and reduced it to light scuffing in the heavy traffic areas:


Adding the seats got me the following. Too mismatched colorwise. Gonna have to do something about that.


But first, a fun little detail. Take one stirry-stick:


Dip one end in paint and bop it against test paper until it's just making rings:


Et viola: somebody doesn't use a coaster! ;)


Also, I really hate this seam. Is there something I can do about it?


Why, yes. Yes, there is.


(That's Sy Snootles, if you can't tell)

Next comes the control panel. I screwed up the dial in the middle, had to reglue it. It looks better now, I sear. Lost the other one, unfortunately, so backed it with green tape so I can put a light behind it or something later.


This panel here goes on the wall. I have two wall pieces right now, which I'm painting in a base of dark gray flat primer. This I painted in Testor's silver and added some black wash for "grime". Should look really good on the wall.


Tried some orange for the couch, since I had some. Well, at least it's consistent now. But I think I'm going to get me some shiny leather-look brown and use that instead.


Anyway, there are a few more bits and pieces, but they carry over into the next editions, which are scheduled to show up on my doorstep tomorrow. Talk about timing!

Monday, April 3, 2017

Issue 7

Here in Issue 7, I'm glad to note they've talked a bit about how to do dry brushing and color washing. I've already touched on them myself, but now everyone knows. So that's cool :)

We move on to one of the interiors of the ship with this issue, so time to experiment. First off is a rather boring grey plastic floor. It's all right, but looks like...well, a solid, featureless piece of plastic. Let's change that.

First, I'm going to blast it with a quick layer of metallic finish paint. Doesn't matter which. We're not going tor a mirror finish here, just quick & dirty.


Now, I come at it with a layer of Rustoleum Oil-Rubbed Bronze. I found this by poking around in the paint aisle and grabbing something that looked like it would make a nice floor texture.


Like it already, but let's scuff it up...


Tada! A nice rough texture, worn in places you would expect foot traffic, the "metal" coming through from under the bronze layer. I also added some wet brushing in the cracks, and a little dry-brushed residue on the grates. Really gave it a grody ol' look :)

Now, on to the rest: we've got part of the seating around the "hologame" board, and a kind of "bunk" area that goes next to it.


Here's the seating. As you can see, they've stamped some weathering onto it. I personally regard this as an indication that "weathering goes here, but do your own because ours bites".


Therrrre we go.


And a little in the bunk piece, though it's kind of subtle.


Now if I include this with the other parts, and add the "lid" of the bunk, I get this:


Hmmm...gonna have to blend the top of the bunk with the rest a bit, aren't I? Well, I can do that later. In the meantime, that's issue 7 in the bag.