Wednesday, August 30, 2017

Issue 46

Well, I thought that it was going to be turret time again per the parts in this issue, but they fooled me. In fact, this was a pretty big one: the one where we attach the first layer of body panels to the bottom frame!

Dig it:

First off, I went through my "parts" box and did inventory. Sure enough, 24 parts all ready to go. Some needed an initial coat of paint, but others I just did as I went along.


Next up, 4 big bolts from Issue 56 went in to support the frame and keep the hydraulic rams from getting all bent up.


Now, in go the pieces. Here they are, more or less in order:


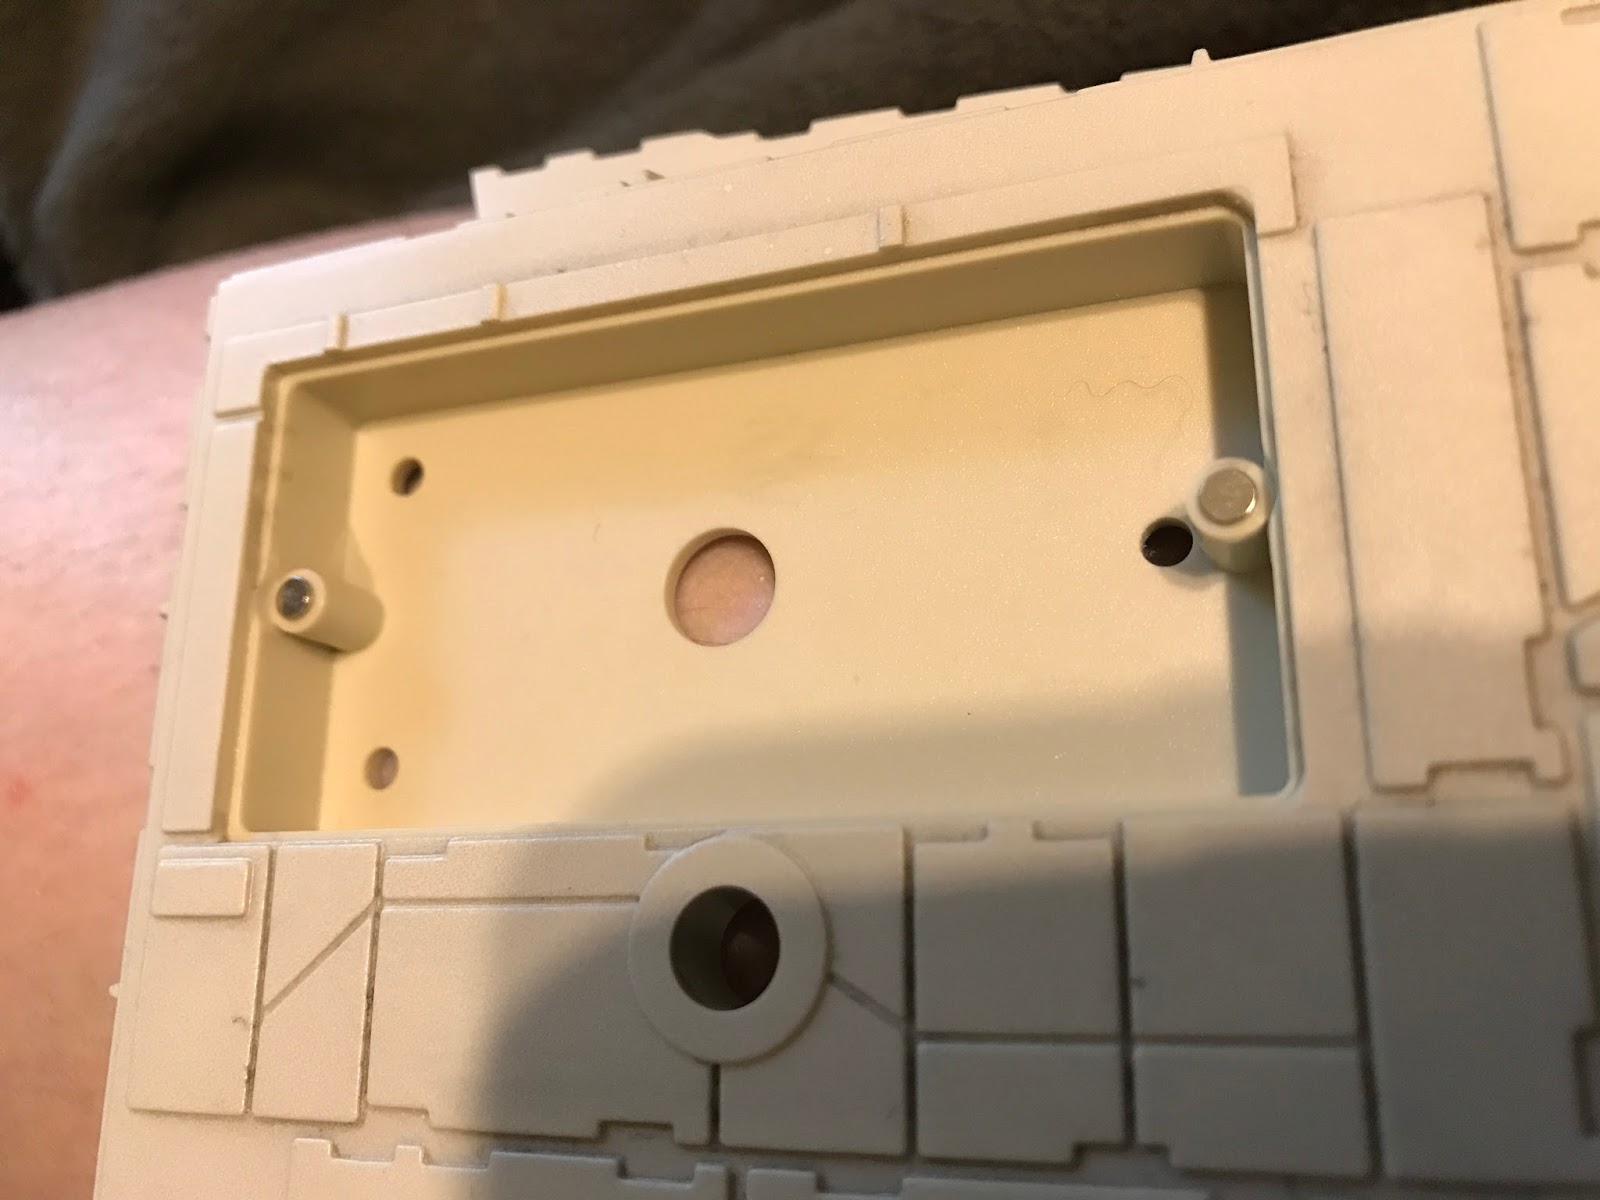
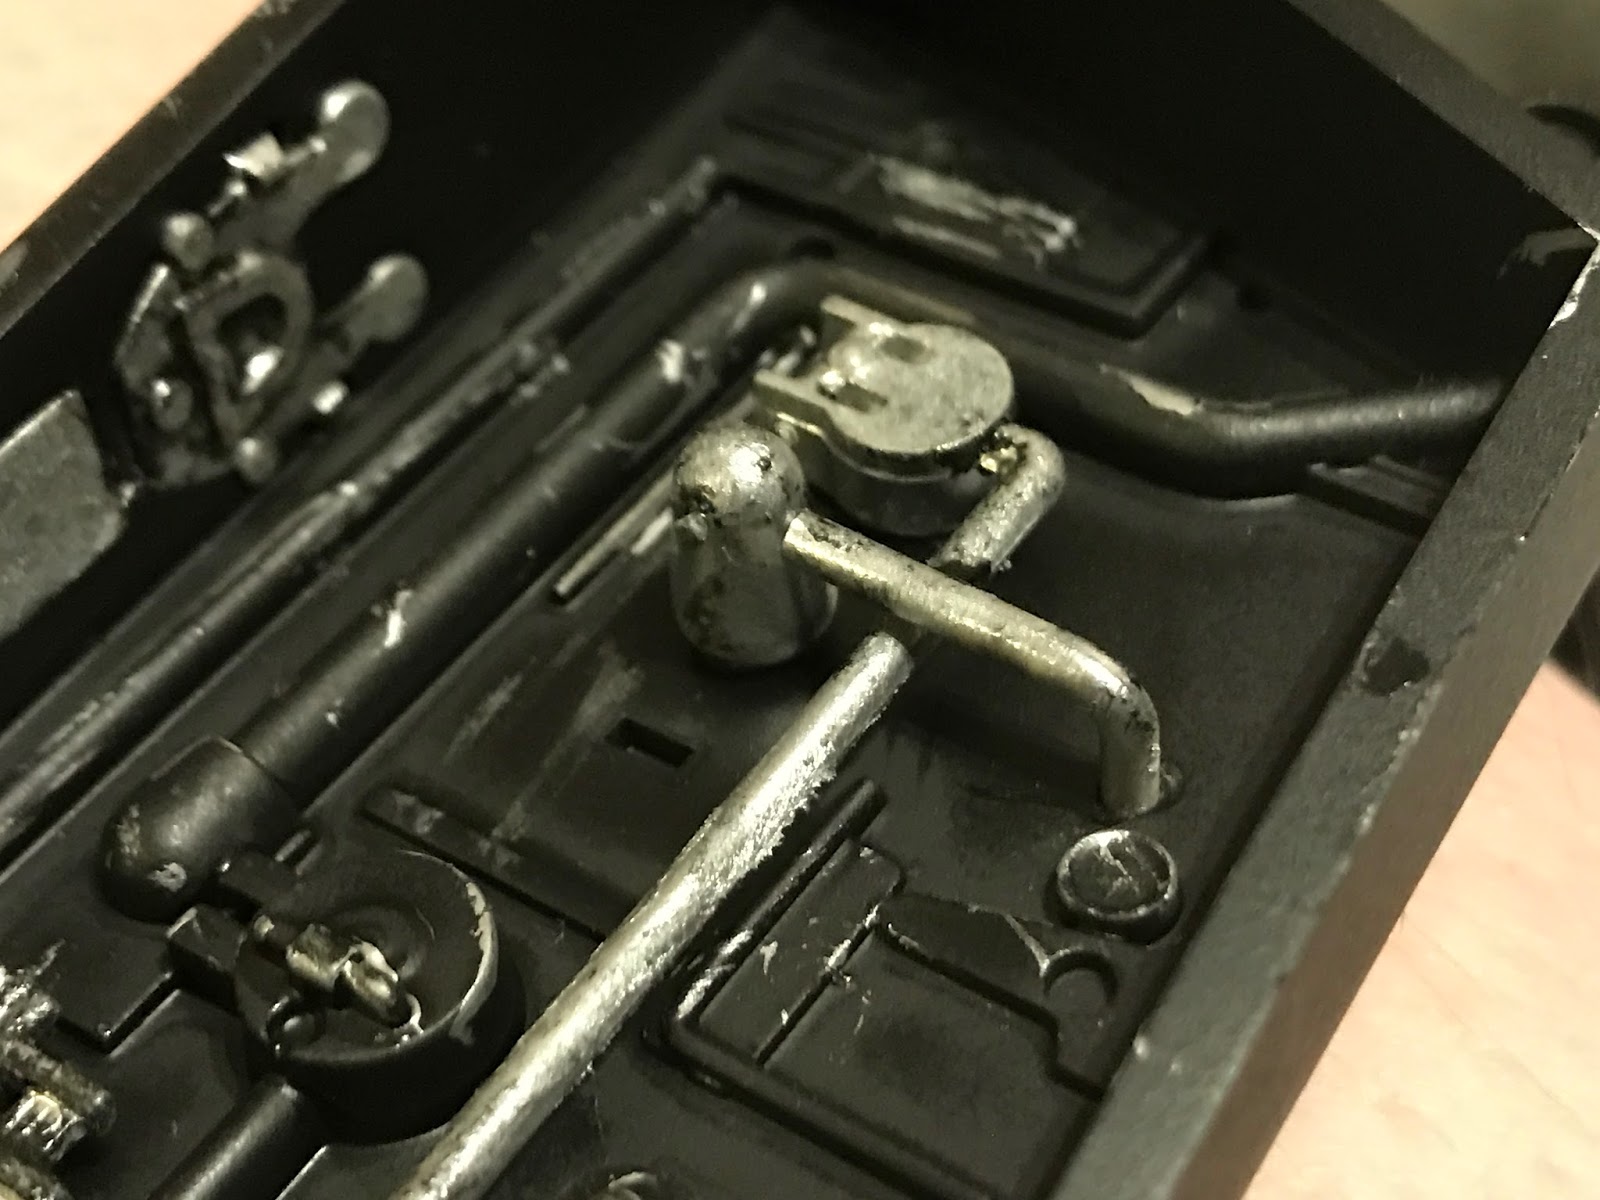
(note the gap above for one of the open hatchways with the distressed pipes and things we did earlier)


(a lot of this area is going to be covered by another layer of body panels, which is why I didn't bother painting them)


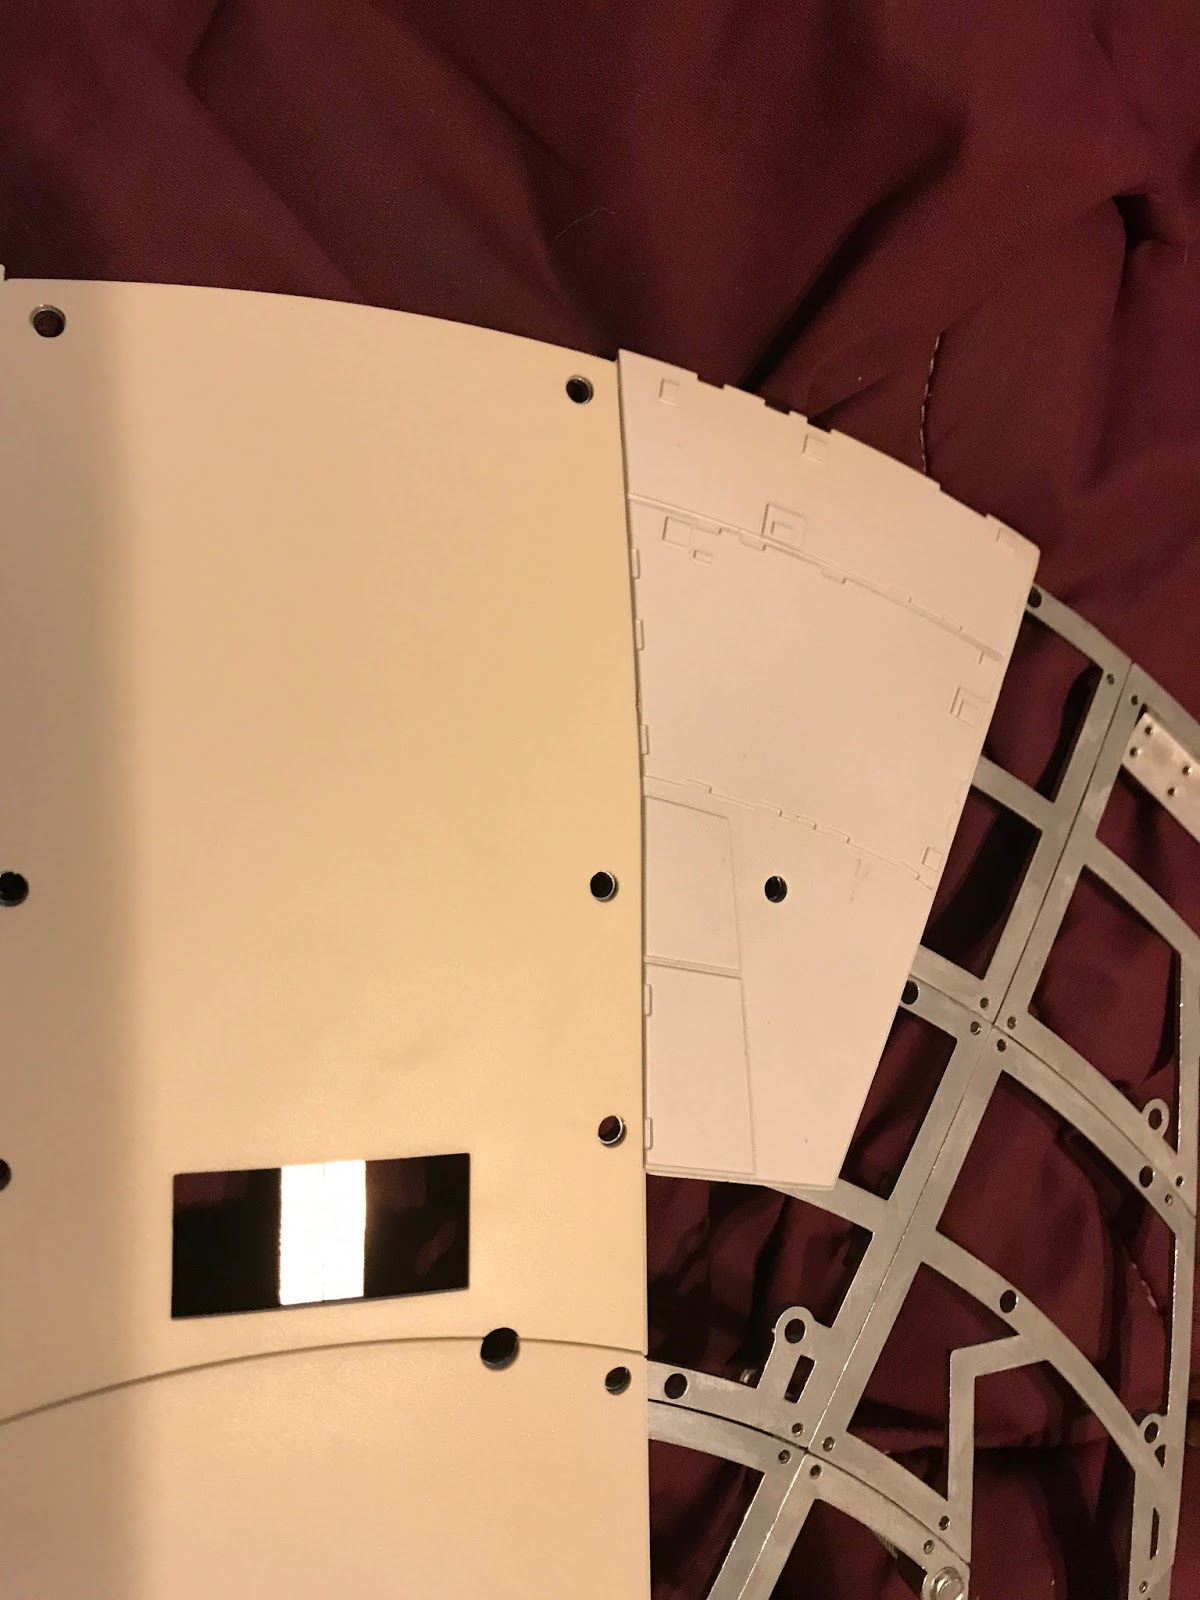
The other "open panel" goes here:


...and we're halfway done!


Cool fins for the aft. We're getting close!


...tadaaaaa!


Whoof! That was a good couple night's work.

Looks like next issue brings on the second layer of paneling for the fore and aft sections. Still, this is a pretty big milestone in the build. Lookin' good.

Monday, August 28, 2017

Issue 45

Okay, so: first off there's another bit of machine rigging which is almost an exact mirror copy of the one from the last issue, the only exception being the piece shown below which is different from its counterpart:


(also, please be sure & trim the flashing like what I haven't done :P)

Also, there's this bit of machinery, which is what goes between the two bits we've just got through done. Now, we're only doing 5 of the 9 chunks that get glued onto it this time around; the rest will come later.

There's this bit here which goes on the front...


...and these two bits that go on each side.


That's it for now.

Also the new issue showed up, so I've now got 3 boxes of stuff in the "in" queue. Going to slow it down to one issue every other night, now.

Sunday, August 27, 2017

Issue 44

OK, so this issue has some neat exterior details. We get the main piece, and a bunch of glue-on chunks to do:


We essentially put the pieces on like so, in the following order:


(there's also another 2-pegger that I didn't get a specific shot of, but it goes just a little to the left of this one, on the other side of that round thing.)


There will be one piece left. Just leave it be; we'll be coming back to it later.


Anyway, the end result should look like this:


Also, the parts for the second gun turret are in this issue as well. So go ahead and put that together.


That's it!

Saturday, August 26, 2017

Issue 43

OK, this time we are prepping body panels to hold the landing gear. If you don't want to use the gear, these lids will cover the gear bays up using small magnets.

There's 3 pieces, and they all more or less work the same. First, you take the body piece and its respective panel, and test fit (note they will only fit one way as the corners on one end are curved):


I give them a quick blast of paint to make sure they're good to go, then glue in two metal posts to serve as catches for the magnets:


And then the hatch itself gets two small rare-earth magnets. They're not insanely strong, but they'll do.


And just do that for the other two panels. Won't be long before we start putting the body together, I think. Good times.

Meantime, looks like it's the other gun turret next. Already got the parts in paint...

Issue 42

OK, so now we're going to  work on another one of the body panels, just like the one we did before. So, first thing's first, I paint the main part flat black and the individual pieces silver:


Next up, I do some dry-brushing on the main piece with silver paint to bring out the details:


Now it's time to install the parts. First, this bit goes in the side panel:


Now this pipe. Note I accidentally got this one "backwards", but it's still basically OK.


Now comes this bit:


And this flat chunk here...


The short pipe and cylinder...


These little guys...


A couple more pipes...


...and we're done. A little more "griming up" with black dry brush, and we've got a nice looking recessed panel, ready to go.