OK, before we get into this issue, I thought I'd show a sneak peak at what I'm working on as far as the bottom-side paint job goes.
Without spoiling the top, I think I cna mention I'm doing something inspired by an older look of the Falcon, as shown here...
So here's a little bit of that so far...
...and here's a bit of weathering I did on the other side of that same piece.
(pic doesn't do it justice)
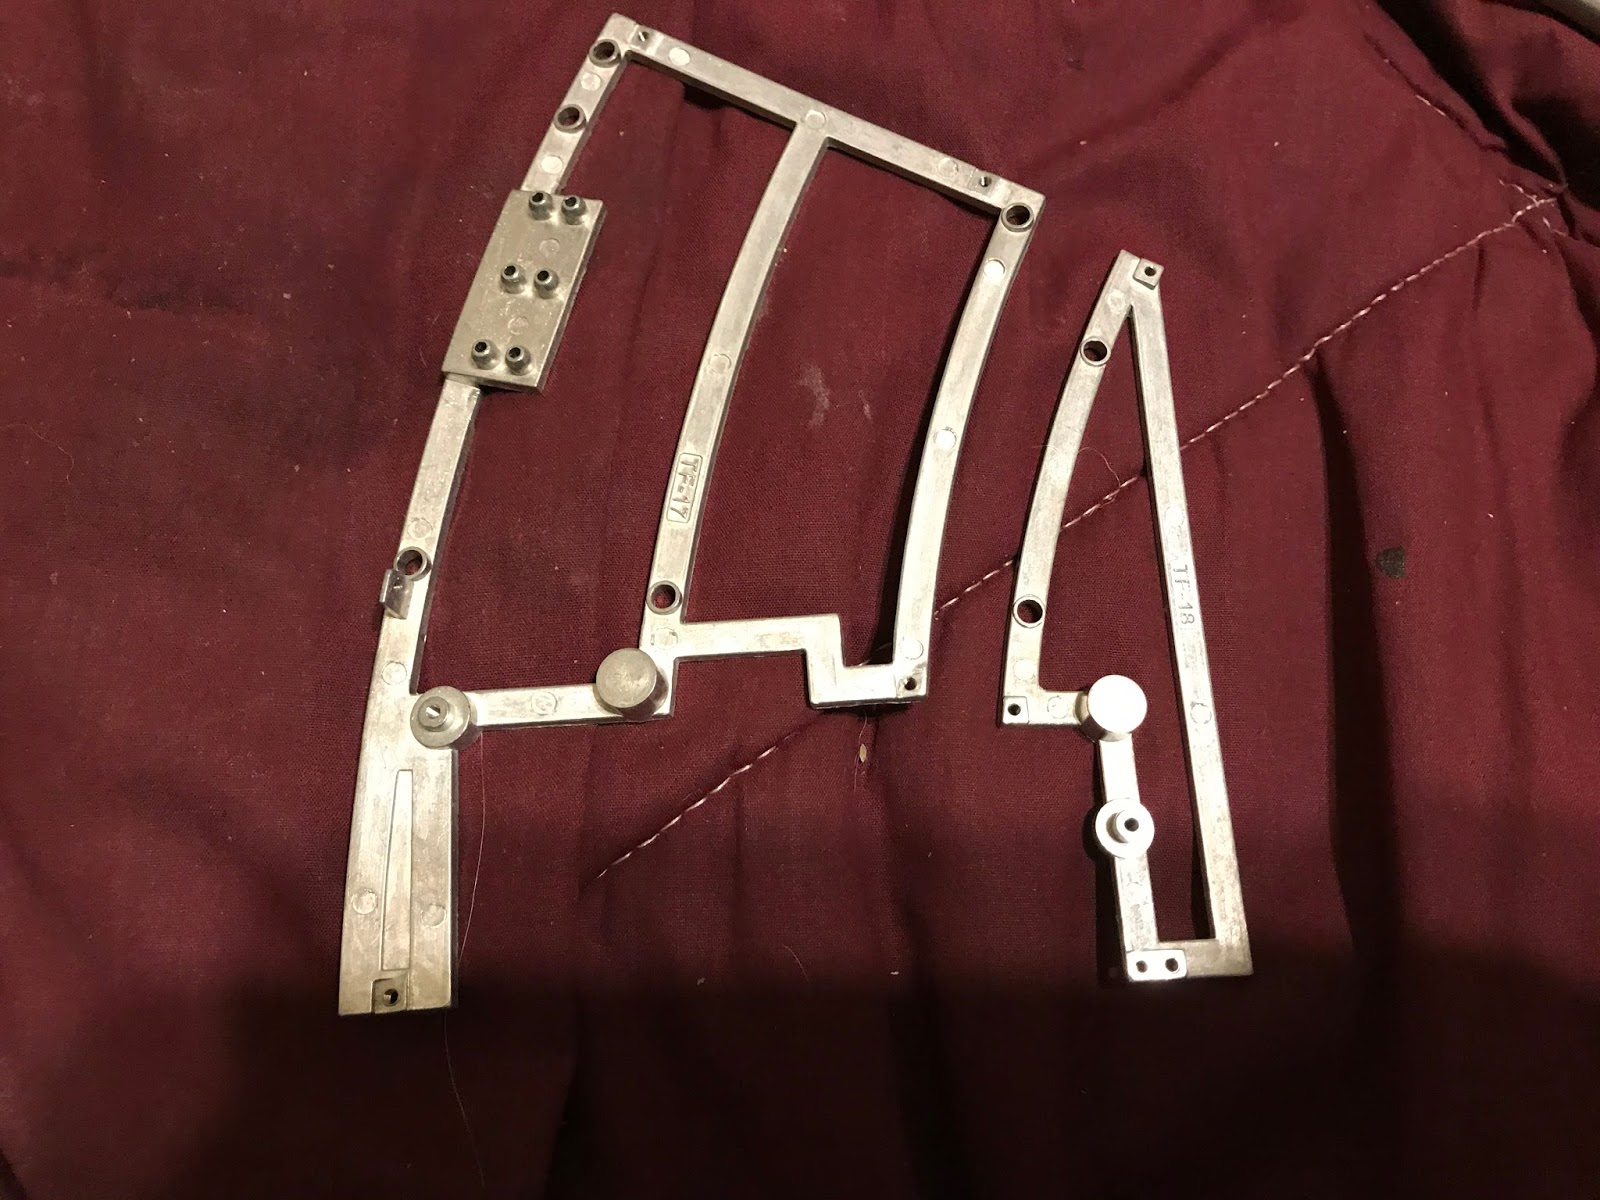
Anyway, off to this issue. Yet another piece of the scaffolding gets added on as usual:
Now we add 3 of the2x connectors on the end of the existing framework.
And onto that goes this big fella.
It gets a connector too.
And that gets this piece.
Now we get one of those long spur pieces. Note that it is only one piece long unlike most of the ones we work with here.
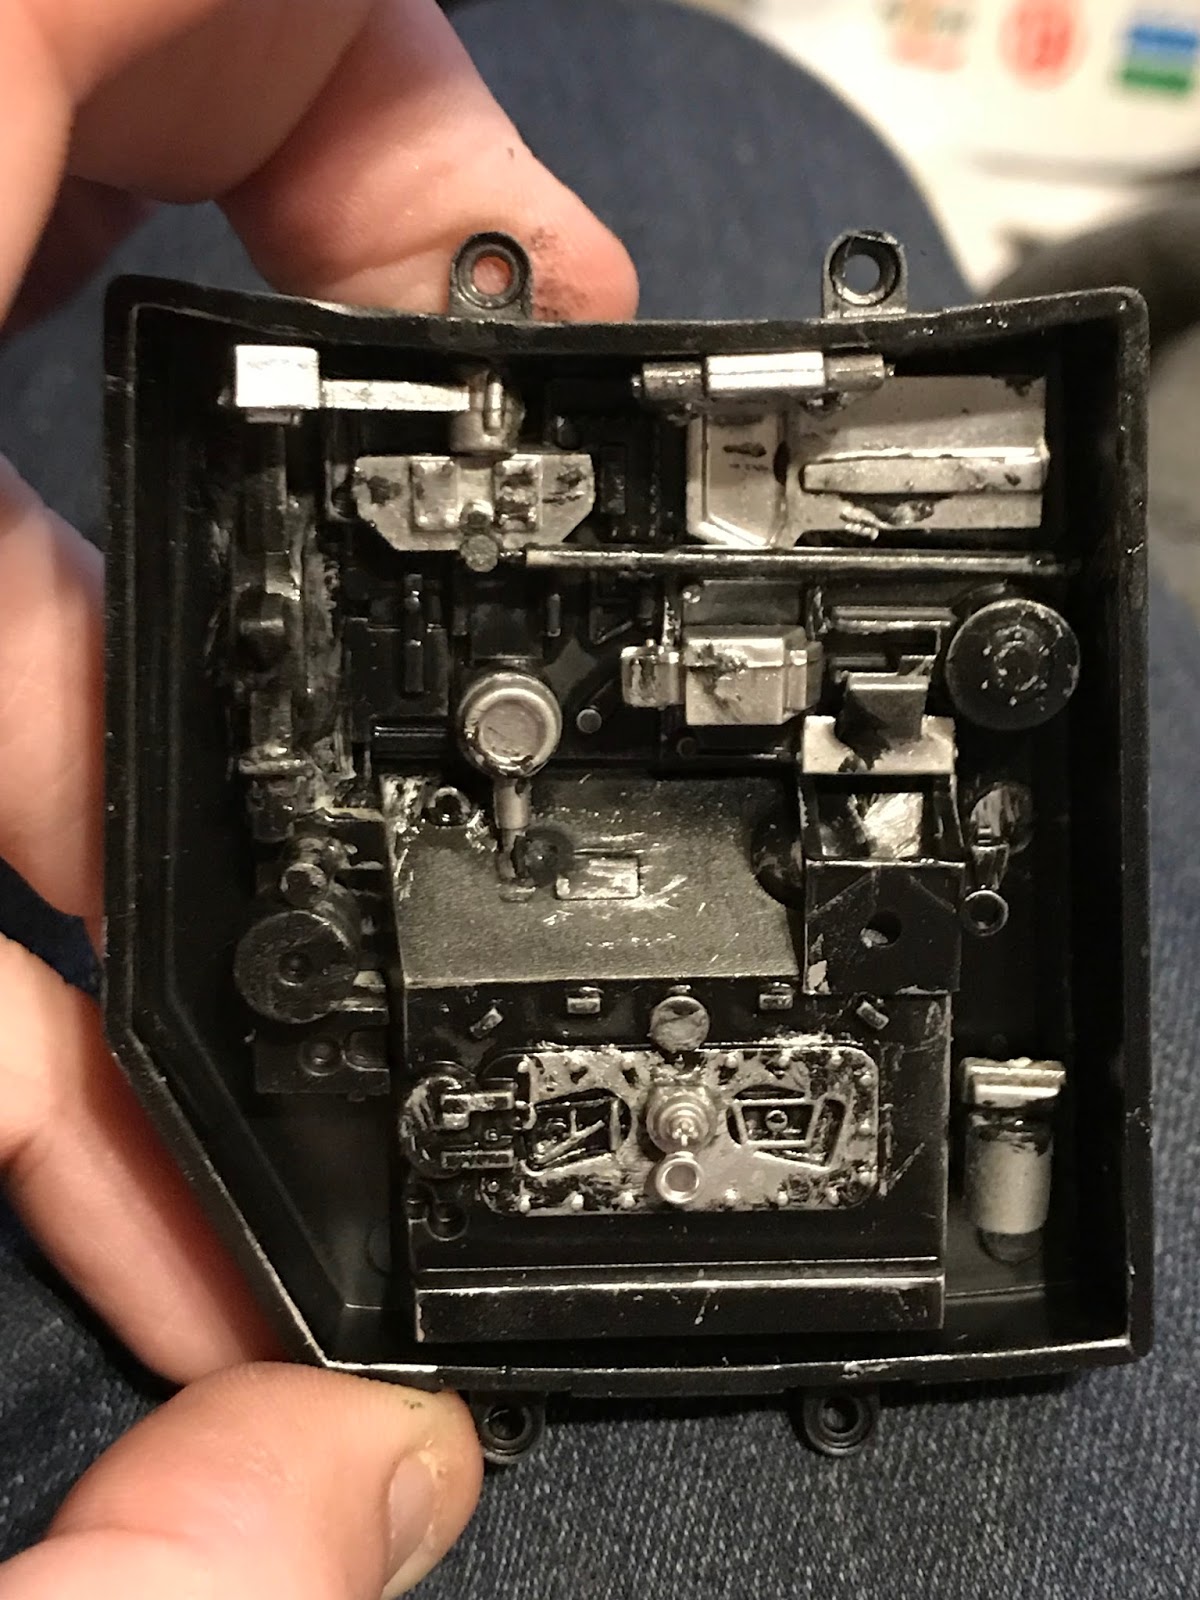
Next up comes the battery compartment.
First thing is to take the little pad that comes with it, and attach it to the underside of the restraining strap, like so:
Now, take the plate, the battery box itself, and the strap and put them together as shown here:
Take the nuts, and drop them into the recesses in the underside of the plate, as shown here:
Now, you're going to need 2 bolts for this. They don't include them in with the issue, but you've got some that will fit. Just scrounge a bit through your part bags. Long gold ones, but thicker than the ones you use for coupling the long spline bits on the framework.
Anyway, get both sides down good and snug.
Once you've done that, you can mount it into the frame, like shown below, but it is suggested you hold off on that just yet, as doing so will leave the battery box available for testing things and replacing the batteries before final assembly, etc.