Saturday, December 30, 2017

Issue 78

OK, a fun issue here. We're taking the top and bottom of the mandible we've done so far and bolting them together. Using this issue & previous ones, you should have these 5 parts, 2 longs and 3 shorts:


You'll also need the small golden flathead screws from Issue 76.

Take one of the Longs, and attach it to the top panel (the one without the pipes) as shown. Note that the flat side is facing outward, and covering the tabs on the top frame. This allows us to screw in the flathead screws so they are flush with the surface. Do 'em all like that.


Now the next long piece.


And finish off this side with one of the short pieces.


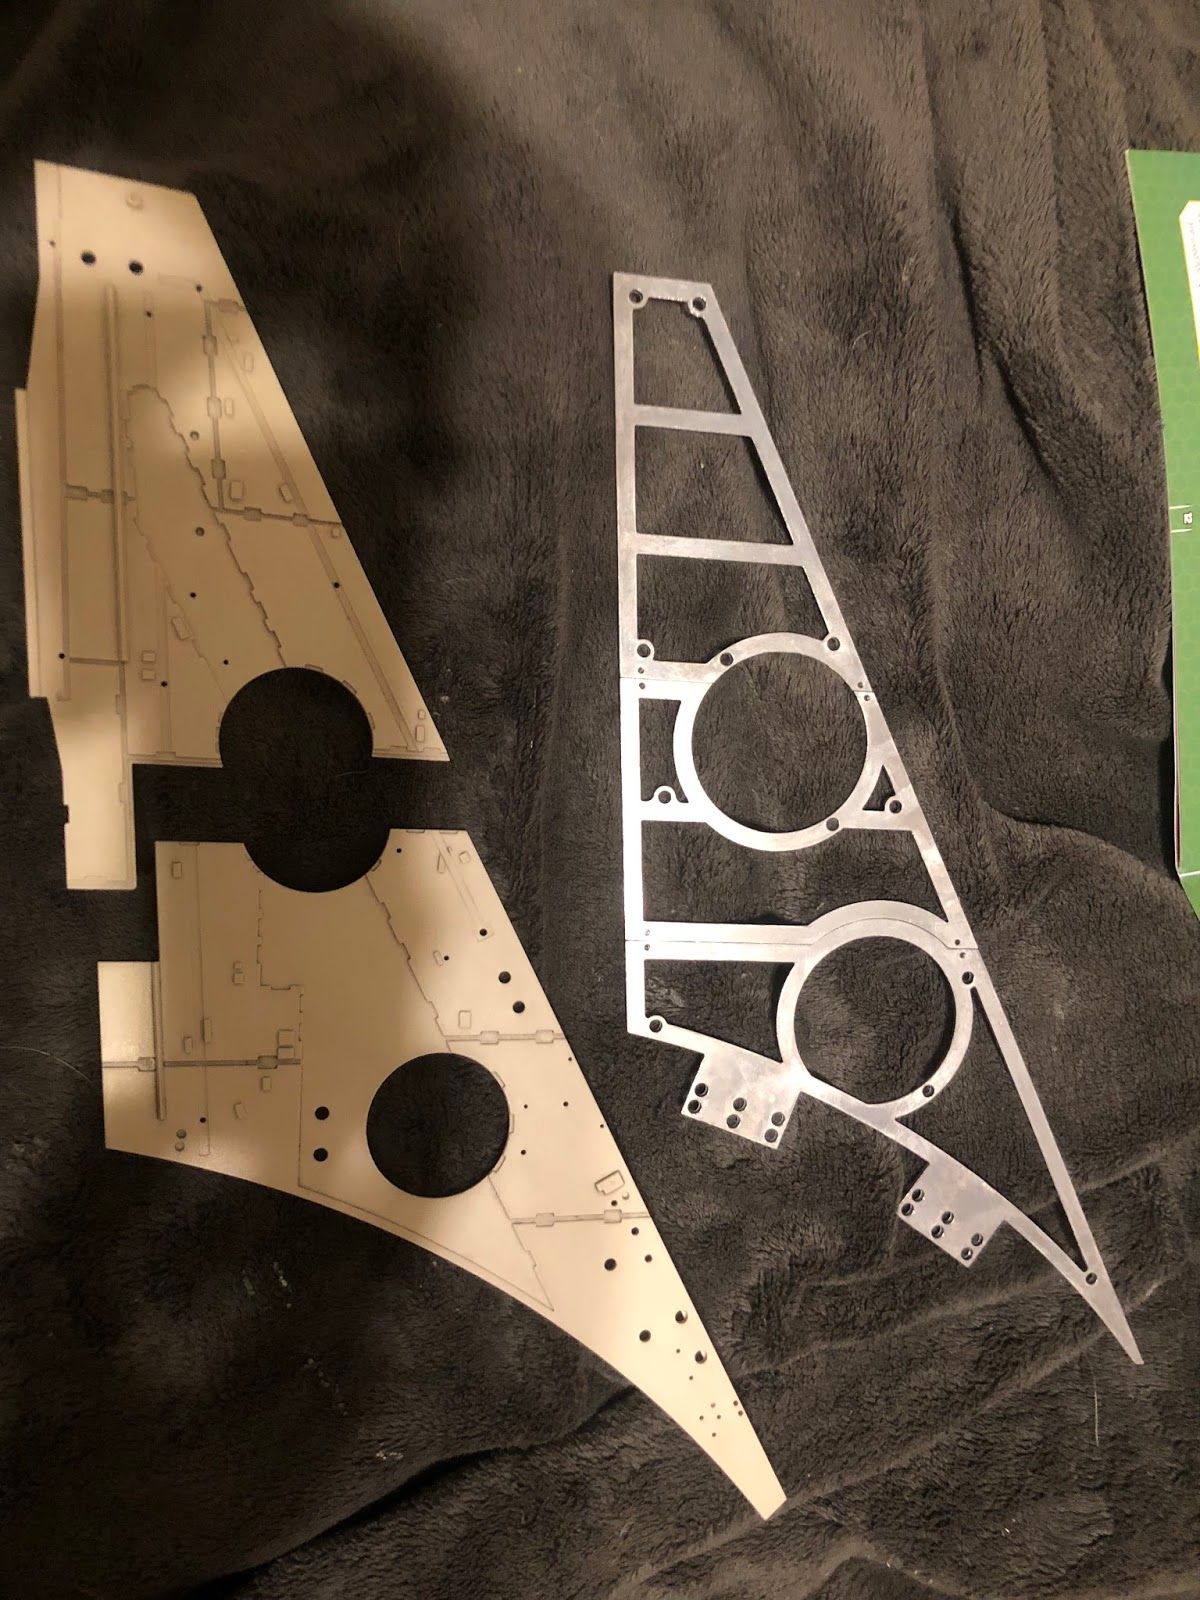
The other side (inside) is just two short pieces, as shown below:


Now, very carefully load the bottom plate onto the assembly, and screw it down, as shown:


And the end result should look like this:


Now, take the side panels and add them in the places and in the order shown EDIT: WRONG! I goofed up on these next two pieces: they go the other way, it seems :( Not sure how I managed to screw that up, but the next issue definitely shows them in the other positions:


It's looking and feeling very solid now, but we're not quite done yet; there are some add-on details that need to be installed before we can call it good. See you next time.

Thursday, December 28, 2017

Issue 77

So, continuing work on the mandibles. First thing we do is take our nice painted insets and attach them as shown:


Hopefully this will be clearer than the magazine photos where the orientation wasn't always clear.

Anyway, let's dirty up the body panels next:


We did that now because it's time to add on some details. First off, the following (note that 1 & 3 in the parts list photo are swapped around wrong):


Next, this pipe:


Odd little ridge-thing here. Note the flattening part goes aft.


Now, these three pipes:


These two...


This odd bit here:


And this bit is last (note that the part is not completely flush with the panel).


Here's the end result:


Wednesday, December 20, 2017

Issue 76

OK, part 76 and more mandible..ing. We're attaching the body to the frame we did previously, as shown:


And now two more detail parts:


First, this one gets a bit added to it:


And then this one gets three:


Okay? Okay. See you next time.

Monday, December 18, 2017

Issue 75

Sorry for the delay. Was on vacation. Anyway, where were we? Ah yes:

Next mandible piece. We get the 3 bits of the frame like so:


Bolt them together as shown:


Now it's time to put the two engine holes (or whatever they're called) together:


Parts go in as shown:


Assemble this bit first before installing it:


Then the radar-less one on the other side:


And the little pipe thingie on the right.


That'll do 'er.

Also, this makes it 75% complete. Woo.

Friday, December 1, 2017

Issue 74

OK, so I managed to recover a photo showing the frames pre-assembly, in case you needed them:


Anyway, this is a short one. We're just adding another bit of body to the frame. Once again, note that all the screws are set except the ones going around the two circles.


And a nice top view. I like this, as it seems to be pretty well seamless.


Yeah, that's it. Also, am going to Disney World for a week, so will pick this up when I get back. Cheerio.

Issue 73

OK, it's mandible time as promised. Unfortunately, some of my photos were accidentally saved as "Live" photos, those animated ones, so I don't have complete documentation.

Anyway, we take 3 framework parts, and bolt them together. First these two:


Then these two:


And now we attach the first plate. PLEASE NOTE: see that one of the screw holes (the one on the bottom of the "circle") is left empty. This is intentional. We'll get to it later.