Showing posts with label hold. Show all posts

Tuesday, January 23, 2018

Issue 92

OK, kind of a big one here. It's time to prep the lower frame and do some serious gluing.

Fist of all, we'll need the pieces shown below. They're spread out over multiple issues, so dig around a bit.


Now, put them on in the order shown. Starting starboard, forward of the sublight engine:


FORESIGHT ALERT: If you're here because of the note in Issue 91, here's what I was talking about. Getting this piece here in between the two mandibles is a royal pain in the body part of your choice. I almost took the mandibles off to get this one bit on, but in the end got it on enough to suit. Word to the wise.


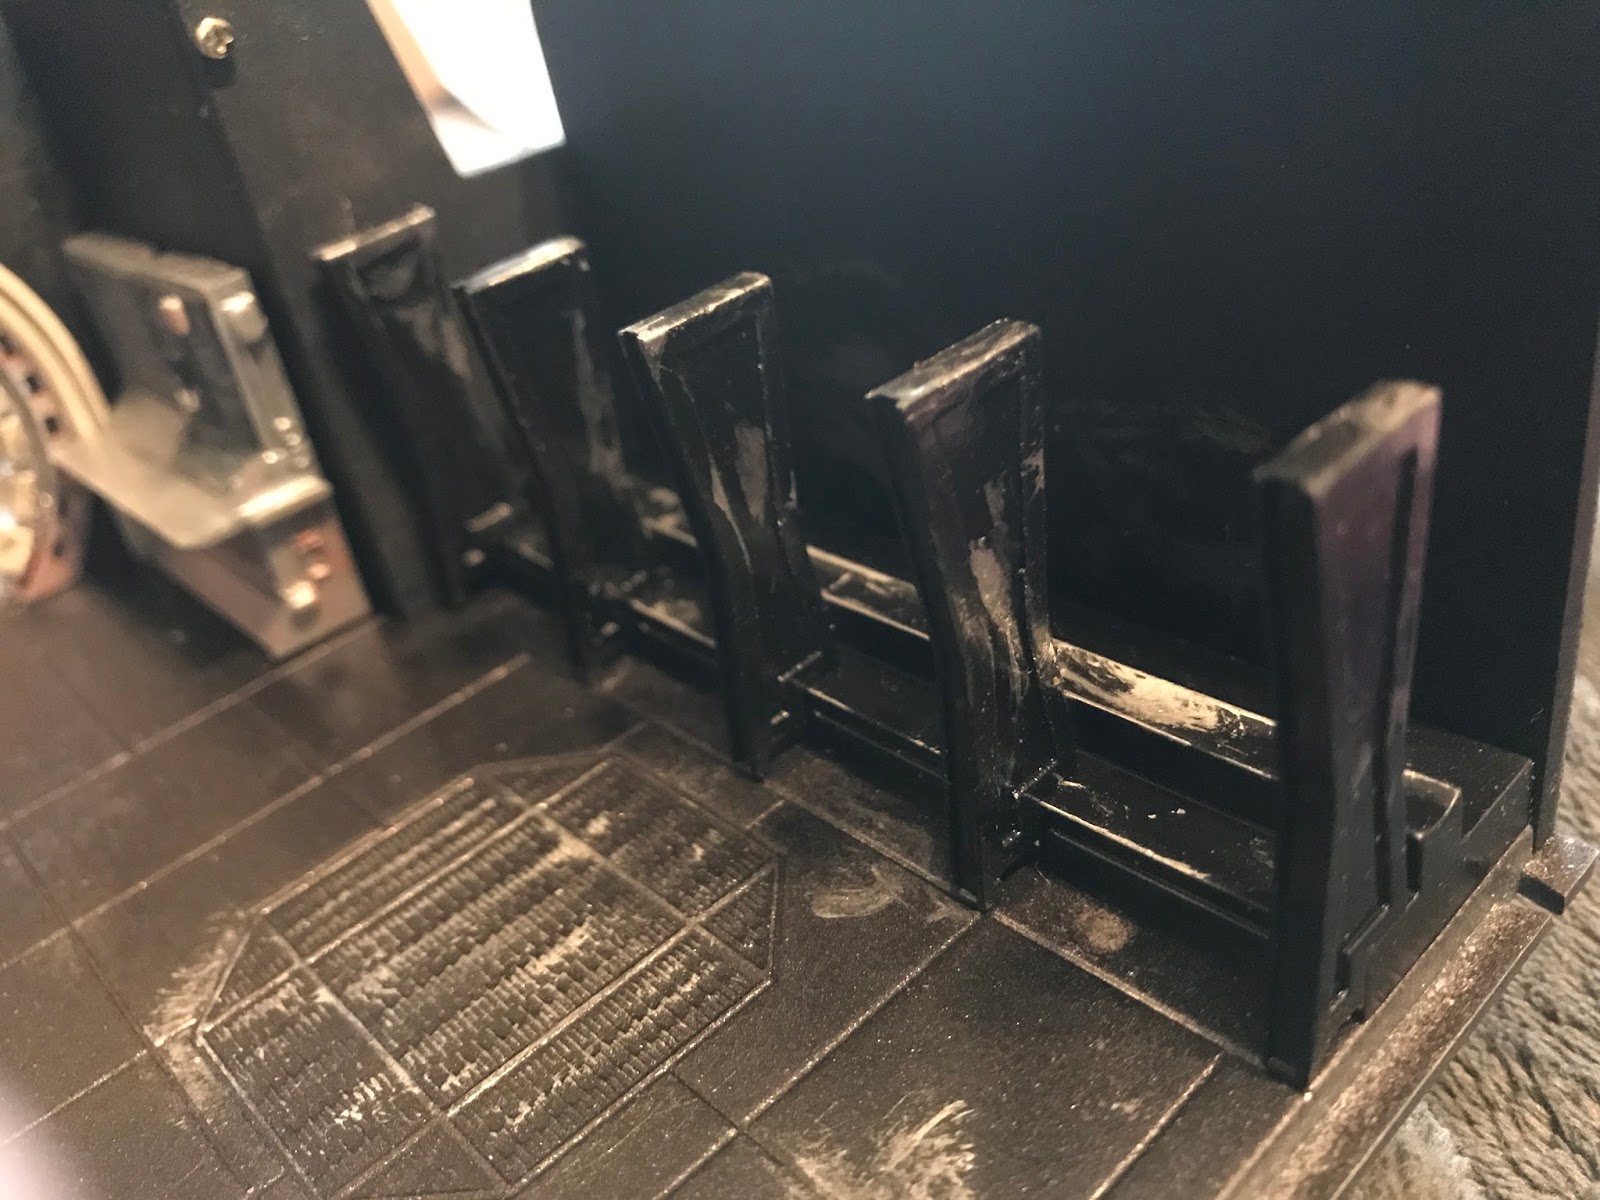
Now that those are done, let's add two more support pieces:


OK. Big time now. Get the corridors and things and glue them to the main hold, including the little corridor that goes to the turrets:


Do a couple of test fits to make sure everything fits in the pegs on the body before applying glue and fixing them in place. Don't be afraid to get in there with flashlights and such, make sure they're right in place. This is not something you want to have to undo.


Next, put the little cylinder in, lining it up so the opening faces the corridor (there's a tab on the other side as well to help):


Now, break out the extension cord with ends that look like these:


Unplug the battery box, and plug in the extension cord instead:


Plug the battery box into the other end, and give it a test. Everything should still light up OK.


Just about time to add the top half. Cool, huh?


Saturday, January 20, 2018

Issue 89

Well, we must be getting near the end, because it's time to fill in the interior. First off, the window to the lower turret (the windows are optional, but they do keep the dust out so I'll put this one in at least, and see how the top one looks):


Then, the bottom turret gets glued in. Note the notch at the bottom of the circle: this shows you how to line it up properly.

The turret light gets plugged in here:


Now for the interior areas. First off, if you haven't fastened these two corridor sections together, this would be the time to do that thing.


Next, glue this large base under the hold:


And these two under your corridor assembly:


Now, test fit time. We're not gluing just yet, but do make sure you can put the hold in the proper place, and the two different corridor assemblies:


Now that's done, it's time to add two supports to the assembly, as shown here:


And that's it. I have a feeling this thing is going to start coming together very quickly, now.

Wednesday, May 3, 2017

Issue 14

Welcome to Issue 14. As you can see, we're finishing off the final wall of the hold:


First off, let's paint the doorway to the electronics area a nice silver:


...and then mung it up with some grease and stuff. We'll wipe it "clean" before adding it, of course.


And now the same for the corridor frame:


Another one of those padding things that go all the way around (I'll spare you the play by play on those, cos it's just the same as ever), and we're ready for our test fit. Note the two circles on the left. Those lock the pipes in the pipe holder area into place, so you have ot be careful with them when putting in the wall.


And there you have it. One hold.


Special bonus: enjoy a 360-degree view of the hold below. Image partially obscured so you won't see what a mess my room is ;)

DeAgostini Millennium Falcon, interior hold - Spherical Image - RICOH THETA

Anyway, more skeleton next issue. Hooray! See you then.

Monday, April 24, 2017

Issue 13

So now here's Issue 13, and it's mainly more hull parts and the pipe details for the forward wall.First off, I finally got around to repainting the seats with a nice leatherette kinda deal:


Then I painted up the pipe holder and its braces with a gloss black to make it look like metal.


A little drybrushing to reflect the effect of schlepping big heavy pipes back & forth...


...and the braces go in and get similar scratch & dent treatment.


Finally, the pipes themselves are added.


There's a bit of pipe that comes up from the nav console, but I've elected to put a wire back there instead, as I have a feeling I'm going to be wiring this up for lights at some point anyway, and besides it just looks better.


So that's that. One more wall to go, and this room will be done. Looks like there's some corridor stuff coming up, so that should be interesting. Til then!

Tuesday, April 18, 2017

Issue 11

OK, another issue here that consists of lots of parts we're not going to use yet. Set 'em aside as usual.


Now we're going to do a little decoration of the aft wall. They have some "cables" on the model trees that you can cut off and use if you want; for the first couple I had a wild hair to just use some actual wire:


Looks kind of neat, I thought, and more organic in that "real-life kitbash" kinda way that the Star Wars aesthetic brings with it.

So I used two wires, two of the standard unpainted "cables",  and a third one I painted metallic to look like piping.


Yeah, that's literally it this time around. Fortunately, issue 12 is a bit more interesting, and we finally pick up all those pieces we've been accumulating over the past few issues and put 'em to work.


Issue 10

Okay, not a whole lot of excitement this issue; we're going to put the doorway together.

First off, see these nice pieces? Yeah, set 'em aside. We won't be using 'em.


We will, however, be working on the doorway and aft wall. First go the two details that are to be mounted on the wall. Paint 'em however you like and get 'em glued in, so:


Next, paint the outer ring of the doorway and glue the little pad-things around the inside of the inner ring. Note for future reference: do weathering on the inner ring and padding after they are glued together. It would look better. Here I used metallic paint and did a little rust wash:


A quick test fit:


Not bad. Go ahead & glue the rings together and let them settle in situ. I found the doorway snug enough I didn't have to glue the outer ring, but your mileage may vary.

Anyhow, that's 10 in the can. Hard to believe we're one tenth of the way through this thing.