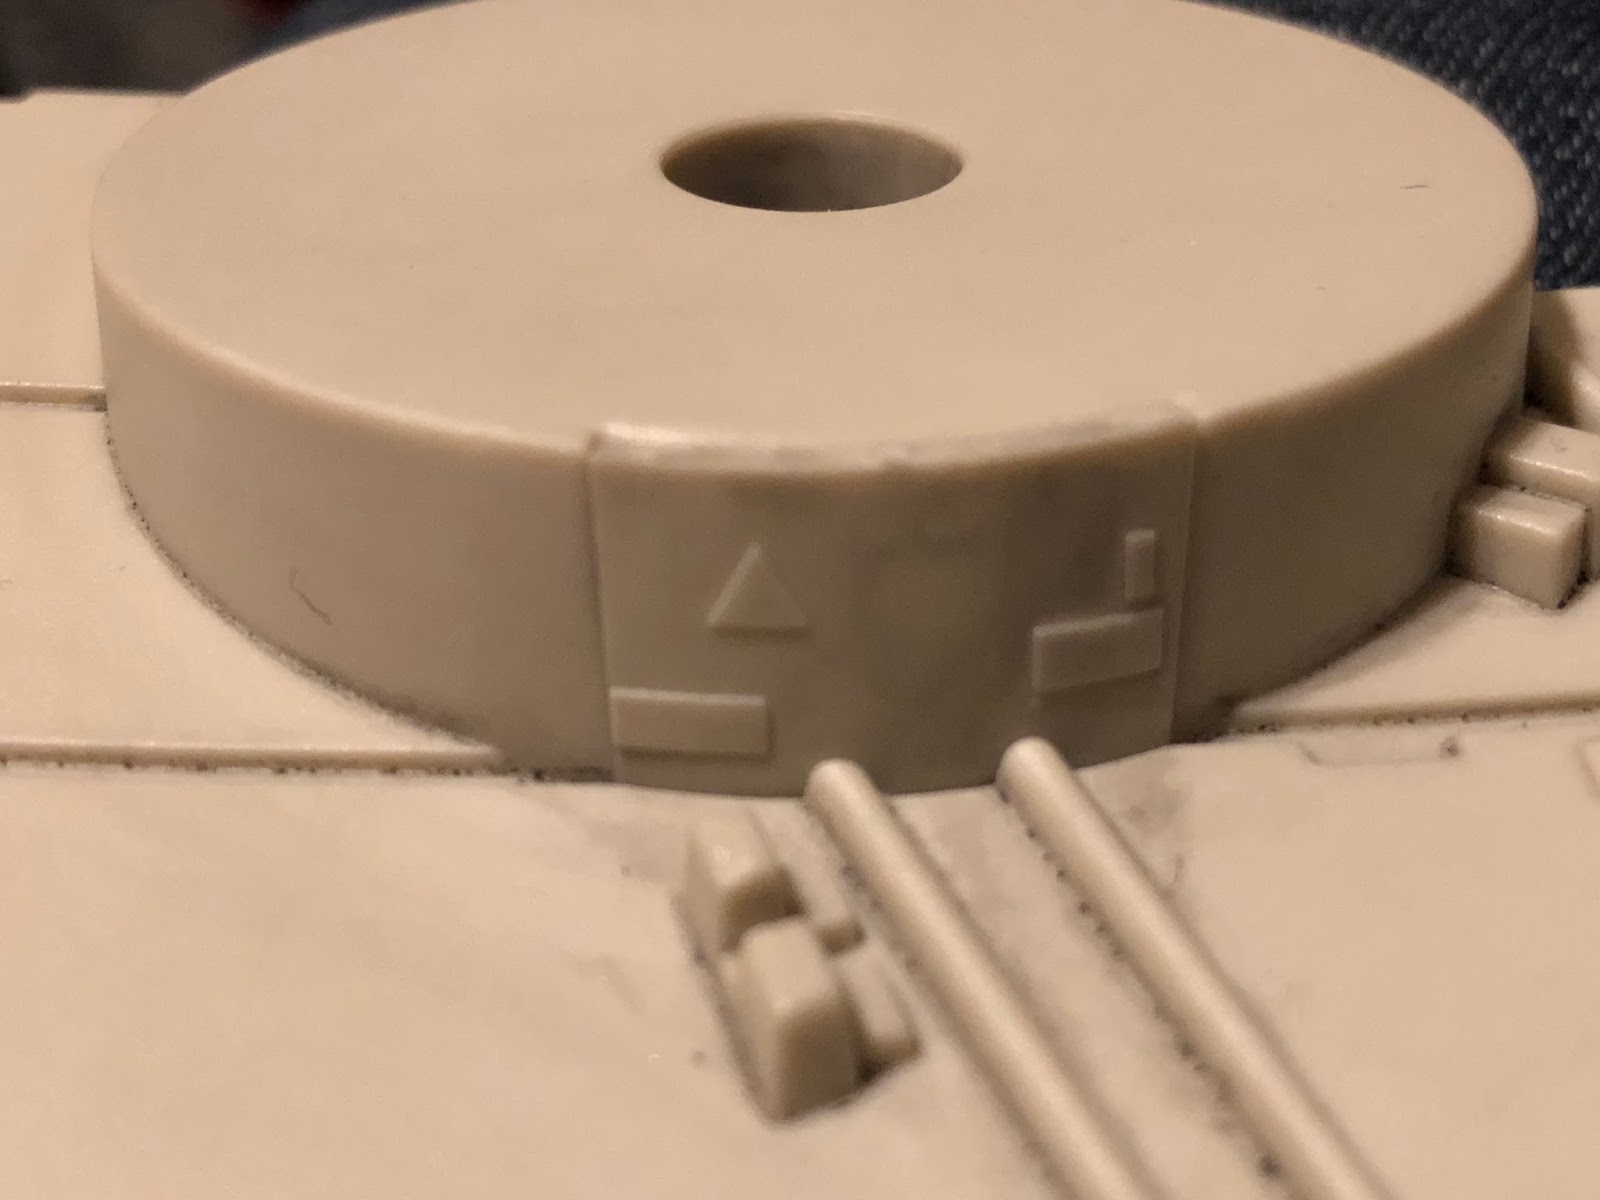
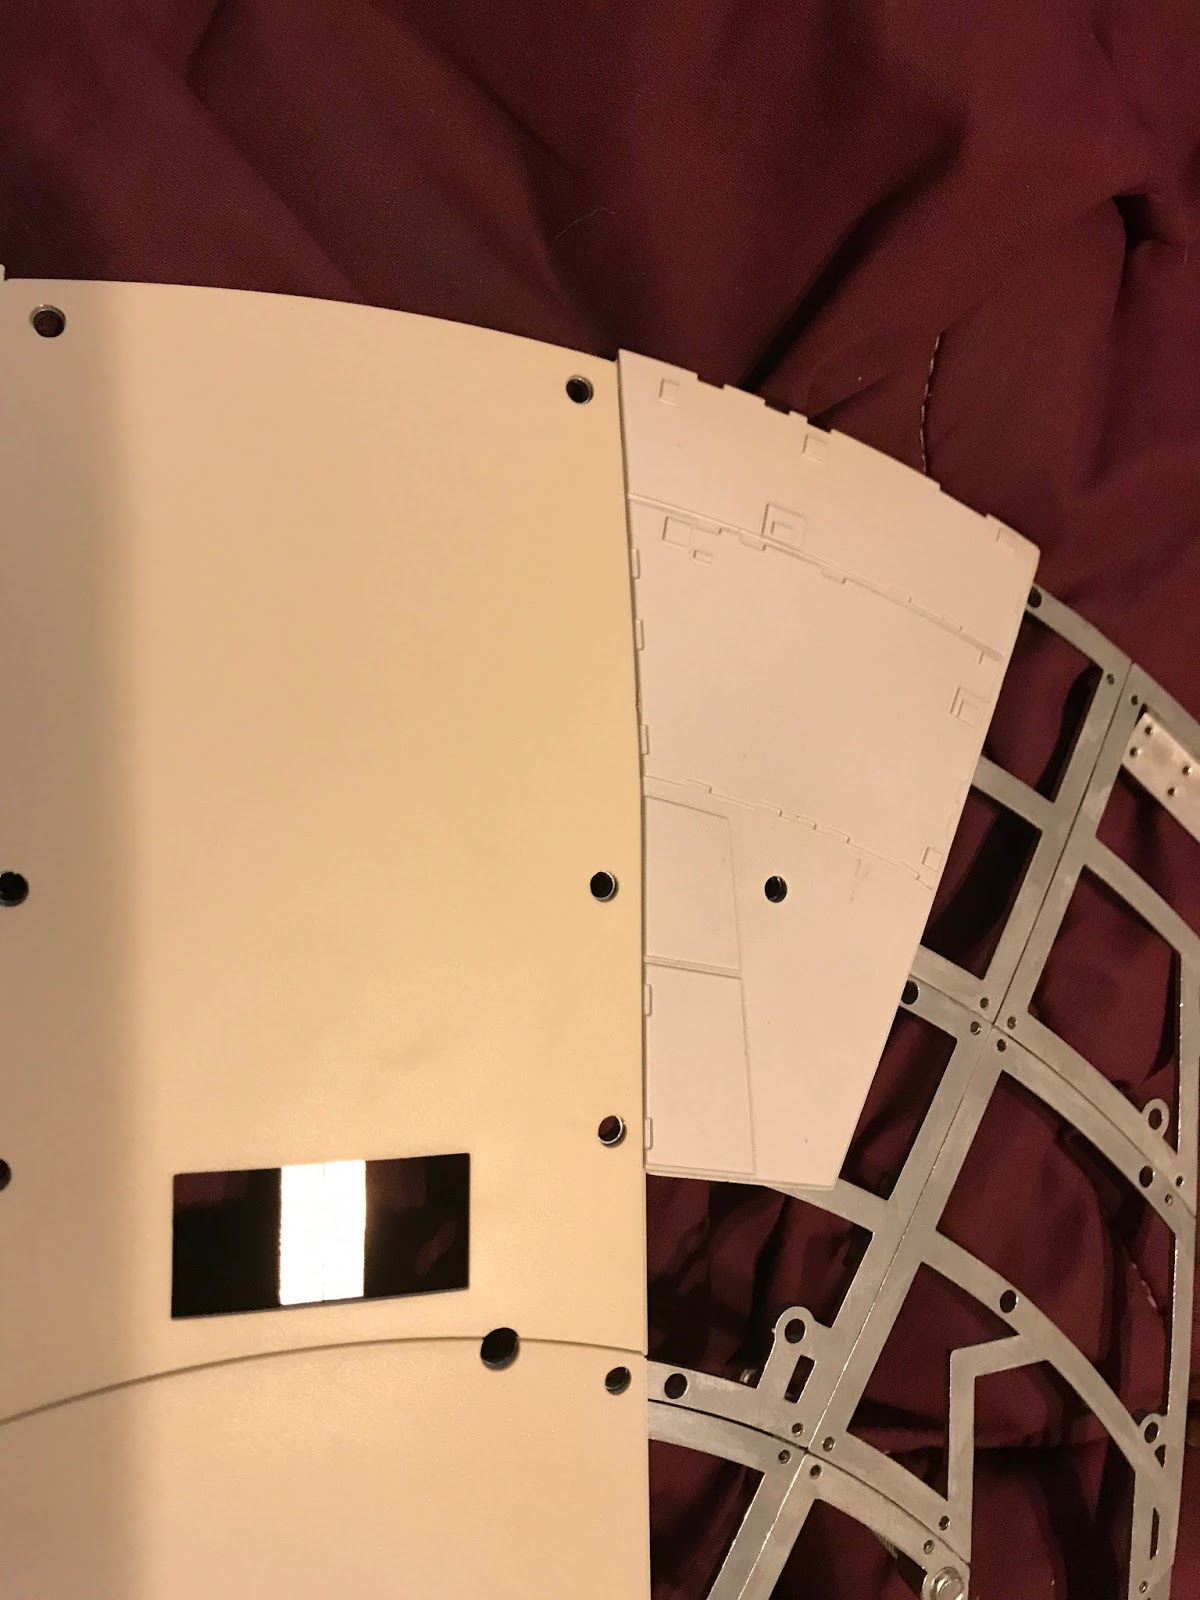
Issue 58 is mostly decorating body panels. Here are the bits you will need:
Starting with the long piece on the right, we add the following bits in the order shown:
Next up, the body piece on the left gets a little decoration...
...and finally, the top part (where the antenna will mount, btw) gets a detail piece (do take note of the orientation):
That's it. If you put the two parts together (don't glue them yet), you can see what it will look like.
Showing posts with label shell. Show all posts
Saturday, October 14, 2017
Thursday, September 7, 2017
Issue 49
OK, it turns out we're not quite finished with the bottom hull. Looks like we've got some fiddly details to add on. So here goes:
First, these two bits here:
Then the two horizontal numbers:
That little teeny piece right in the middle--definitely a tweezer job.
I dunno, I guess it's a gass cap or something? Anyway, it's on.
These fins from a few issues back (the thin vertical things on either side).
Then a couple details for the turret:
OK, maybe now we're done. Anyway, setting up my paint station so I can do some weathering and detailing, aka the fun part.
First, these two bits here:
Then the two horizontal numbers:
That little teeny piece right in the middle--definitely a tweezer job.
I dunno, I guess it's a gass cap or something? Anyway, it's on.
These fins from a few issues back (the thin vertical things on either side).
Then a couple details for the turret:
OK, maybe now we're done. Anyway, setting up my paint station so I can do some weathering and detailing, aka the fun part.
Monday, September 4, 2017
Issue 48
OK, last detail before we paint, and it's the lower turret.
First step, glue in the window frame to the turret. Note that this time A) we do that ourselves, and B) it's correctly oriented :).
Next comes the detail up top where the guns go. You needn't assemble the guns just yet.
Bolt the turret into place, and we're ready to paint.
I blasted it over with a nice dose of Tamiya Insignia White as per instructions, and we've got a nice even looking hull.
Issue 48 has a lot of good information about painting, so it's worth keeping it to one side. It looks like it goes along with the YouTube videos I liked to at the beginning of this build blog. Weathering and distressing are way fun, I've always thought, so it will be cool to see how we do it here.
First step, glue in the window frame to the turret. Note that this time A) we do that ourselves, and B) it's correctly oriented :).
Next comes the detail up top where the guns go. You needn't assemble the guns just yet.
Bolt the turret into place, and we're ready to paint.
I blasted it over with a nice dose of Tamiya Insignia White as per instructions, and we've got a nice even looking hull.
Issue 48 has a lot of good information about painting, so it's worth keeping it to one side. It looks like it goes along with the YouTube videos I liked to at the beginning of this build blog. Weathering and distressing are way fun, I've always thought, so it will be cool to see how we do it here.
Issue 47
Issue 47 and we're continuing work on the lower hull, this time applying the second layer of panels.
First off, this little piece goes onto the larger piece, so:
Then the whole assembly goes on facing front, like this.
Next up are the two fore landing gear panels..
...so the end result looks like this.
So far so good. But now it's time to get in there with lots of cool details. First comes this long piece. It doesn't seem to have a "correct" orientation, so either way is fine.
This little one is next. The pins under the pistons can be a bit fiddly.
Now the long bit here, which covers the rest of the seam between the two big parts.
Once all that is in place, attach the magnets and metal pins into the aft landing gear panels just like we did with the fore ones a while back.
Now it's time to add the cool rear machinery we did before. First, the two side panels go in.
Next, the middle part goes in between them.
Lastly, the two hydraulic cylinder-looking things go in above the side details.
...and, that's it. Almost all of the body panels are in place. Next time, we'll finish the job and get to painting!
Wednesday, August 30, 2017
Issue 46
Well, I thought that it was going to be turret time again per the parts in this issue, but they fooled me. In fact, this was a pretty big one: the one where we attach the first layer of body panels to the bottom frame!
Dig it:
First off, I went through my "parts" box and did inventory. Sure enough, 24 parts all ready to go. Some needed an initial coat of paint, but others I just did as I went along.
Next up, 4 big bolts from Issue 56 went in to support the frame and keep the hydraulic rams from getting all bent up.
Now, in go the pieces. Here they are, more or less in order:
(a lot of this area is going to be covered by another layer of body panels, which is why I didn't bother painting them)
The other "open panel" goes here:
...and we're halfway done!
Cool fins for the aft. We're getting close!
...tadaaaaa!
Whoof! That was a good couple night's work.
Looks like next issue brings on the second layer of paneling for the fore and aft sections. Still, this is a pretty big milestone in the build. Lookin' good.
Dig it:
First off, I went through my "parts" box and did inventory. Sure enough, 24 parts all ready to go. Some needed an initial coat of paint, but others I just did as I went along.
Next up, 4 big bolts from Issue 56 went in to support the frame and keep the hydraulic rams from getting all bent up.
Now, in go the pieces. Here they are, more or less in order:
(note the gap above for one of the open hatchways with the distressed pipes and things we did earlier)
(a lot of this area is going to be covered by another layer of body panels, which is why I didn't bother painting them)
The other "open panel" goes here:
...and we're halfway done!
Cool fins for the aft. We're getting close!
...tadaaaaa!
Whoof! That was a good couple night's work.
Looks like next issue brings on the second layer of paneling for the fore and aft sections. Still, this is a pretty big milestone in the build. Lookin' good.
Subscribe to:
Posts (Atom)