Tuesday, January 23, 2018

Issue 92

OK, kind of a big one here. It's time to prep the lower frame and do some serious gluing.

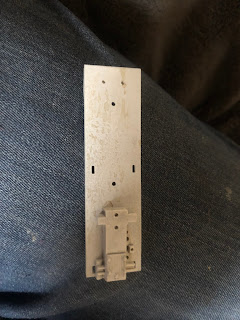
Fist of all, we'll need the pieces shown below. They're spread out over multiple issues, so dig around a bit.


Now, put them on in the order shown. Starting starboard, forward of the sublight engine:


FORESIGHT ALERT: If you're here because of the note in Issue 91, here's what I was talking about. Getting this piece here in between the two mandibles is a royal pain in the body part of your choice. I almost took the mandibles off to get this one bit on, but in the end got it on enough to suit. Word to the wise.


Now that those are done, let's add two more support pieces:


OK. Big time now. Get the corridors and things and glue them to the main hold, including the little corridor that goes to the turrets:


Do a couple of test fits to make sure everything fits in the pegs on the body before applying glue and fixing them in place. Don't be afraid to get in there with flashlights and such, make sure they're right in place. This is not something you want to have to undo.


Next, put the little cylinder in, lining it up so the opening faces the corridor (there's a tab on the other side as well to help):


Now, break out the extension cord with ends that look like these:


Unplug the battery box, and plug in the extension cord instead:


Plug the battery box into the other end, and give it a test. Everything should still light up OK.


Just about time to add the top half. Cool, huh?


Issue 91

OK, so it's time to attach the mandibles. But before I do that, I'm going to bite the bullet and get the inner mandibles sorted out.

You may remember I got them in the wrong order before. So I pried 'em out and put in the proper details so they'll look right. Here's how the fore inner mandible panels go together:


Goes in here:


Now the other one:


The two finished mandibles:


Now it's time to bolt them to the lower frame. HINDSIGHT ALERT! Before doing this, you may want to check the next issue for a step that might best be done beforehand. I wish I had.

Anyway. You take the gold screws and attach them as shown. You'll have to use the screwdriver that came with the kit back in Issue 1 if you haven't been using it all along, because it's thin enough to get down through the holes.


Once you do that, thread the two red headlight wires back to the control board, and plug them in as shown. Portside light on the left, Starboard light on the right.


Having done that, fire up the battery and control panel, and hit the B button to make sure the lights come on.


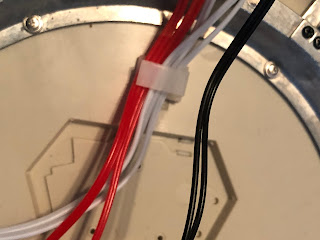
Now, take two of the three wire caddies and use them to organize the cables as shown here:


Here, in the aft of the bottom turret panel, we are holding some of the gangplank wires as well.


Now, it's time for the diffuser. Peel off the plastic film protecting the outer side of it.


Now, mount it in the groove aft of the engine lights as shown.


Test it again with the B button. You should get a very satisfyingly diffuse effect.


Saturday, January 20, 2018

Issue 90

Issue 90, and surprise! We're back to the mandibles again!

Add the following pieces in the order shown:


Here's the end result:


If you have anything else you want to do to the mandibles, now is the time, because next time, we're bolting these suckers onto the ship.