Basically the two identical parts get epoxied together, and then all three parts are combined into one. For the first part, after sanding and all that, I broke out my old faithful loctite 2-part.

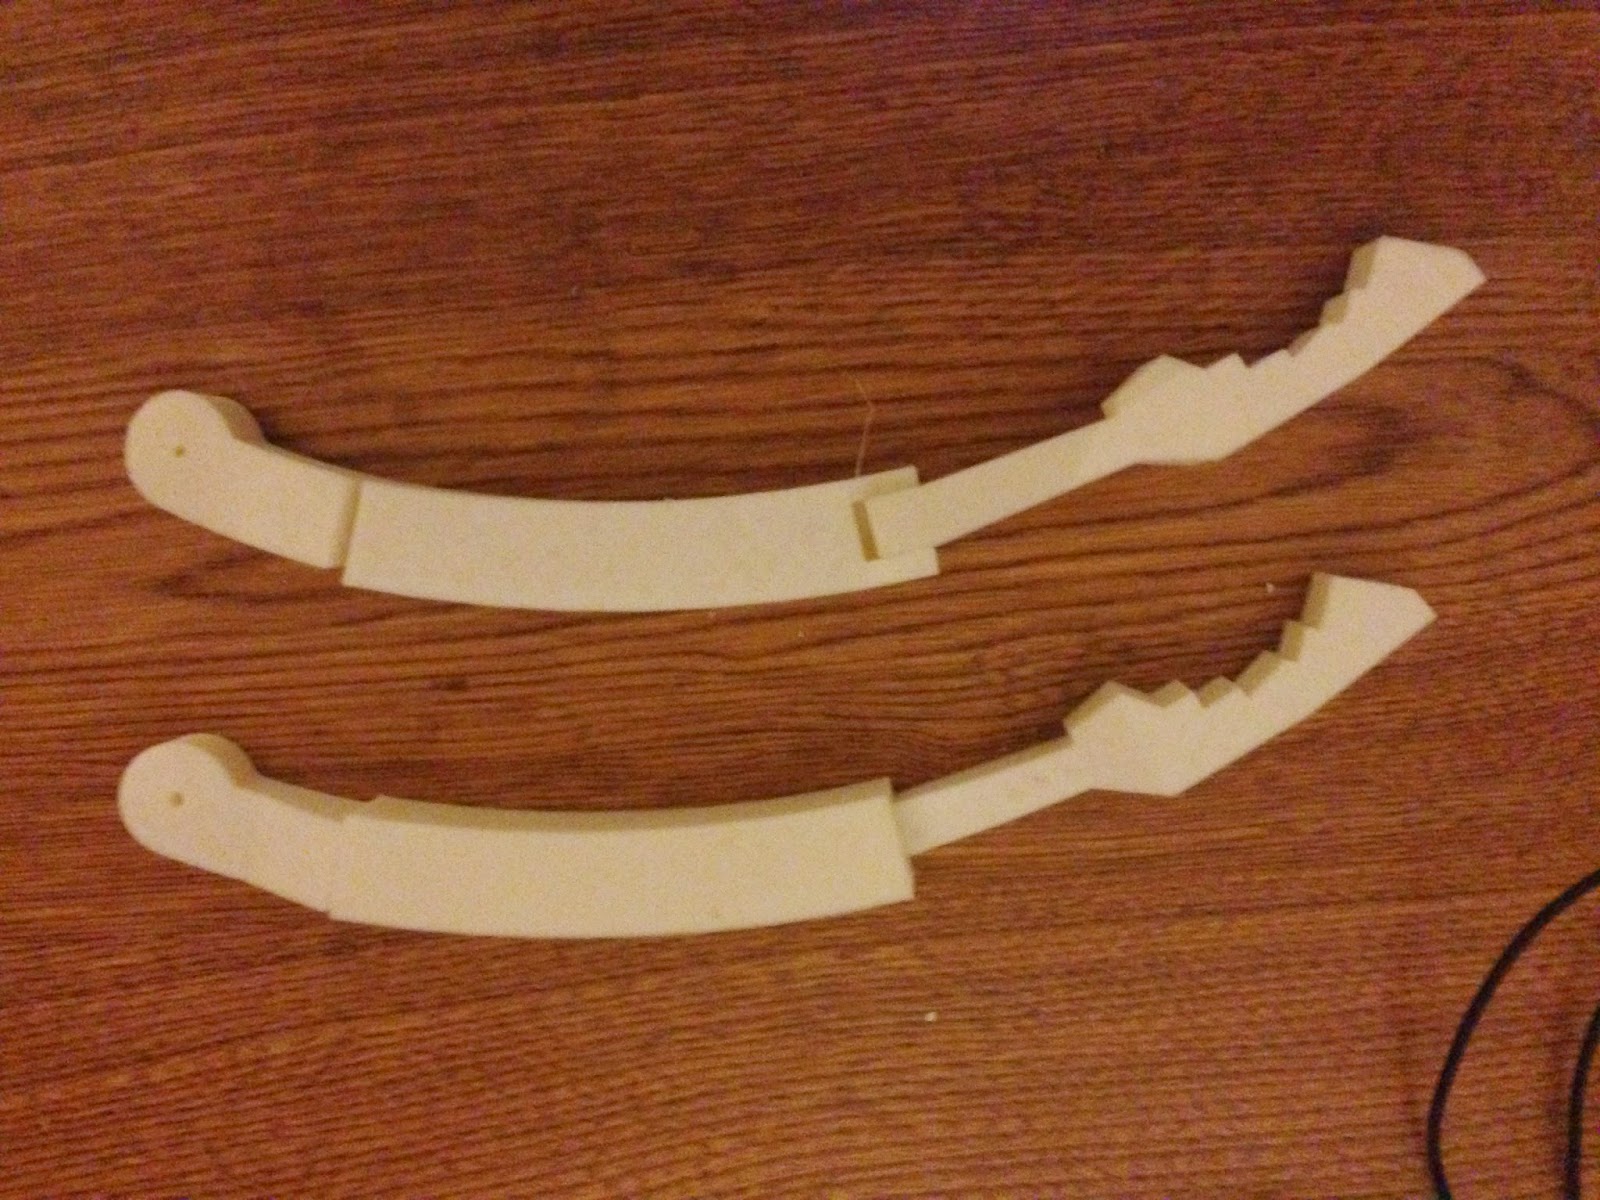
This is the heavy duty stuff, right here. Bonds fast, and hard. Quite a bit of my proton pack is held together with this stuff. Anyway, I glued and clamped each set of pieces:

And in no time had three hunks o'plastic. These will be going with me to the makerspace tomorrow to get properly belt-sanded so the seams don't show, and then more epoxy and the Krider blue treatment.

Hopefully this will work out. If not, there is a backup version of the arms but it's static (whereas these would be able to swing in and out due to a little hole going through the component on the right). Still, I'm going to go ahead with this one and see how it looks before trying the static one (I may print a static one anyway, just to make sure this one's properly sized and proportioned and all that).
In the meantime, I printed out the other two ankle details (for the right side) and gave them the same treatment as the left-side ones.
Anyway, I'm not looking more at the dome stuff. I found a few good build blogs covering other peoples' takes on the dome (see the helpful links list), so I'm studying that, including the fun of wiring up the lights and things. That should be fun. Ordered the blank breadboards and I'll have to acquire and solder all the bits and pieces on them, including over 200 LEDs. Hooboy.
No comments:
Post a Comment