OK, Issue 5 is here, and that means we're almost done with the cockpit. Note they've switched from the cardboard backed board to a plastic baggie. Works for me.
Now, before I go nuts with Issue 5, I wanted to stop and take a paint break, as this will be pretty much finishing off the cockpit and we'll be enclosing it soon. So I went ahead & pulled the two pieces from Issue 5, and set about them with a dry brush:
As you can see, I'm using silver (Testor's) and rust (Sargent) to give the pieces a well-worn feel. Dry brushing, if you don't know, is a simple technique that really makes details pop. Basically, you dip your brush in a tiny amount of your paint, dab it on newspaper or whatever until the paint is nearly gone, then lightly brush over the surface of your model piece, especially hitting raised areas and edges. This and color washing (which I'll describe later) are, in my opinion, the two main tools in the painter's utility belt.
Here, I've taken the floor, worked over the control panel a bit, and dabbed silver all over the floor to give it the scuffed & worn look.
Now, a little grunge on the padding going around the door (black Testor's at work here):
Back seats:
Front seats (not entirely happy with them, but I let some paint drizzle into the cracks to "stain" them):
The piece from yesterday as well.
Also, I did just a light bit of brushing on the back sticker, because otherwise it looks too "clean". Don't go nuts with this, just use a light touch.
The finished result:
(Yes, I went ahead & installed the side controls).
OK, on with the show. Next up is the LED panel for the back wall lights. Dig this:
Basically, you want to line it up behind the cockpit (it attaches to the "door") so the 3 holes line up as shown:
It's not the snuggest fit in the world, but it's adequate. A screw goes into the middle hole.
BTW, if you haven't found a place to store your spare screws already, I suggest you do so. I'm just using a ziplock baggie myself.
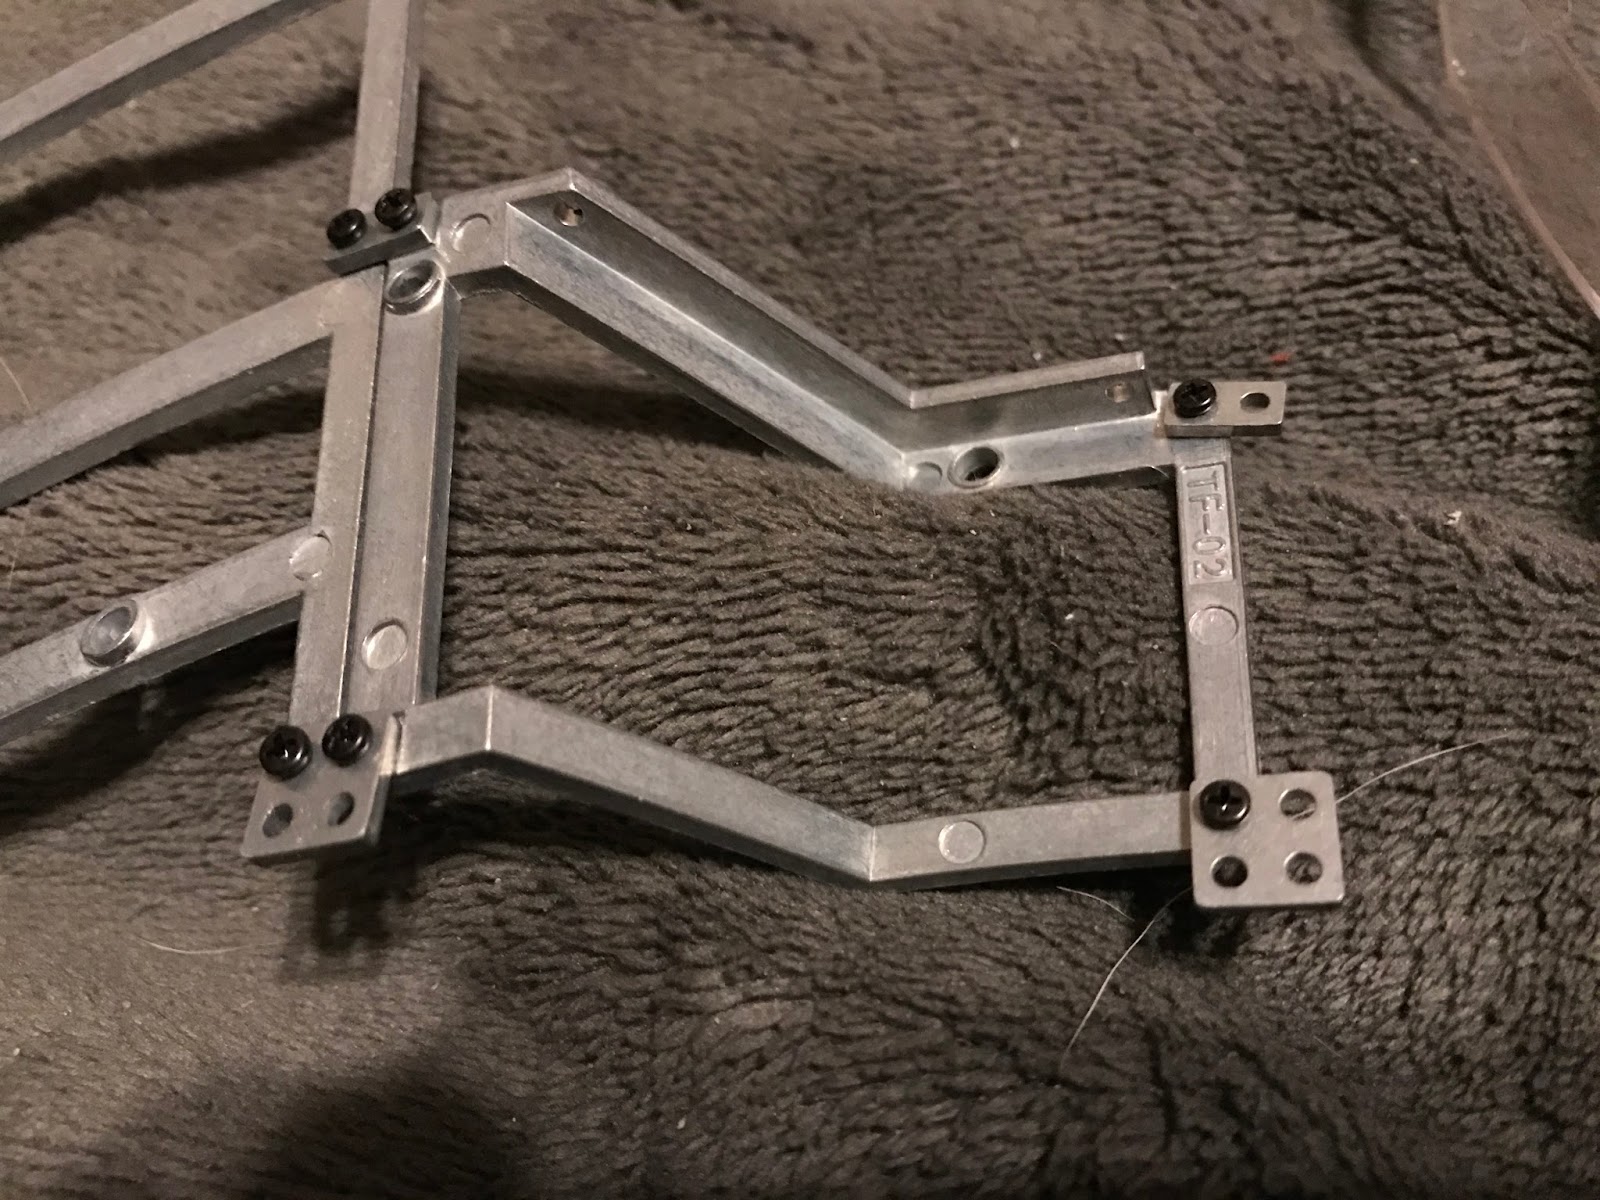
Now let's do a test fit of the cockpit in the "elbow bend that holds it:
Pretty nice, eh? Don't glue it yet, though. We're going to be doing more work, not the least of which is repainting the body parts. Why? Well, have a look here:
Notice how the weathering stops abruptly at the border between the top & bottom halves? Yeah. Doesn't exactly scream verisimilitude. So I picked up some Tamiya Insignia White (AS-20) as per the painter guy's web videos, and will be giving all my parts a nice coat or two thereof. I'm going to save the weathering until the shell is assembled though, I think.
Also, I've decided not to do a strict Millennium Falcon. Part of the fun is customizing, so I'm going to do a rather special paint job. More on that later.
In the meantime, I just got an excellent set of reference pics from, of all people, these folks:
Yes, that Haynes. They've branched out into fictional vehicles. They also have one for the Enterprise. Yeah, got that too. Didn't see a TARDIS one--bummer. Anyway, tons of great reference shots, and helpful diagrams. Check out the cockpit controls:
This is gonna be a fun one just to leaf through, I can tell.
Anyway, that's Issue 5 done & dusted. Or dusty. But on purpose. So it's good.
Friday, March 24, 2017
Issue 4
Welcome to issue 4. Bit of a quick one, this. FIrst, there's another piece for the cockpit:
...shown here upside-down. *ahem* Sorry. Let's put it in place:
Next up are a couple of pieces for the frame.
For this, we'll need the skeleton we've been working on so far:
Taking out what we have so far, we grab part 5 (the one with the letter "A" lookin' bit) and attach it as shown:
Next comes the other bit, right next to it.
The nice thing is that we can now take this bit, which was just snapped on before, and fix it on more permanently (although I wouldn't: we're going to be doing some painting first).
The screws included let you secure it to the frame. Very nice.
Here's what the assembly looks like together:
And here's what happens when you add the new body part:
That'll do for Issue 4. Next up: I'm gonna break out the paints :)
Monday, March 20, 2017
Issue 3
OK, so I'm changing things around a little bit. Still doing one section a night, but now i'm not going to post on here until I have an entire issue done. Think it will help the pace a little bit.
So here's Issue 3: pretty much dealing with the cockpit some more, adding additional details. Lots of cool inside info in the magazine this time around, too.
First, let's unload the bits and pieces:
Oops, nearly forgot these little guys:
OK, first we pop off the back wall if it's on, and add the seats (trivia: the rear seats are ejector seats from fighter aircraft, and the front seats are from an old Porsche. Also, they had to lower Chewbacca's seat to make up for the height difference).
Now it's best to pop off the console so we can add the yokes and levers, which could stand to go in a little more securely. I may go back and glue those down, once I've gone back and repainted.
Now the back and console go back into place, and we're almost done with the cockpit. Neat.
The only part left of this issue is another piece of the body, which I believe will be tackled in Issue 4. So we'll see how that fits into the big picture then.
So here's Issue 3: pretty much dealing with the cockpit some more, adding additional details. Lots of cool inside info in the magazine this time around, too.
First, let's unload the bits and pieces:
Oops, nearly forgot these little guys:
OK, first we pop off the back wall if it's on, and add the seats (trivia: the rear seats are ejector seats from fighter aircraft, and the front seats are from an old Porsche. Also, they had to lower Chewbacca's seat to make up for the height difference).
Now the back and console go back into place, and we're almost done with the cockpit. Neat.
The only part left of this issue is another piece of the body, which I believe will be tackled in Issue 4. So we'll see how that fits into the big picture then.
Sunday, March 19, 2017
Issue 2: Fixing an oopsie
One last thing to do with Issue 2. There are, even in this model, the occasional errors of continuity here and there. And today we're going to fix one. The top turret piece that came with this issue isn't quite correct. Observe:
Looks all right, right? Except the orange section is way too orange when compared with the shooting model. But that's not what we're here to fix. Let's zoom in a little:
See it now? Yup, the "window pane" of the turret is misaligned. You can see it's set up with one of the spokes pointing toward the middle of the turret mount, when in fact two of them should be flanking it. What a blooper, eh? Can't believe they ever let that get pa...oh, okay, I didn't notice it either.
In fact, it was pointed out on Steve Dymszo's YouTube series on painting the DeAgostini model. The series, btw, is another i highly recommend you watch, though honestly it looks like it will be of more use once the outer shell has been completed. In the meantime, there's lots of good info, including what I'm about to share (you can watch the section of the first video, where he addresses this issue, right here).
First, we trace around the inside of the "window" with a straight edge. Nice & easy is the name of this game. Remember, we're working with very thin plastic. I basically went round and round using medium pressure until I worked my way through the glue. Eventually you'll pop through at some point ,and then can ease your way around, popping it off. Again, slow and easy is the key.
Next up is to get rid of this tab. It's there to lock the window in place on the turret part, and make sure it's properly improperly installed. Or something. I found wire nippers took care of most of it, and then a little sanding did the rest.
After that, a little glue around the border (I'm gonna go ahead & recommend E-6000 because I love the stuff) and it's ready to go back in, like so:
Here's a quick shot form the other side, showing where I put the glue. Not much needed here.
Anyway, that's Issue 2 in the can. Next time, Issue 3 commenceth. 2 down, 98 to go. Rock on.
Thursday, March 16, 2017
Issue 2, Part 2: schtickers
Tonight's going to be a short one, only a little bit to do. Still, there's a rather nice time sink link to drop into. Anyway, check it:
Yup, we're applying stickers. First off is the Dejarik board. Yup, they named the little chess-type game from the first movie. Hey, it's not like they came up with a complete set of rules for it or anything. Oh, wait.
Anyhow, you stick the board onto the metal holoprojector thingie, lining it up so that the black "squares" line up with the extremes of the control panel, as I've almost managed to do here:
Next up is the control panel for the cockpit. It's got a few holes in there for lights and things, but I've been watching Christopher Olson's slideshows of his custom builds here, and couldn't help but follow suit. I've ordered up a whole mess o' fiber optics, and drilled a hole where the "blue" section goes, as seen here:
Actually, I'm a little to the right of where I should be on that, but nothing a little putty can't fix. Anyway, here it is with the light shining through:
And here it snaps onto the cockpit floor. Which after watching the above video I am totally going to have to dirty up a bit.
Anyway, that's basically it for tonight. This weekend I'll be doing a little surgery on the next piece, so that should be interesting. In the meantime, go watch that video if you haven't already. Very inspiring.
Wednesday, March 15, 2017
Issue 2, Part 1: The frame
OK. So I started on Issue 2 tonight. First thing in there is beginning assembly of the skeleton that supports the shell. For this, we need the leftover stuff from Issue 1 & Issue 2, along with the fasteners & screws from Issue 2.
The Issue 1 pieces are the ones on top. We start with the first piece (TF-01), and screw a 2-hole and a 4-hole fastener to it, as shown below. At this stage, keep them fairly lose so they can be re-positioned as other plates are fitted.
Now, the second piece (TF-02) gets attached to those fasteners as seen below:
The second piece gets a 2 and a 4 on the other end:
To which the mirror piece (TF-03) from Issue 2 is fastened, thus:
BTW: If you haven't noticed, the skeleton pieces are all nicely labeled so you can tell which is which.
Anyway, the TF-03 gets a 2 and a 4 as well...
Last but not least, the TF-04 piece goes on just as shown.
At this point, make sure all the pieces are lined up nice, and you can tighten them down enough to keep them firm. Don't go too crazy on it, though. These are delicate parts. If you flip it over, you should have a nice, symmetrical part, like so:
Now is the time to take the last part from Issue 1, the body panel. It snaps over the skeleton as shown below, with the two pegs going into the upper holes (the other pegs will go onto other skeleton pieces later on down the line).
Tada :)
And that's that. Make sure to treat this gently; put it somewhere where it won't get bent. And just think how this is going to look when it's done!
Tomorrow night: Let the wookiee win...
Subscribe to:
Posts (Atom)