OK. So I started on Issue 2 tonight. First thing in there is beginning assembly of the skeleton that supports the shell. For this, we need the leftover stuff from Issue 1 & Issue 2, along with the fasteners & screws from Issue 2.

The Issue 1 pieces are the ones on top. We start with the first piece (TF-01), and screw a 2-hole and a 4-hole fastener to it, as shown below. At this stage, keep them fairly lose so they can be re-positioned as other plates are fitted.

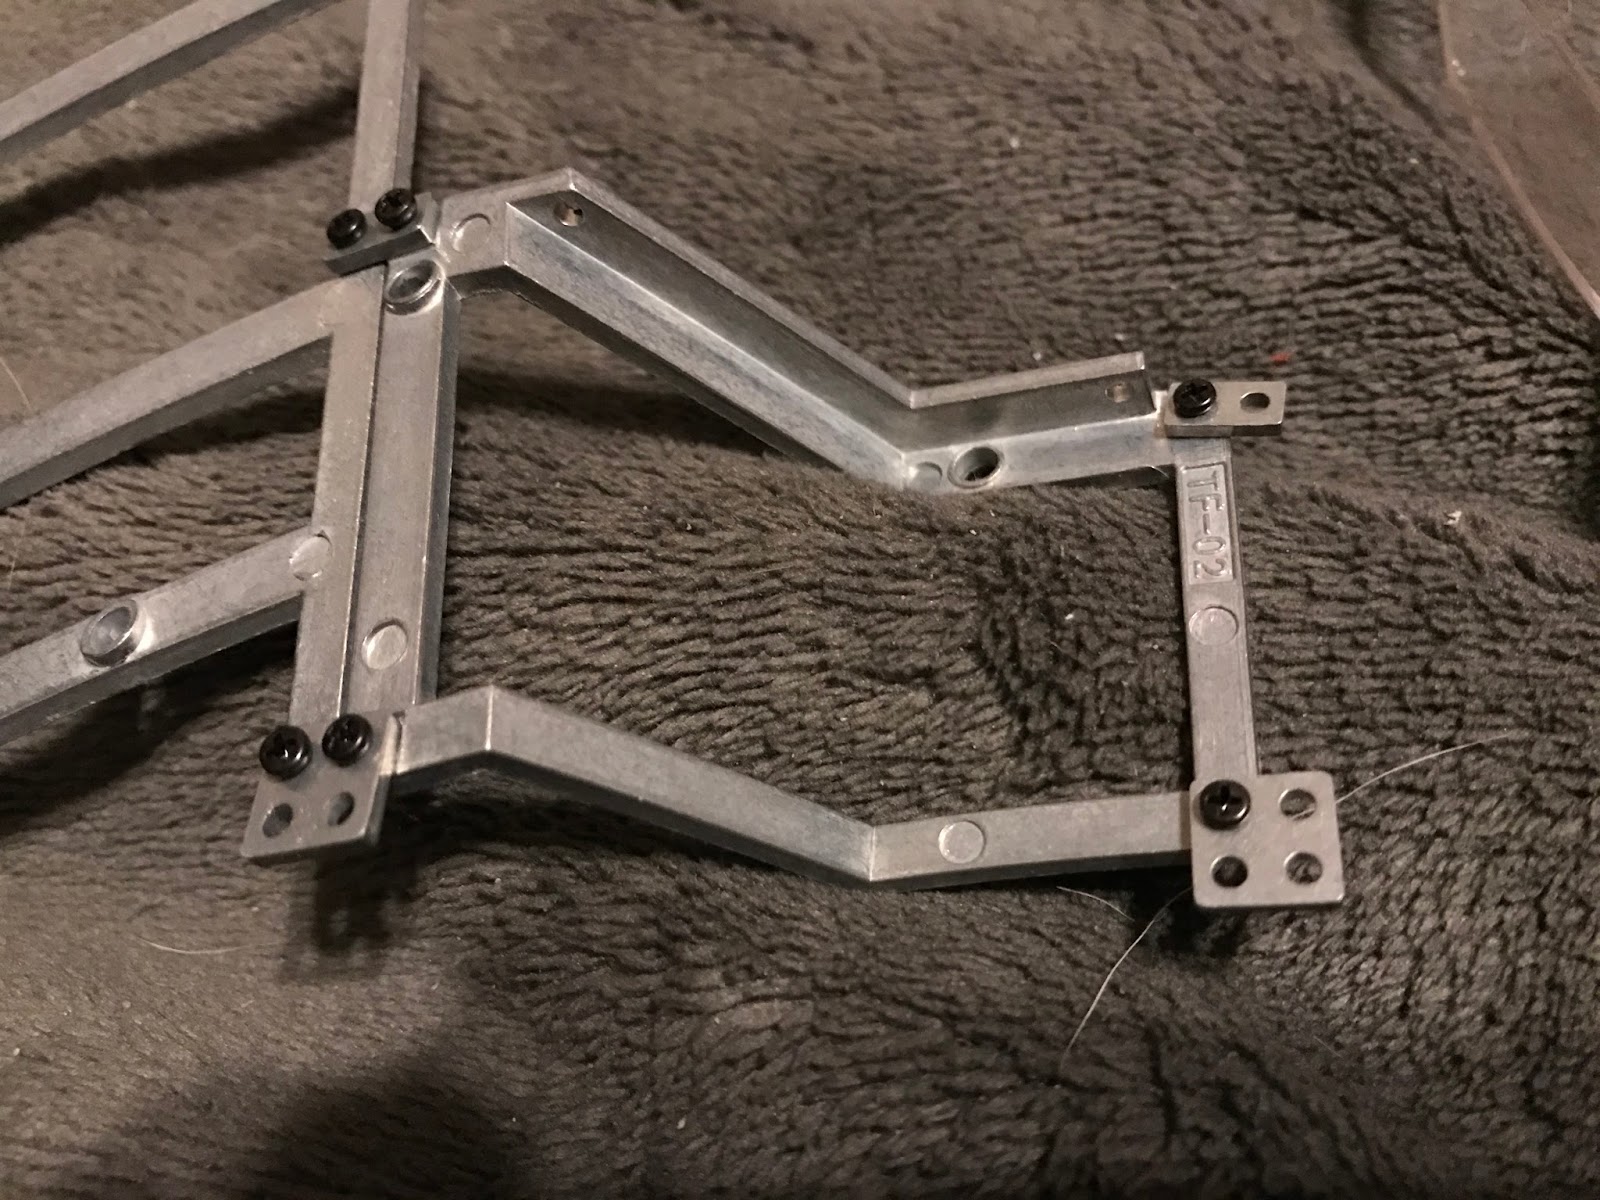
Now, the second piece (TF-02) gets attached to those fasteners as seen below:

The second piece gets a 2 and a 4 on the other end:
To which the mirror piece (TF-03) from Issue 2 is fastened, thus:

BTW: If you haven't noticed, the skeleton pieces are all nicely labeled so you can tell which is which.

Anyway, the TF-03 gets a 2 and a 4 as well...

Last but not least, the TF-04 piece goes on just as shown.

At this point, make sure all the pieces are lined up nice, and you can tighten them down enough to keep them firm. Don't go too crazy on it, though. These are delicate parts. If you flip it over, you should have a nice, symmetrical part, like so:

Now is the time to take the last part from Issue 1, the body panel. It snaps over the skeleton as shown below, with the two pegs going into the upper holes (the other pegs will go onto other skeleton pieces later on down the line).

Tada :)

And that's that. Make sure to treat this gently; put it somewhere where it won't get bent. And just think how this is going to look when it's done!
Tomorrow night: Let the wookiee win...
No comments:
Post a Comment