OK, a pretty cool issue this time around. First off, we have another bit of corridor and yes, everybody's favorite, more of those portal things with all the pads going around them.
First, the corridor...
Hmm, wait:
Ah. That's better.
A nice worm's-eye view. As I understand it, this will go to the cockpit eventually.
Anyway, the next part is an "open" area on the lower hull. It looks like this:
First off, my usual matte black primer coat:
Now, the magazine says to just use spray paint, couple different shades of gray. But if you think I'm gonna miss out on the opportunity to do some detail painting, you must be new here ;) First, a little groundwork on the part:
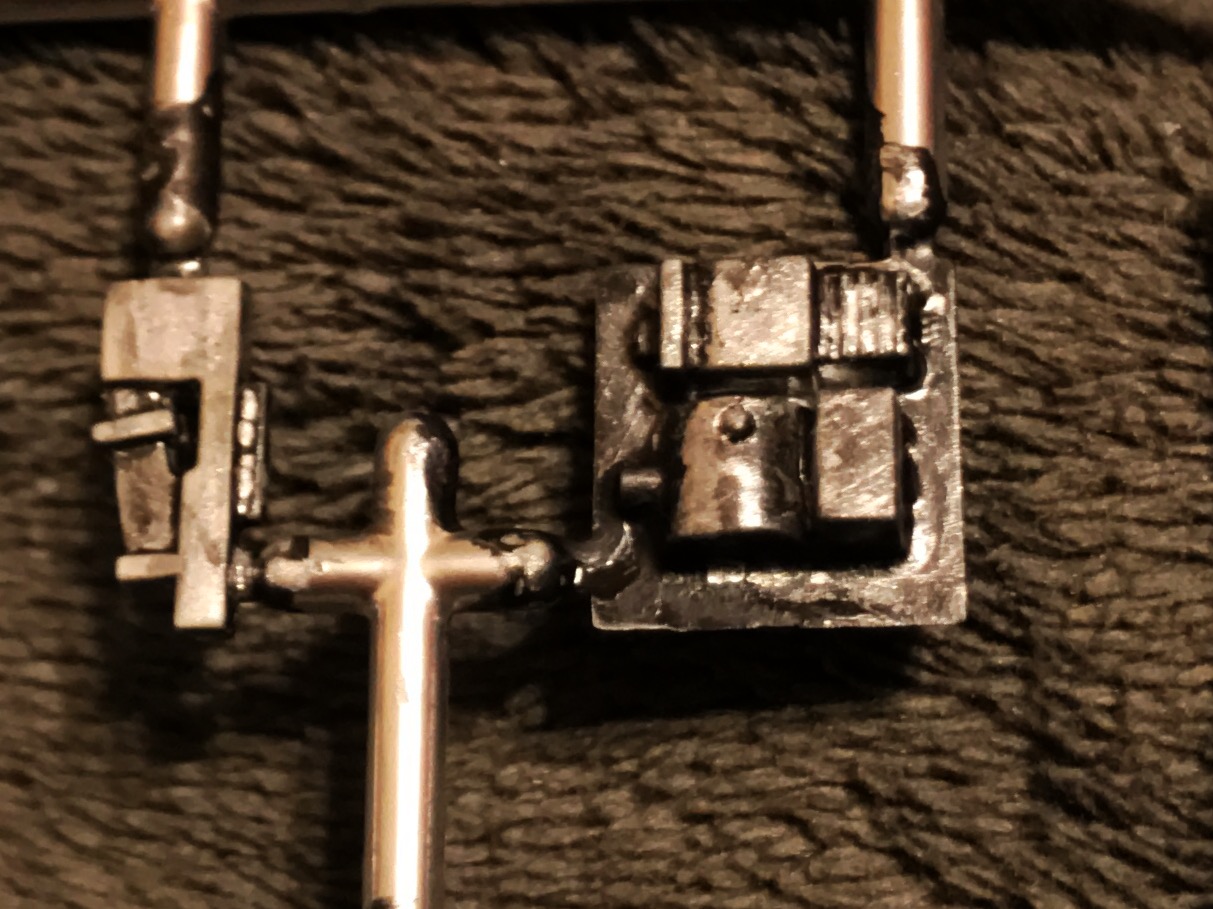
Next, some tooling on the glue-on bits. The pieces on the tree are metallic coated, and then "grimed" with black Testor's which I then wiped away partially.
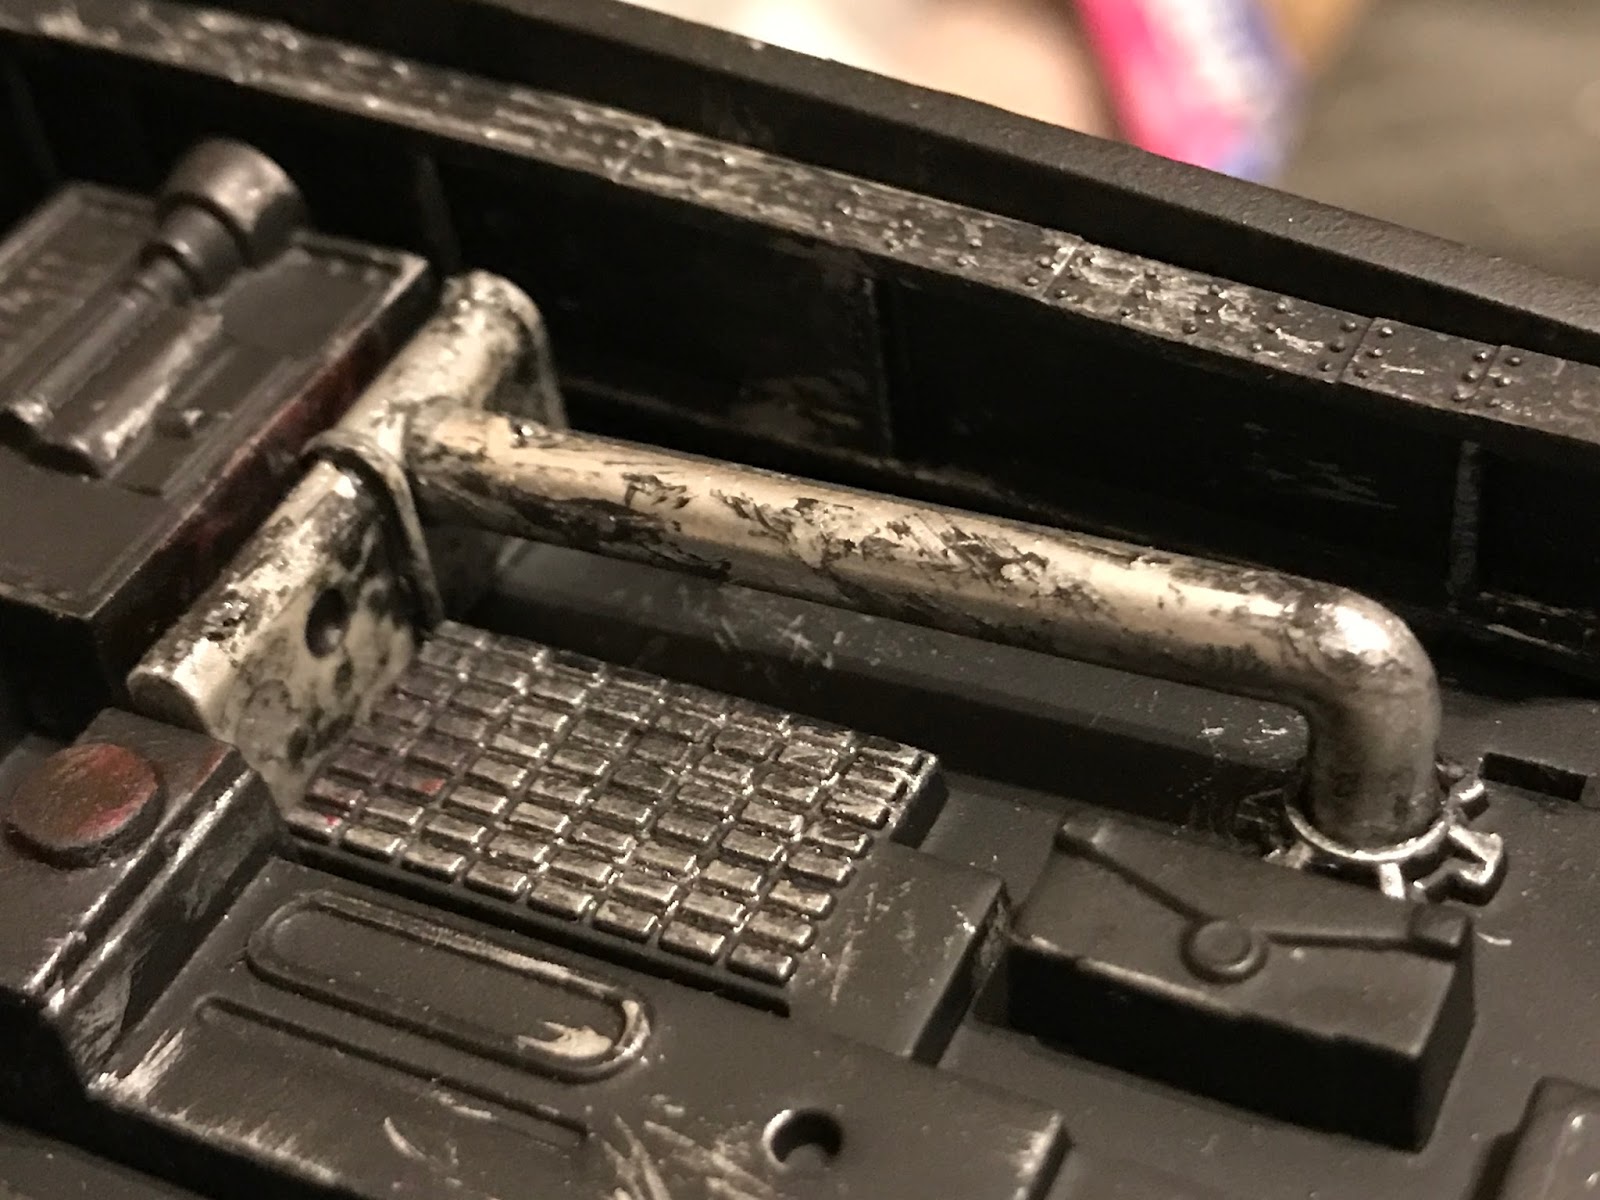
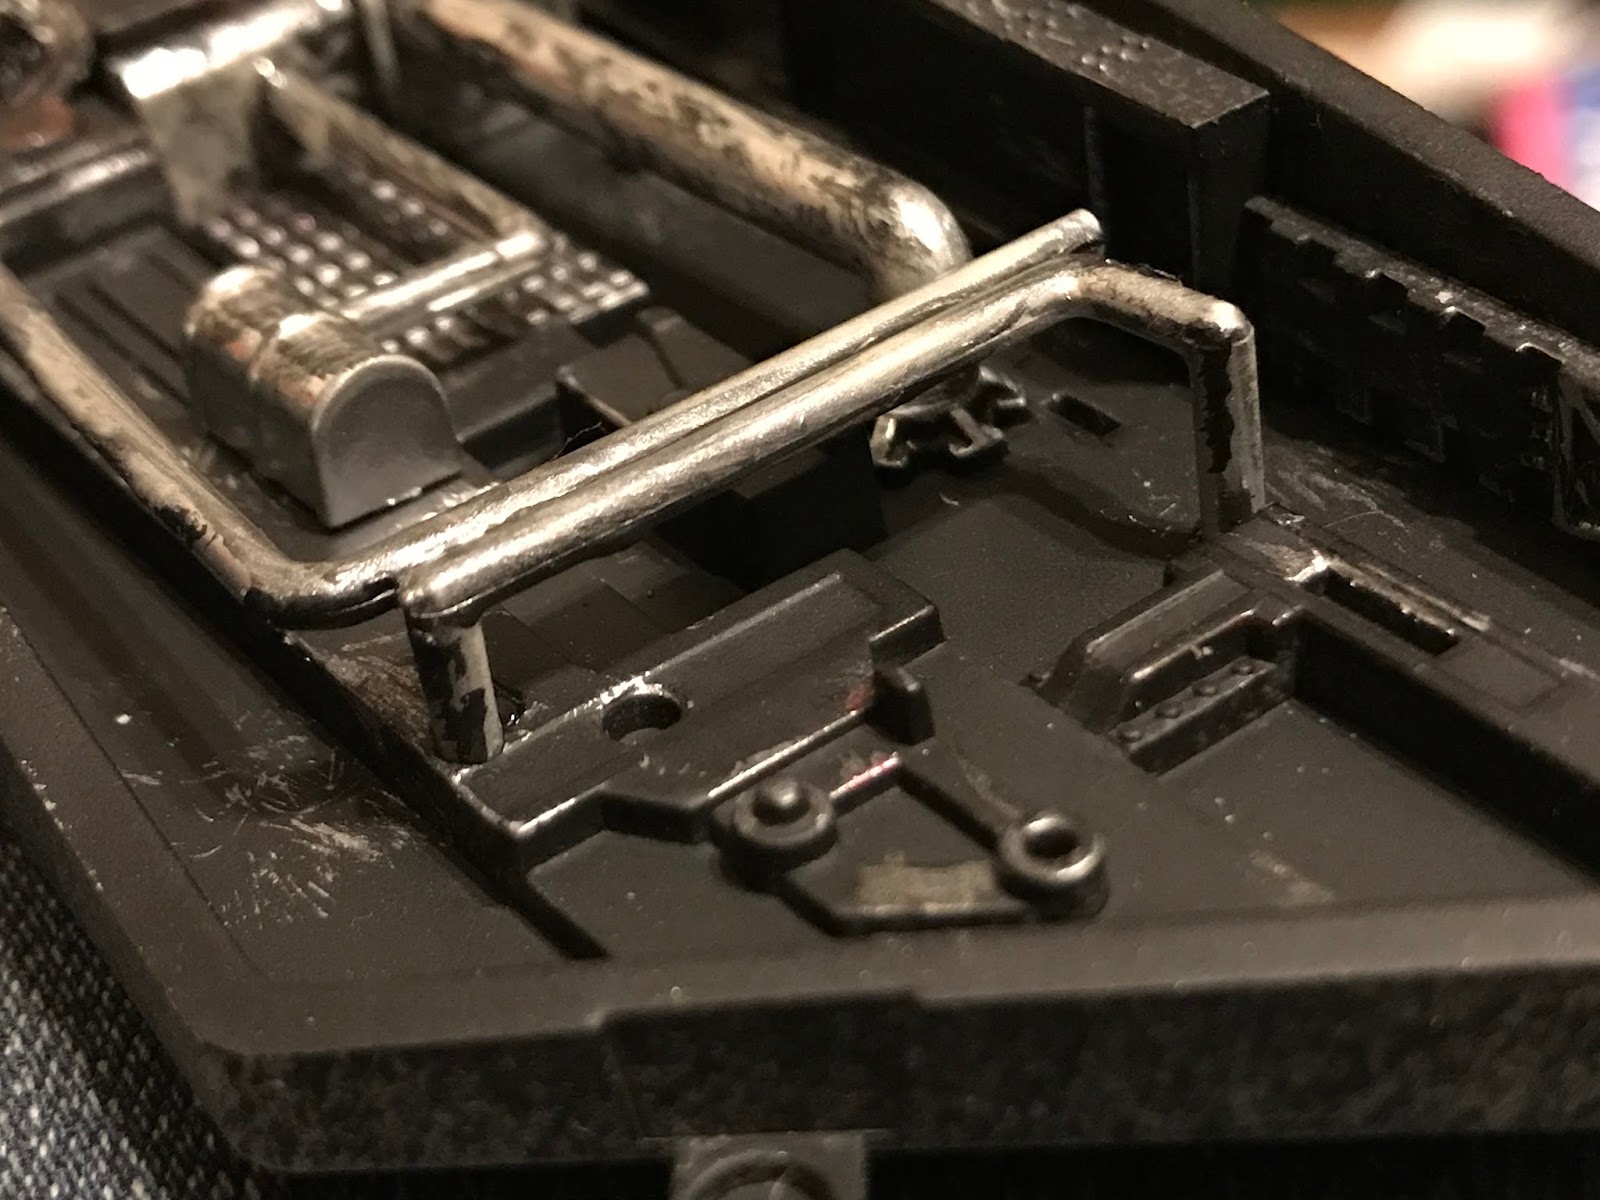
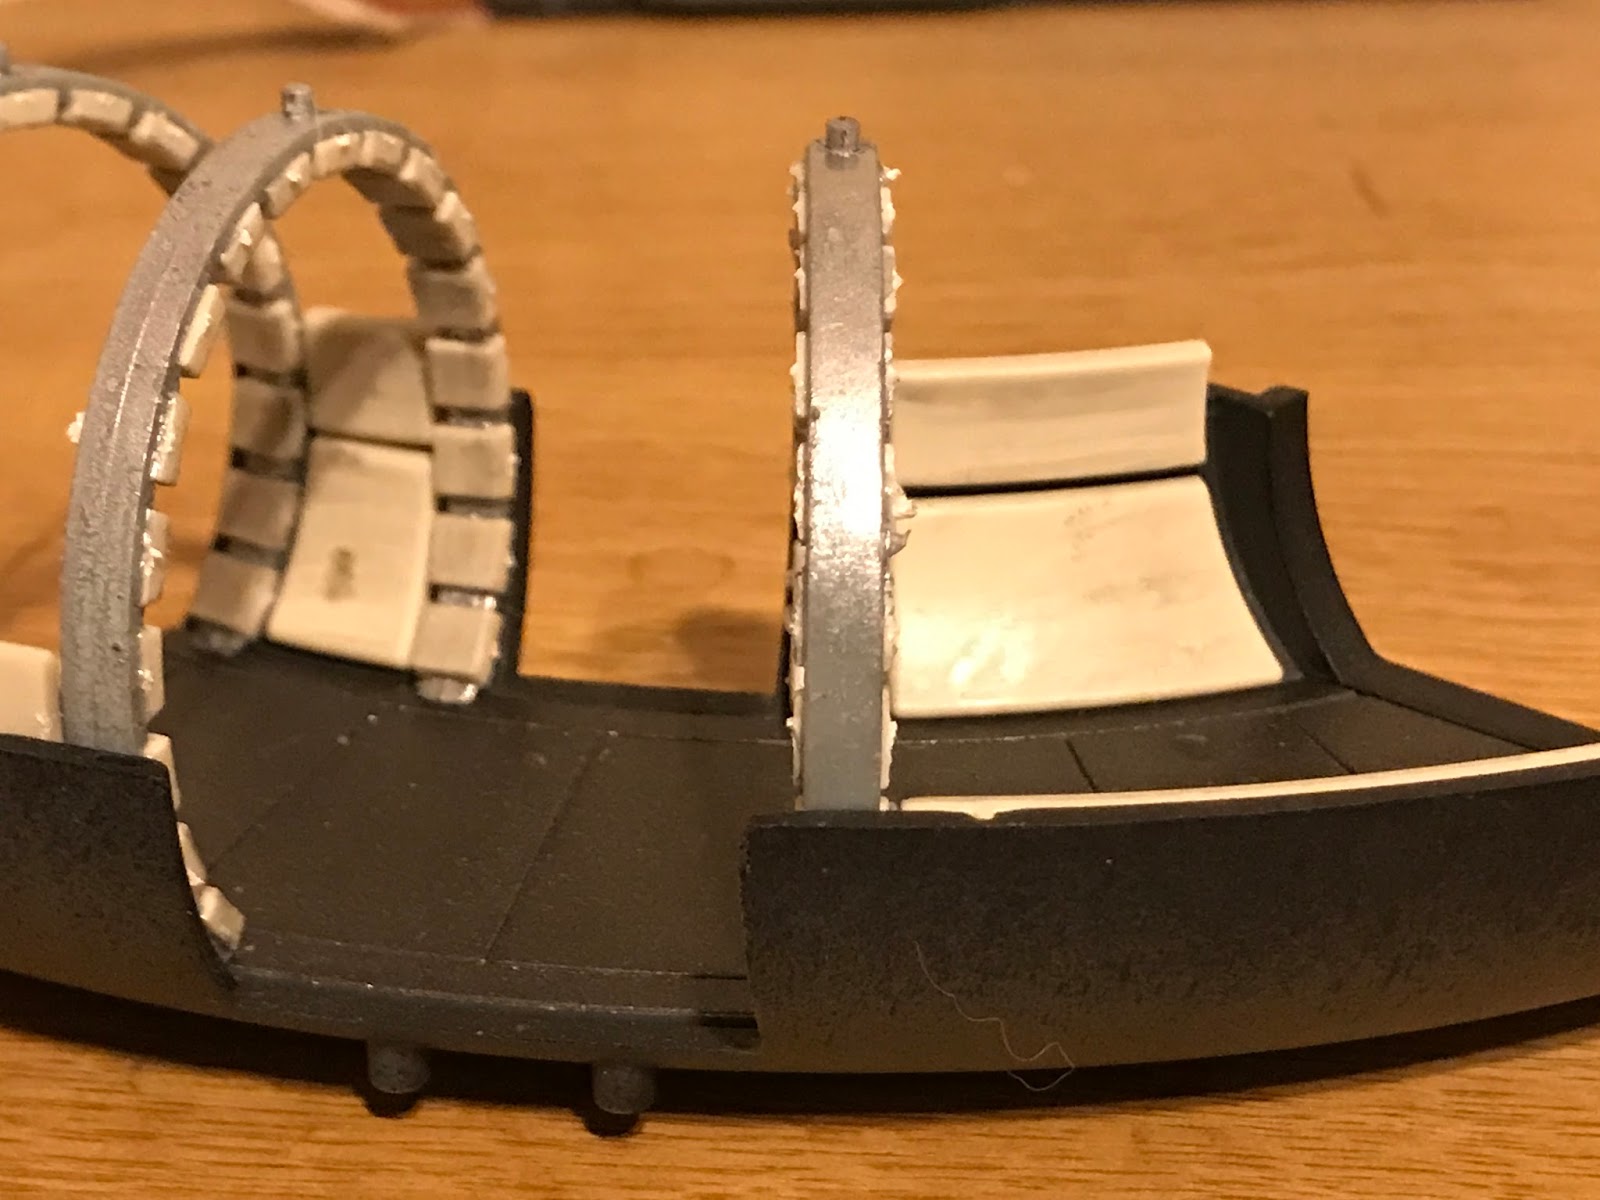
Shot for detail:
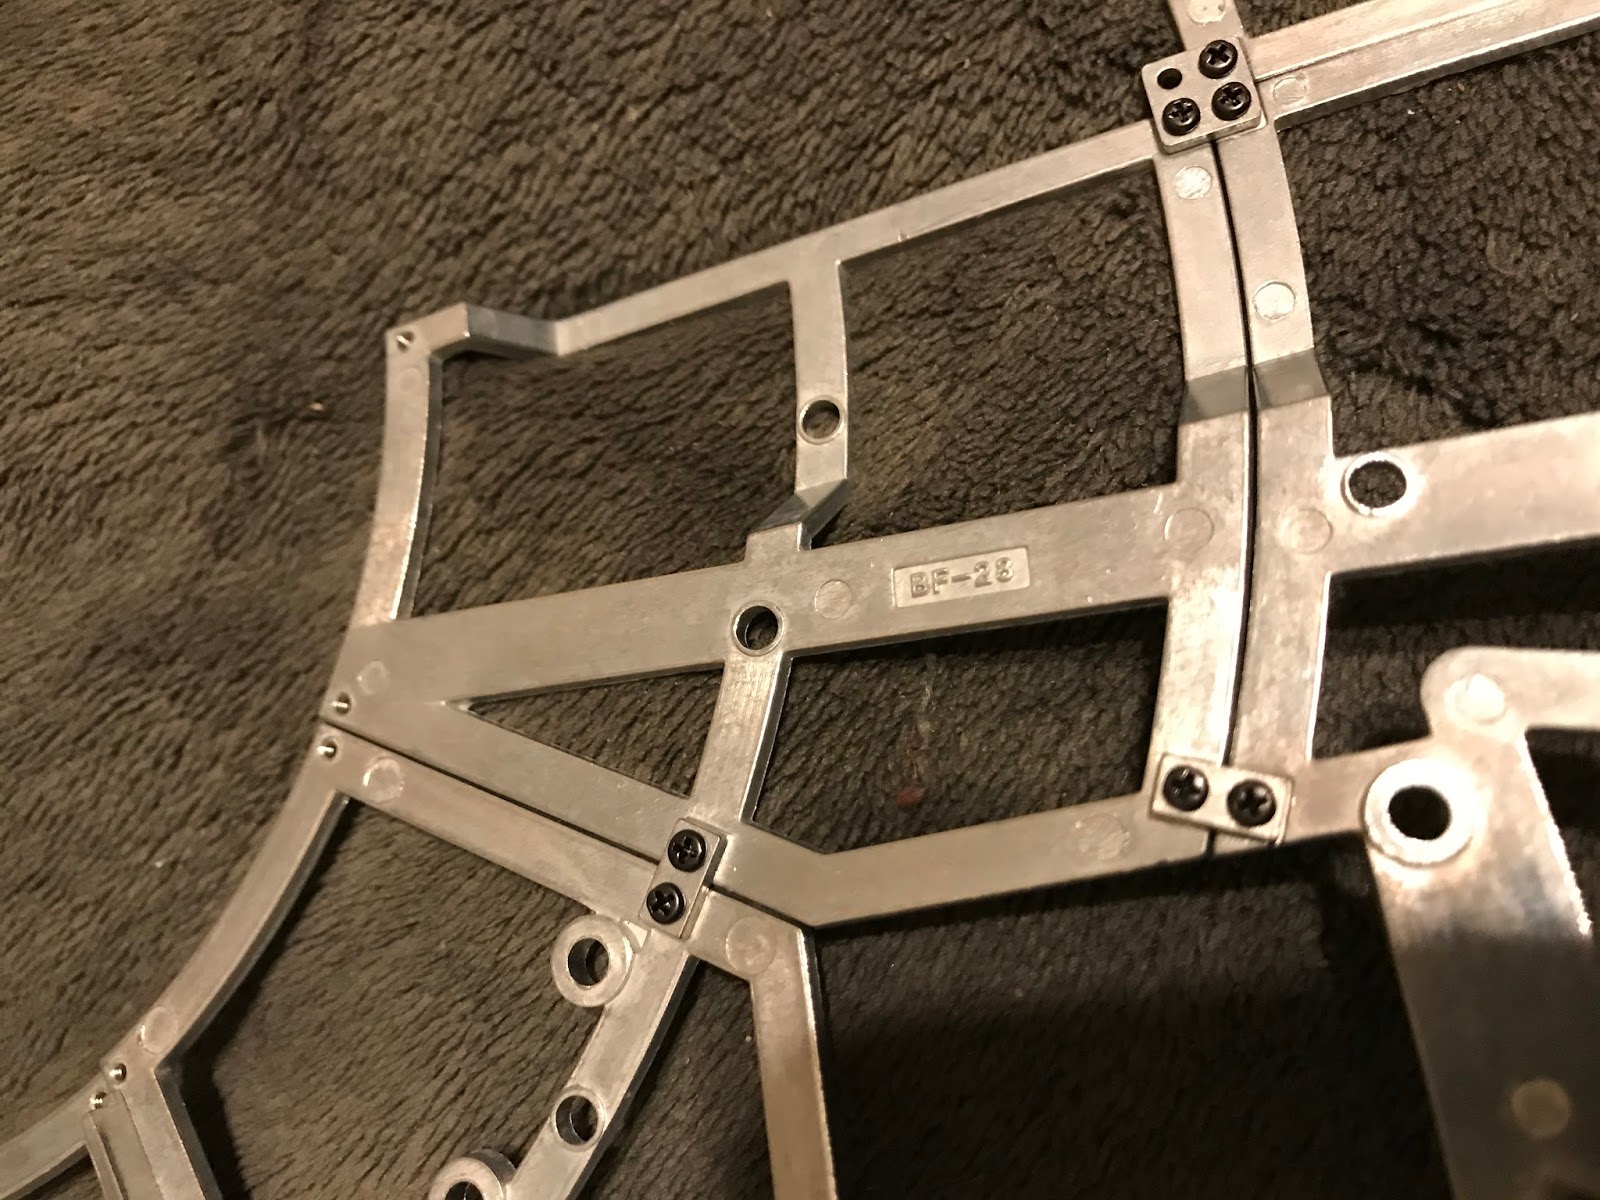
Now, the photos in the mag don't really do a good job of showing what goes where, so I've zoomed in to show each bit, step by step. So here are the various parts (I went ahead & did the first "big" part as it's fairly easy to see where that goes):
Here's the other "big" piece:
And finally the end result:
I don't know about you, but nothing warms my cockles like lovingly and painstakingly painting a piece that hardly anyone is ever going to see and even fewer are going to look closely at ever. :) Seriously though, rather proud of how this came out.
Anyway, that's this issue. Looks like next couple issues will finish out the current corridor, so hey, nice reprieve from those stupid padded doorways. I'll crack into 'em tomorrow probably. Later!