First off, here's the top and a "fastening ring" which goes on the end. Here's the before-painting version:

While the paint is drying, I take the padding that came with this issue, and apply it to the lower half of the corridors, so:
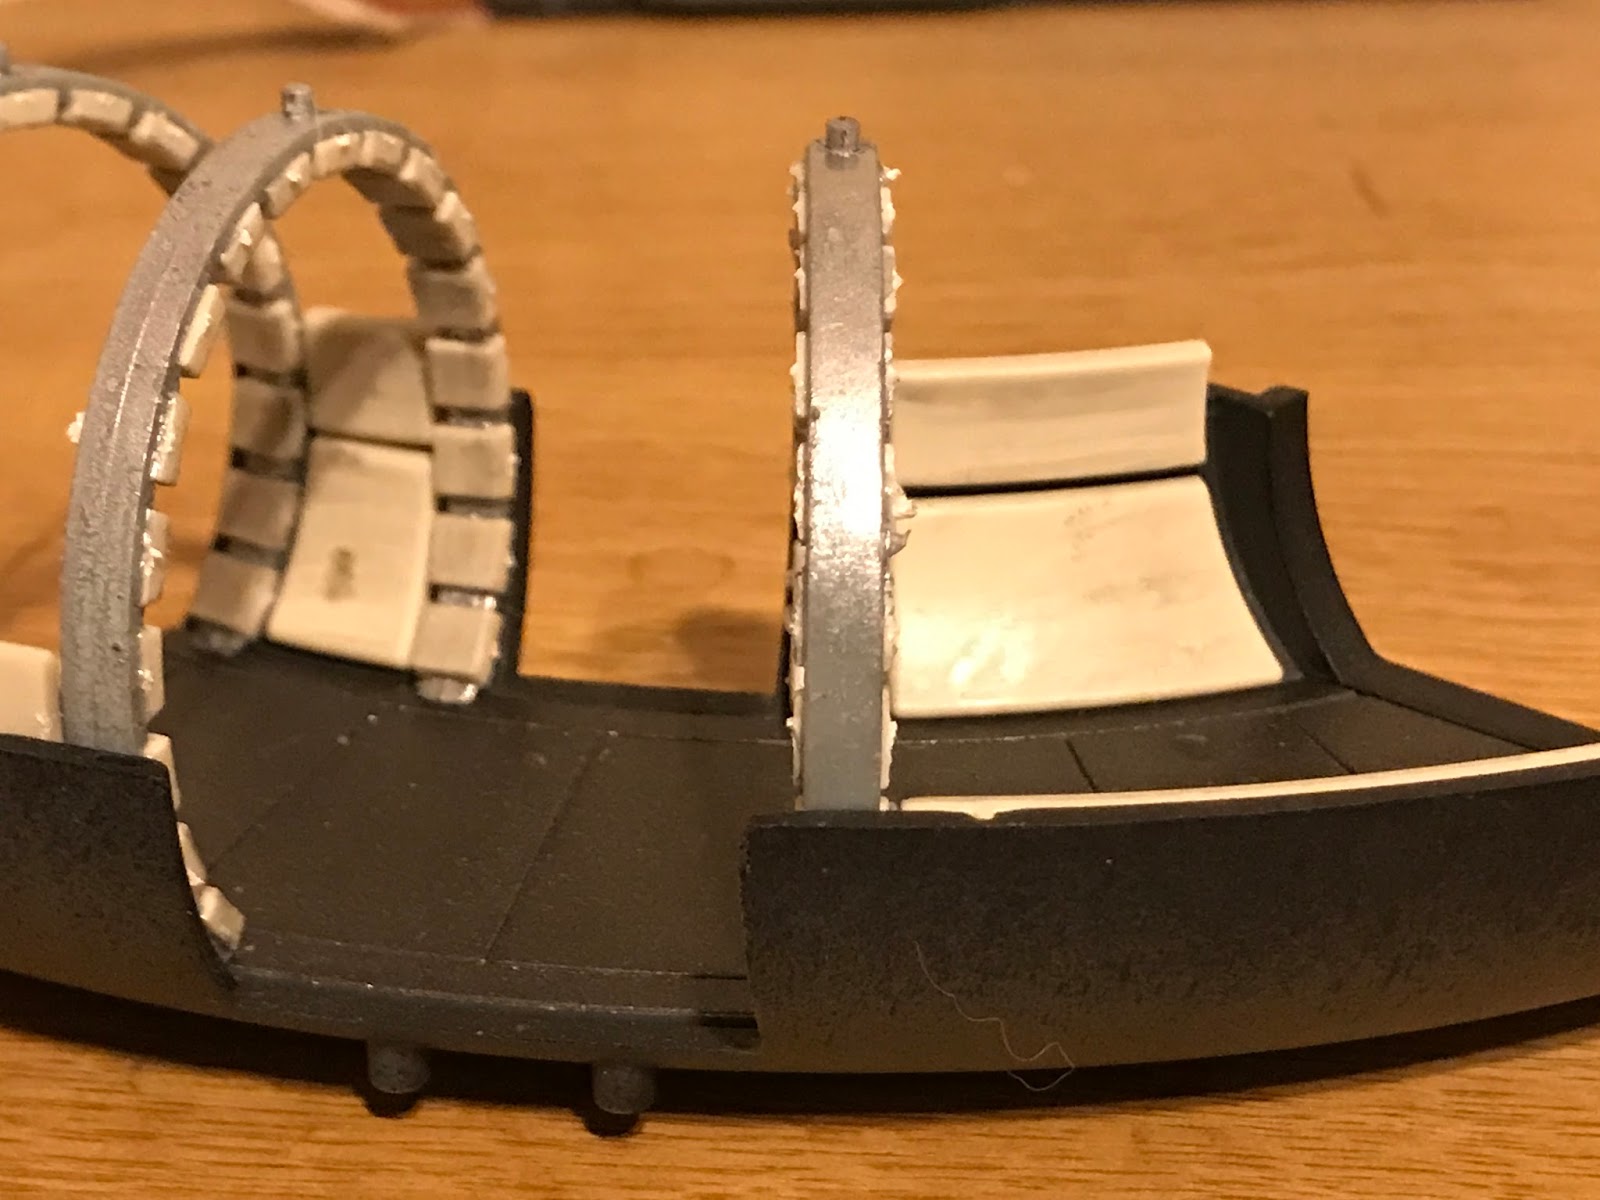

After the top half is ready, it gets a few bits of padding as well:

Now, I do a little bit of weathering (again with the muddy wash), and it's time to put these pieces toegether. IMPORTANT NOTE: the pegs up top of the doorways are not symmetrical: they have to go in a very particular way. So if your hallway halves don't want to get together, check that first you don't have to turn one or more of those suckers around. Anyway, when you got them together, they should look like this:


And a shot from the hold:

You might notice I removed the red/green wires on the left side of the doorway. That's because I'm going to put them back in later, threading them down the hall. I'm going to wait until I have the interior done so I know how far to go.
Pretty spiffy. There will be more later, it seems we get a fair whack of the interior of this thing.
No comments:
Post a Comment