Monday, October 30, 2017

Issue 66

OK, so a lot of activity in this one as we start adding the body panels. They start with the parts we got way back at the very beginning of this project, and sweep most of the way around. Let's go:


Other side...


Now we work our way around.


Incidentally, if you haven't secured the battery pack, this would be a good time to do that.


Now, back over to the other side again for the last two bits:


And that's it for now.

Monday, October 23, 2017

Issue 65

OK, so bit of a milestone this time. First, we add the second (lower) half of the support spine, as shown below:


Next, on goes the innermost panel, attaching to the support ring and the spine.


After that comes the middle panel, positioned as shown here:


...and ladies and gentlemen, that's it.

Presenting, the fully assembled top frame!


Looks like we're about to get heavily into the body panels next. Also, now I'm caught up with the delivery of the kit issues, so I'm going back to a twice-weekly schedule. See you next time!

Sunday, October 22, 2017

Issue 64

Pretty simple this time around. First and foremost, we get the last bit of the top support system:


Now, we add the innermost piece from the wedge we started last time:


Now, this spine piece.


And to that, we add this long outer piece, with a couple of two-bys to fix it to the other end.


Well, we've made it all the way around. Looks like just a couple more pieces and we're done with the top framework, so that will be nice.

Friday, October 20, 2017

Issue 63

So first thing is yet another spine. You know the drill.


It goes right on the end where you would expect.


Now the outermost piece is attached.


Now the inner piece.


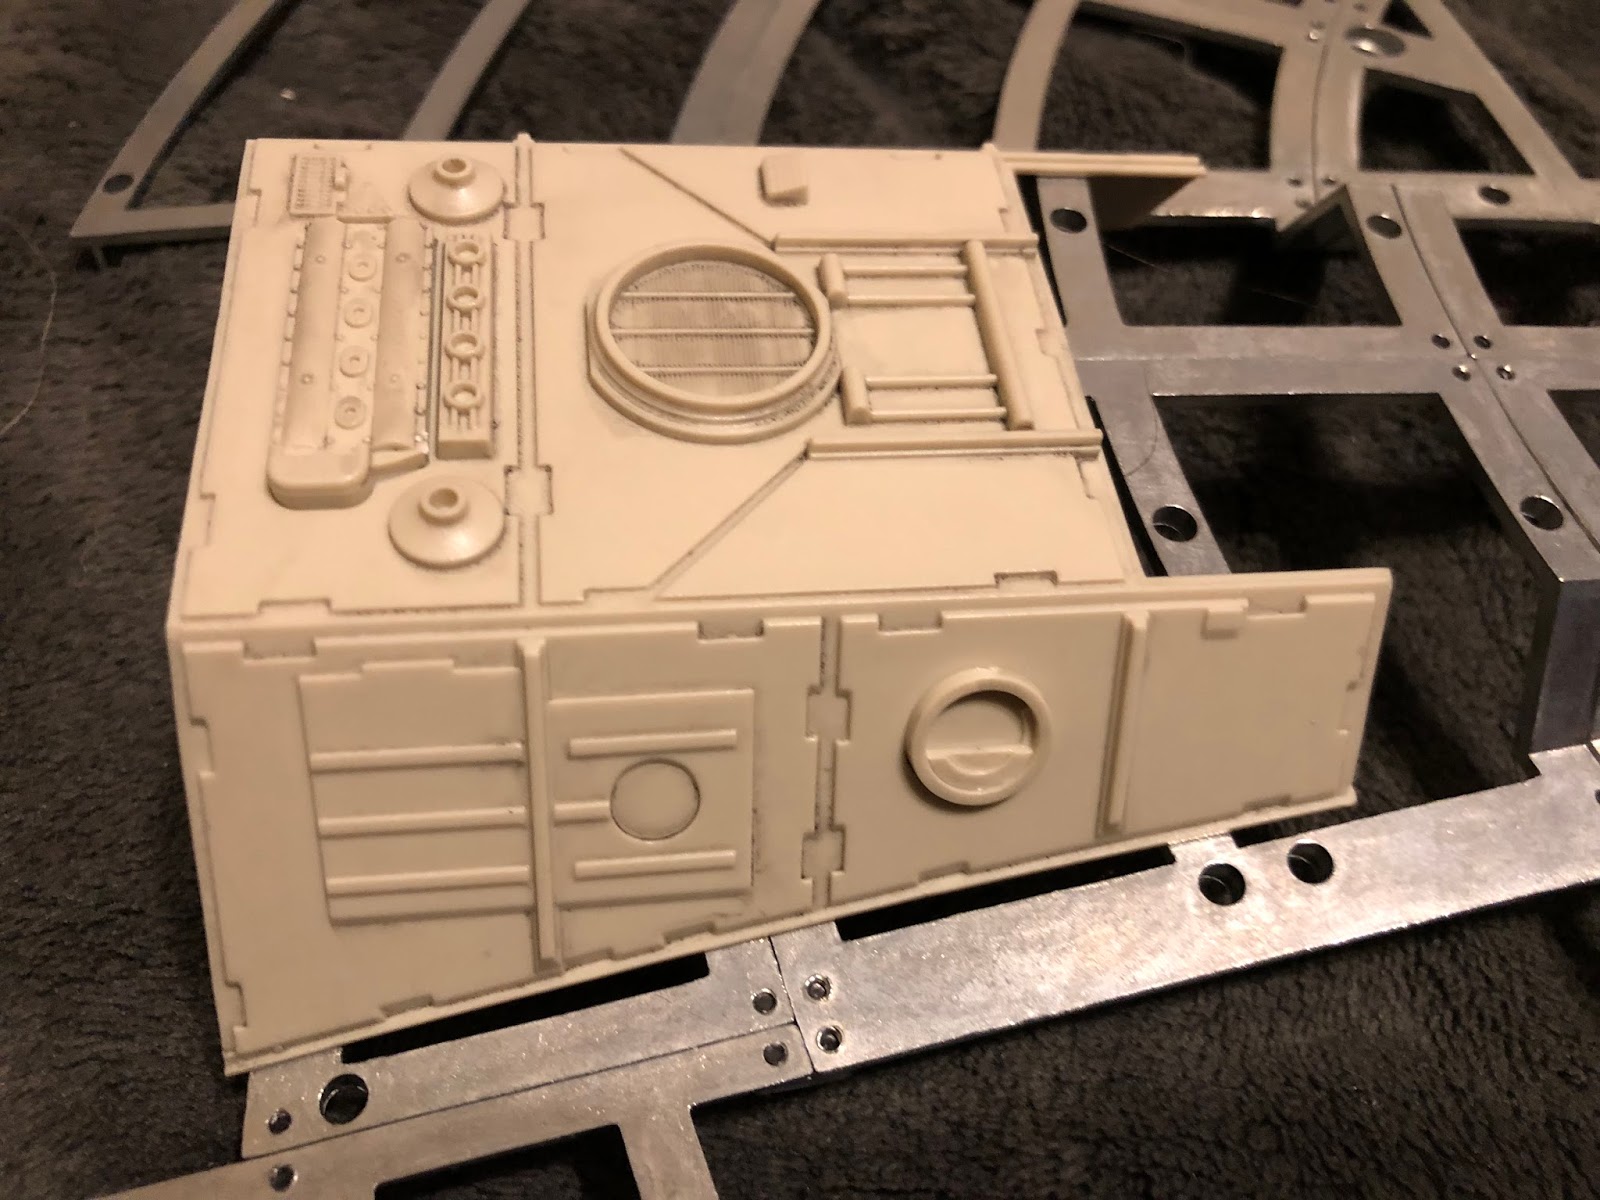
Next up, one of the inset parts in the body. We start with these two main pieces and a tree of glue-on parts. Go ahead and paint them up now if you're going to.


Glue the panel into the inset frame, of course.


Give 'er a bit of weathering :)


And start putting in the parts. Here's parts 1 and 2. Note that 1 (the pipe) doesn't quite fit in like the manual shows. Bit of a bummer, but there you are.


Parts 3 and 4 go in as shown below. Please note: see the rectangle with two holes on the left? It looks like that's where the pipes go, but they don't. I wasted several frustrating minutes trying to make it happen before I paid more attention to the guide photos.


Here's the last pipe in. Try to keep them level so they even look good from the side.


Here's a side view to give you the idea.


That's it. Looks like more frame work next time. See you then!

Issue 62

OK, getting closer to the end of the top frame. First off, we assemble the rest of this connector spine.


It goes where shown below (the magazine recommends loosening the screw in the photo to make it easier to get the "tab" at the bottom of the spine tucked under the ring).


Once the spine has been screwed down, add the next piece...


...and then this piece as well.


On to the next bit.

Wednesday, October 18, 2017

Issue 61

A simple one again, just more skeleton. We get the penultimate piece of the top support structure, too:


There are just a few pieces to go in. First this chunk,


Then this rod here...


...and finally this bit that goes onto it.


Yup. That's it. Told you.

Monday, October 16, 2017

Issue 60

The big 6-0, another quickie concentrating on the frame. First off, we get a new piece of support to brace up the following bits:


Now, three new pieces of frame in the following order:


This leaves us with a big overhang which we'll go back and fix later. Meantime, we are making some serious ground.