So my first day back to work. Fortunately Friday is a work-at-home day for me, so that helps. Also I managed to get the first layer of paint on my inner dome after work, then the second coat a little later. Then I headed over to the makerspace to print some more parts, but unfortunately the weather turned yucky and so I went home before they finished.
Incidentally, if you've never seen a 3-D printer at work, I recommend you do so. Essentially, instead of a regular printer that prints a layer of ink onto a paper surface, these printers print a layer of melted plastic onto a special heated surface. The surface is warm enough for the plastic to stick, yet cool enough that it will solidify immediately. Then layer after layer is built up one on top of the other until you have the finished product.
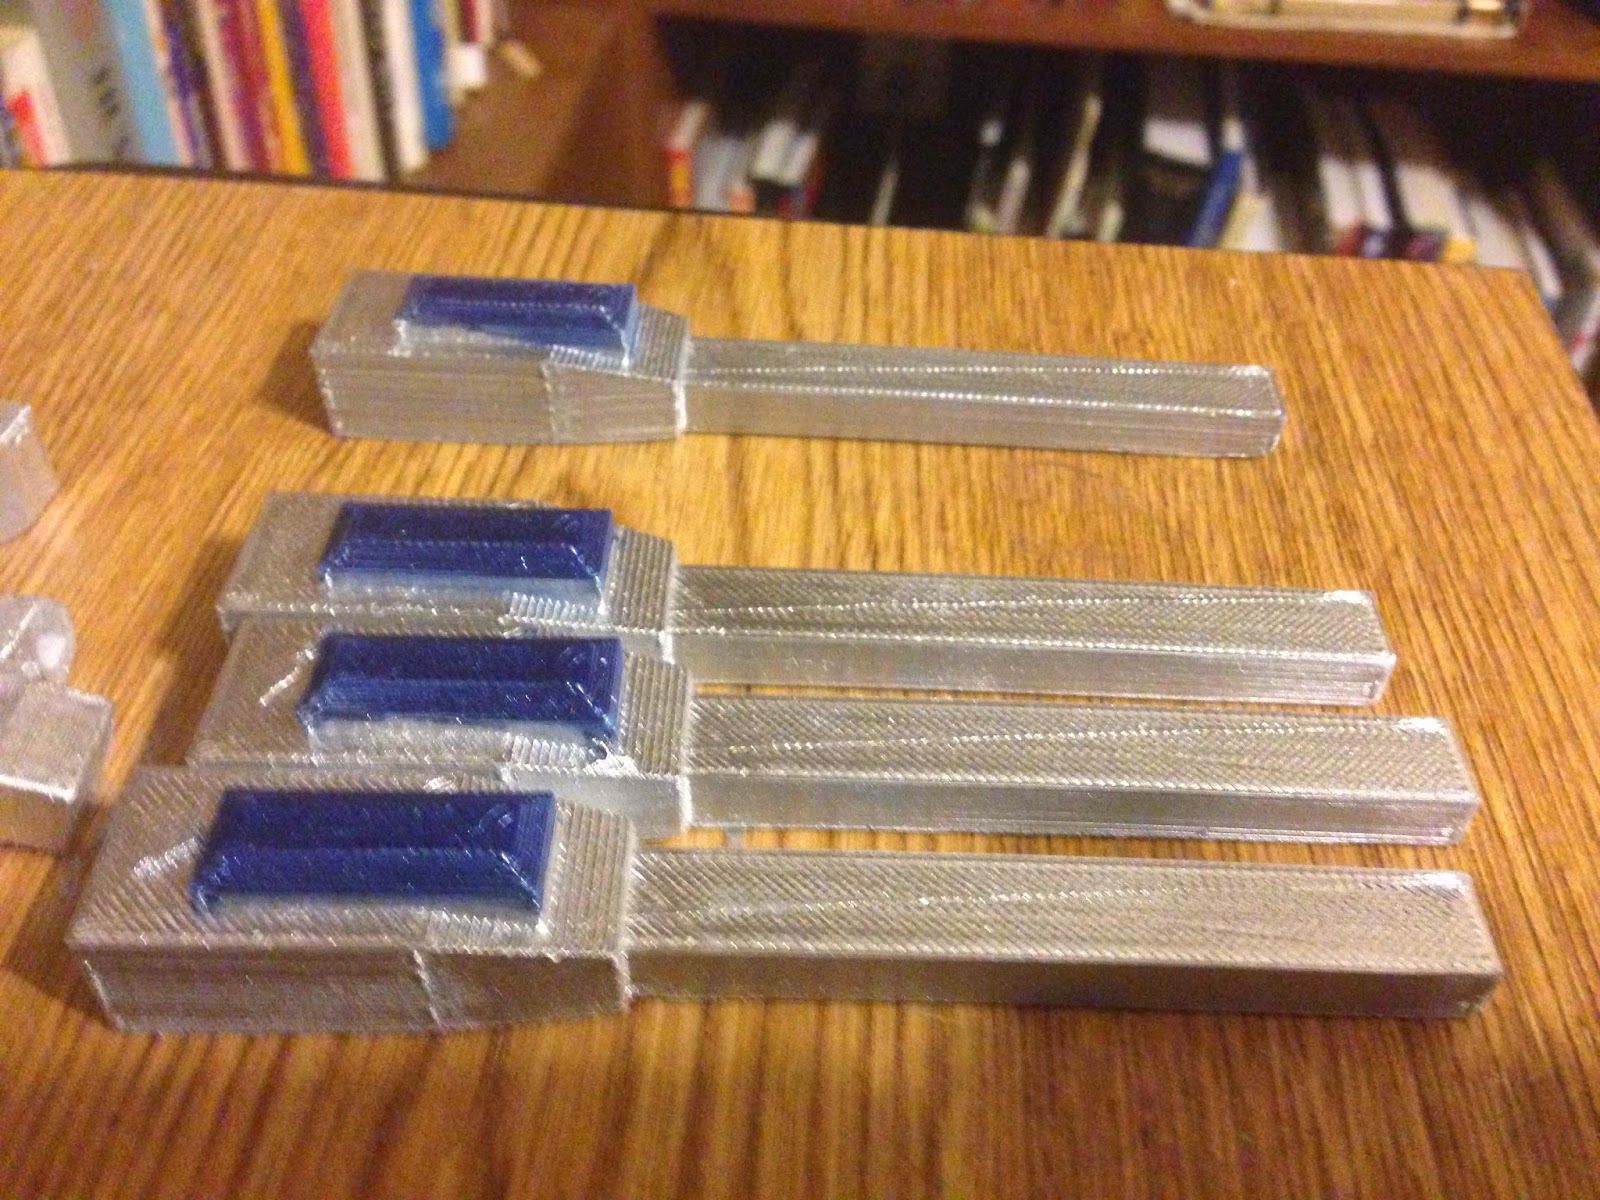
Here's a picture of the ankle wedges printing. Note the square "honeycomb" inside each one. That provides support structure so that the model has some solidity and also gives it a framework to print the top across, if the model has one (these come to a point as I'll show you when I get the finished products from the shop, but most 3-D printed models do have a top). You can set the fill from 0 (completely hollow like the ankle cylinder holders from yesterday) to 100 (completely solid). I'm using 20, which is a good balance point that provides enough solidity and support to print a good top over it while still staying nice and lightweight.
Anyway, while I was out, I picked up some tinting paint at the auto body store to tint the radar eye lens I'm making form a pop bottle. First things first, time to check it out:
Clear bottom of the bottle for testing.
After about 3 coats: good tinging but not entirely uniform. Need to practice more.
The stuff in question. I go through more Rust-oleum products these days.
Anyway, that's pretty much been my day. The only other thing I did was a little touch up paint, as see here on the radar eye. Doesn't it look nice against the outer dome? I can't wait to bring all the pieces together:
Oh, and one more thing: they always say to create a notebook filled with all the hints and tips you want to use as part of your build. But I being a 21st century kinda gal, have instead collected them into a meta-document filled with all the links I found useful. Feel free to have a peek at them yourself (note, that some of them are links to private Yahoo! groups or the astromech.net forums, which are reserved for people actually wanting to build an R2).
My Helpful Links Collection