Showing posts with label ankle detail. Show all posts

Monday, February 2, 2015

Some painting

So now that the dome is done, it's nice to rest a little. Mostly I'm just working on paint and prep:


The four main bits of the battery box clips


The ankle wedges


The ankle details (I did paint them earlier, but only recently noticed the blue tips)

Monday, January 5, 2015

More ankle details and utility arm attempts

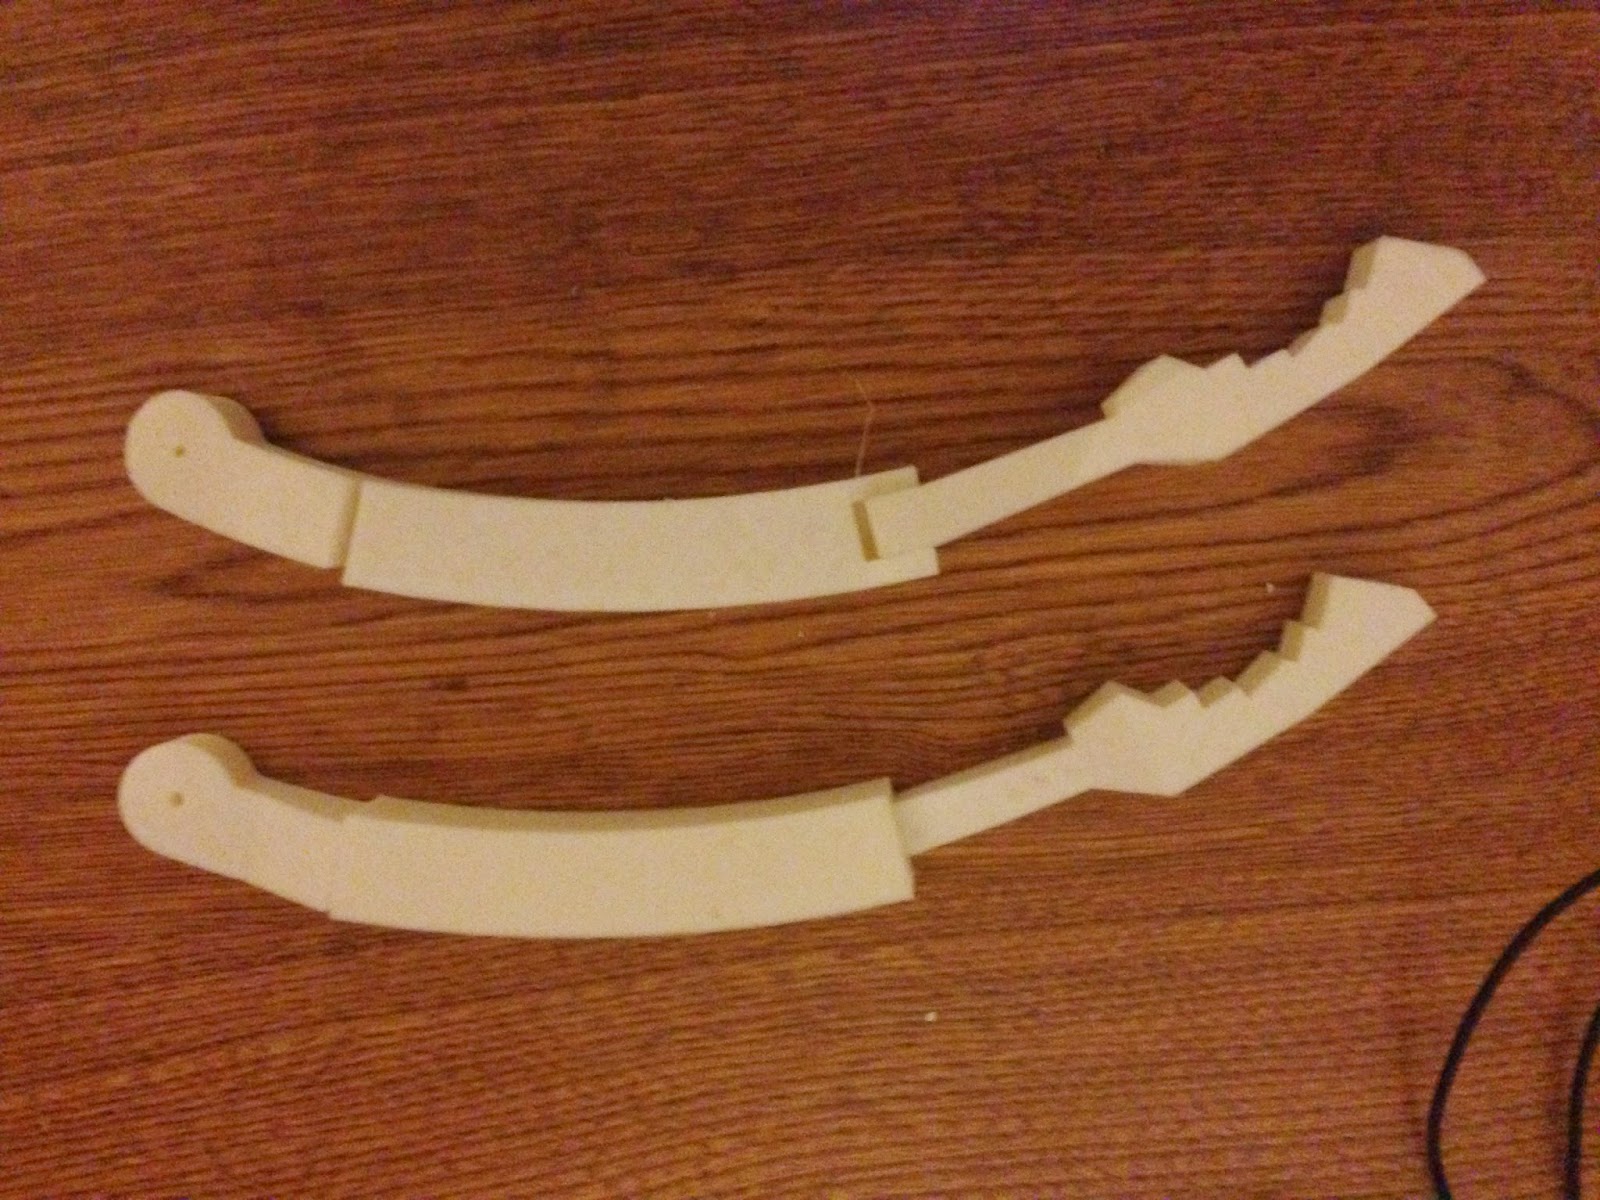
So the road cleaned up pretty decent, no problems getting in to work. Then over to the lab to pick up the prints from the weekend. This version of the utility arm is broken into six parts to aid in printing, as seen below:


Basically the two identical parts get epoxied together, and then all three parts are combined into one. For the first part, after sanding and all that, I broke out my old faithful loctite 2-part.


This is the heavy duty stuff, right here. Bonds fast, and hard. Quite a bit of my proton pack is held together with this stuff. Anyway, I glued and clamped each set of pieces:


And in no time had three hunks o'plastic. These will be going with me to the makerspace tomorrow to get properly belt-sanded so the seams don't show, and then more epoxy and the Krider blue treatment.


Hopefully this will work out. If not, there is a backup version of the arms but it's static (whereas these would be able to swing in and out due to a little hole going through the component on the right). Still, I'm going to go ahead with this one and see how it looks before trying the static one (I may print a static one anyway, just to make sure this one's properly sized and proportioned and all that).

In the meantime, I printed out the other two ankle details (for the right side) and gave them the same treatment as the left-side ones.

Anyway, I'm not looking more at the dome stuff. I found a few good build blogs covering other peoples' takes on the dome (see the helpful links list), so I'm studying that, including the fun of wiring up the lights and things. That should be fun. Ordered the blank breadboards and I'll have to acquire and solder all the bits and pieces on them, including over 200 LEDs. Hooboy.
Saturday, January 3, 2015

printprintprint sandsandsand paintpaintpaint

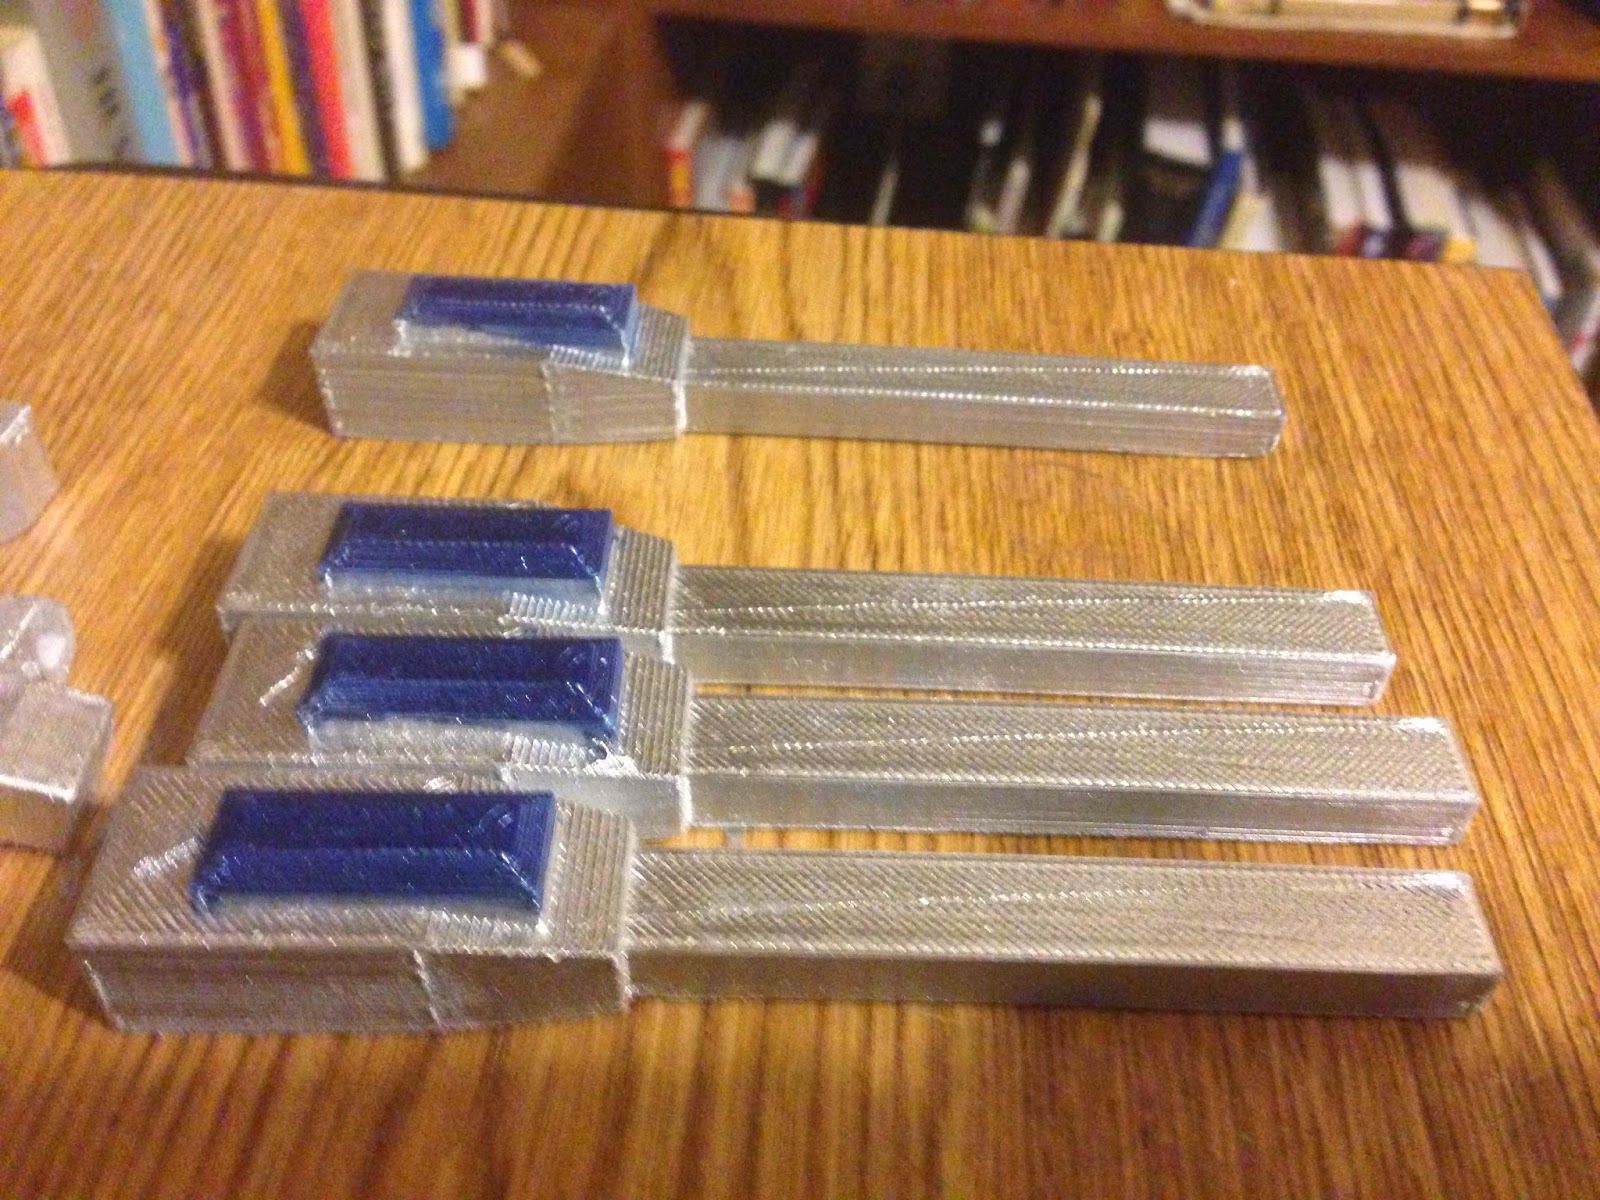
So as I said yesterday, the ankle wedges taper to a top. Here you can see they came out nice:


Unfortunately, printing something like that meant I didn't notice another goofed up setting on the printer. When I tried to print the left-side ankle details, the "roof"--that is, the solid top layer--wasn't printing at all, even though the support material was getting printed. Worse, I started it before I went for my volunteer shift and by the time I got back, it was 96% done so that was a waste of filament. Anyway, fixed the setting and reprinted. As you can see, they came out properly this time:


So these get painted silver, but I had been feeling the chrome-y look the Valspar had been giving me was a little too shiny. Then I remembered that applying clear coat to the dome had made it look rather dull. I tried it again, and lo and behold, it gave me the look I was wanting: clean and metallic but not overly shiny. Very close to aluminum, in fact. In the picture below, the model on the left is just 2 coats of Valspar. On the right, same plus two coats of Crystal Clear. Hopefully you can see the difference.


Anyway, had another go with the utility arms, which have been perpetually uncooperative. This time I tried a version that has been broken up into multiple pieces for ease of print. We'll see how that looks tomorrow, weather permitting.