Reety-all-righty. Time for Issue 6 and getting very near the end of the cockpit saga...for now.
First up, a bag of greeblies, the little fiddly bits there to make it look cool. We'll be saving these until later, when the body is closer together.
Now, a table that will have seating in front of it where the holo game goes. Way too clean for my tastes.
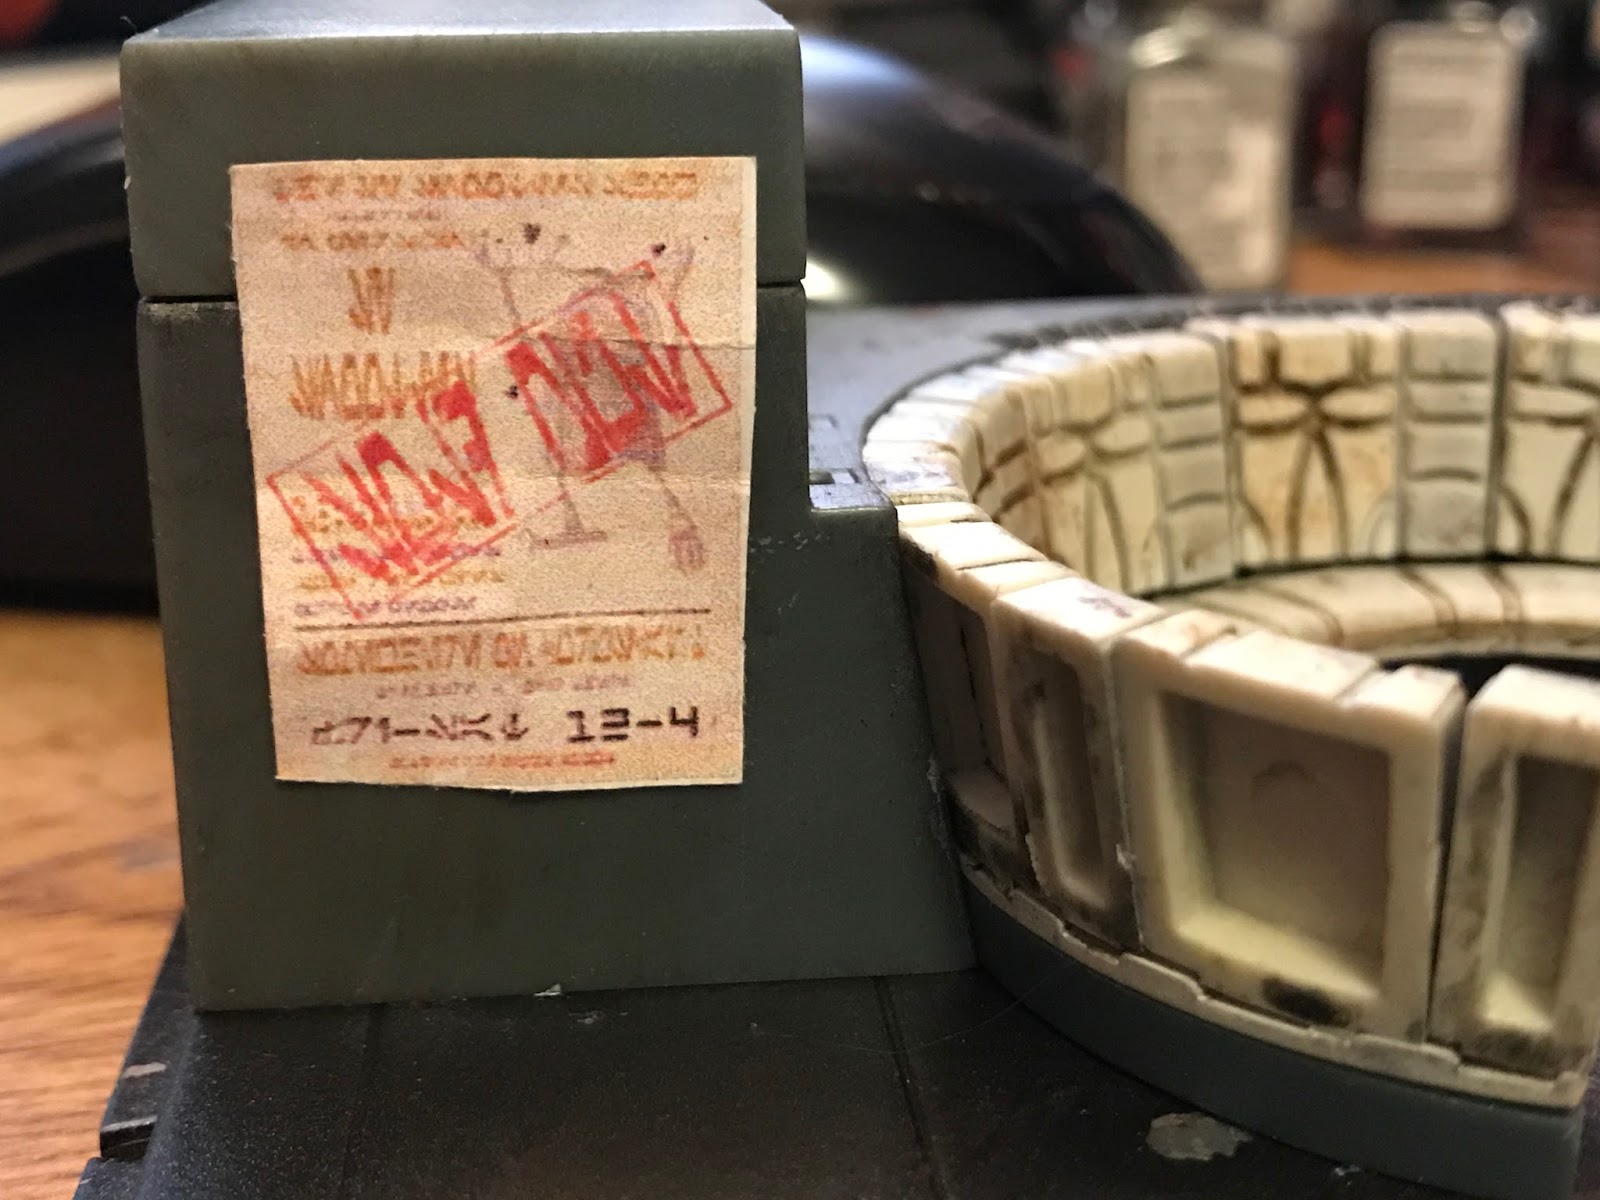
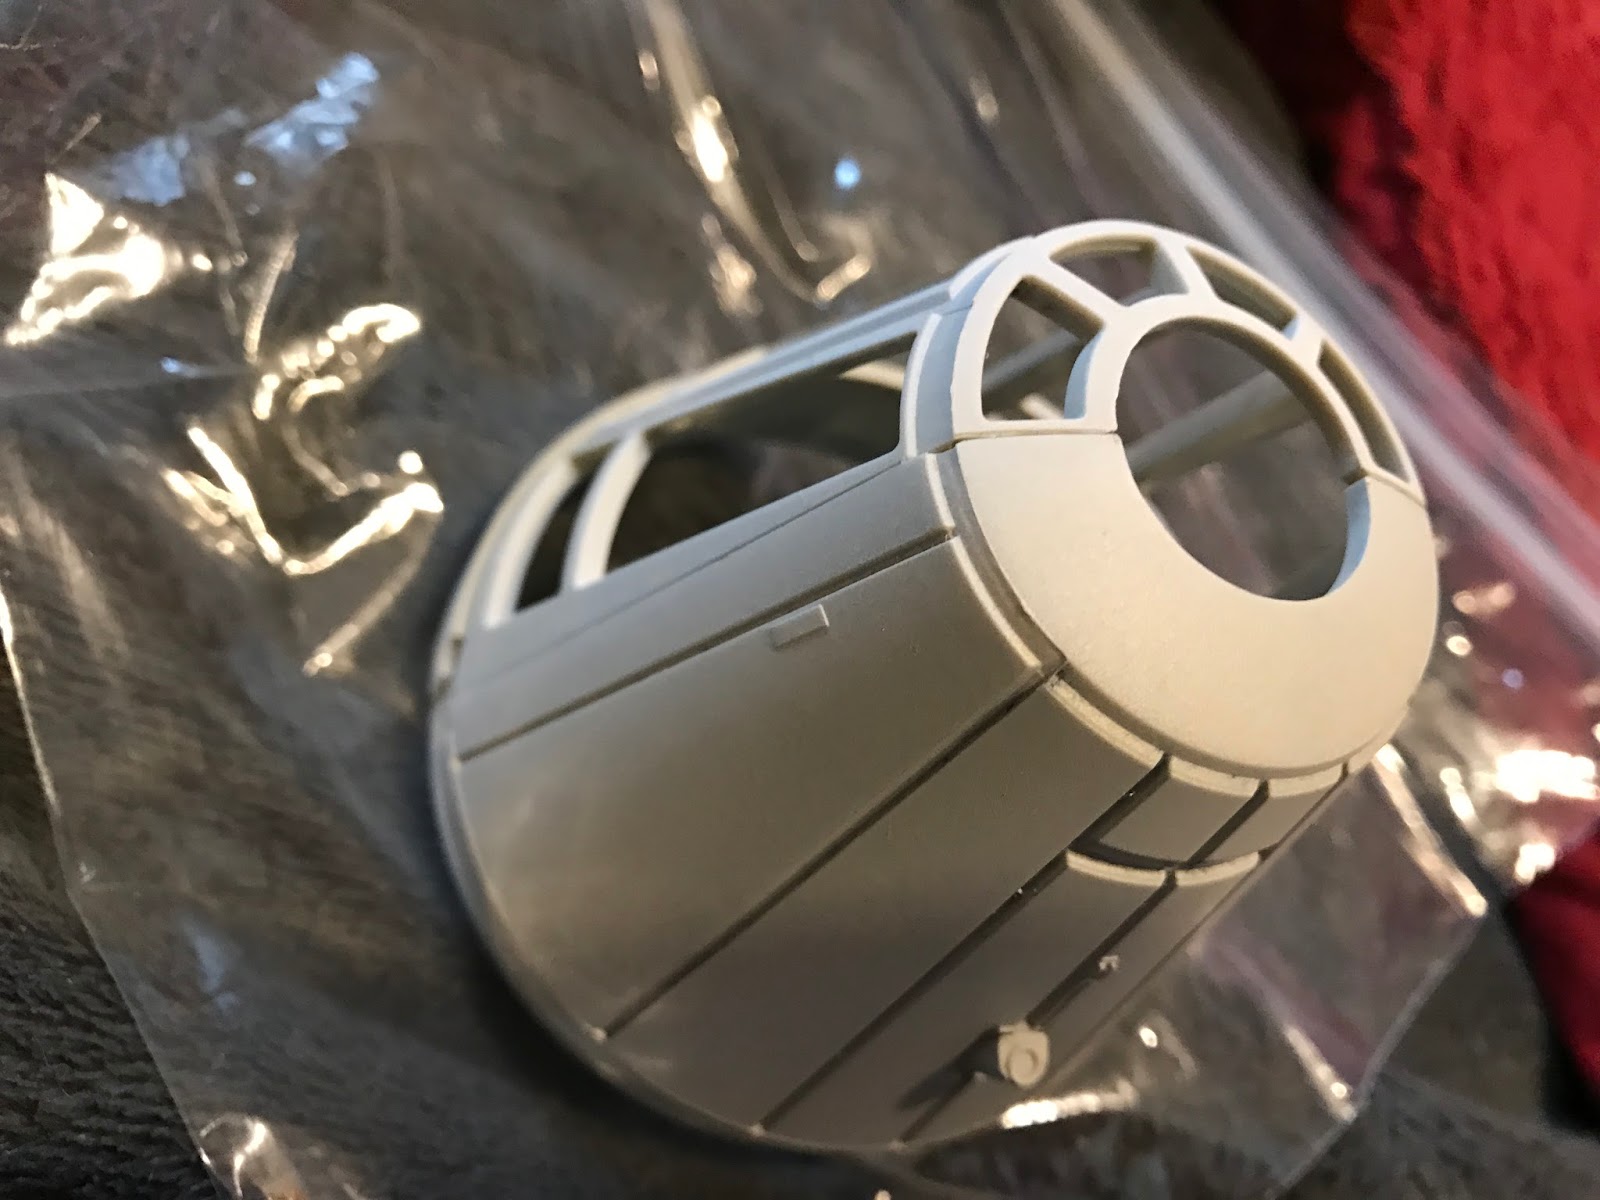
And the nose cone. Now there is some controversy about this cone concerning the windows. If you want to bask in the drama, go
here. In short, the window panes are too thick and the bottom windows on the front don't go down past the middle like they ought. How you feel about this is basically down to how movie-accurate you want to get. Since I'm going for a custom build, I could care less. Still, a replacement will be coming around about issue 40 or so, so don't get crazy with the glue. I'll just use this one for now, and when I get the enw one see which I like best.
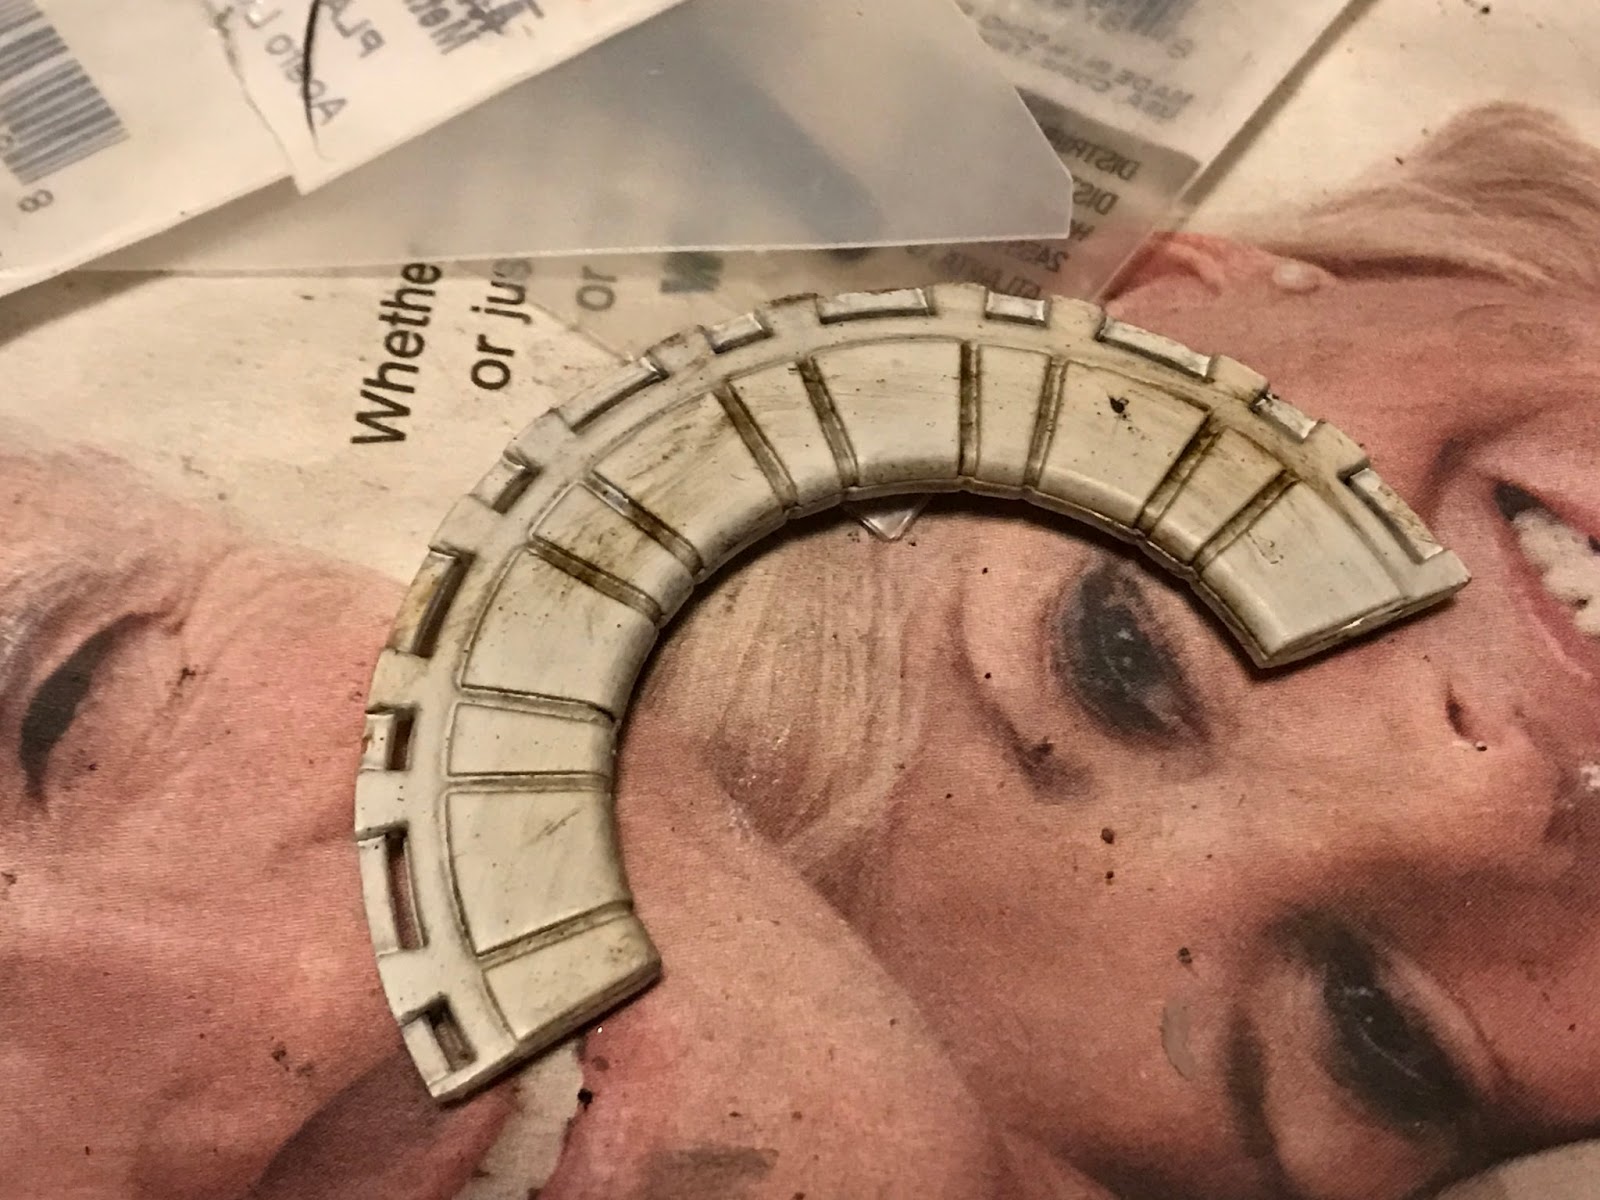
Anyway. Comes with a ring that helps assembly.
I got out my oldest, nastiest sanding block and scuffed the daylights out of this sucker, then went and painted the control panel in the back of it, there. Also a little dry-brushing to "ding" the paint off the corners. I want to also pick up a straw or something and put "cup rings" where people haven't been using their coasters ;) (picture taken before doing the control panel):
Here's how the nose cone goes together:
And here's a shot from the inside so you can see where all the notches and things line up with the ring:
And here it is together.
But before we do that, let's add one last chunk of walls. You get these three pieces. Lay them out as shown with the line 1/3 of the way up with all 3 bits:
Now, get your stickers out. This is how they'll go across the walls.
Application is very simple: you just take one sticker, start in the middle of the main arch, and work it down to the bottom, then use it to stick on the bottom part. Repeat with the other one. When you're done, it should slide into the cockpit like so:
Note that it won't "click" in or anything; it just gets held in once you put everything into the shell.
And one more little pic:I got some more paint today, and did some work on the turret guns. You can begin to see what I have in mind for my custom build:
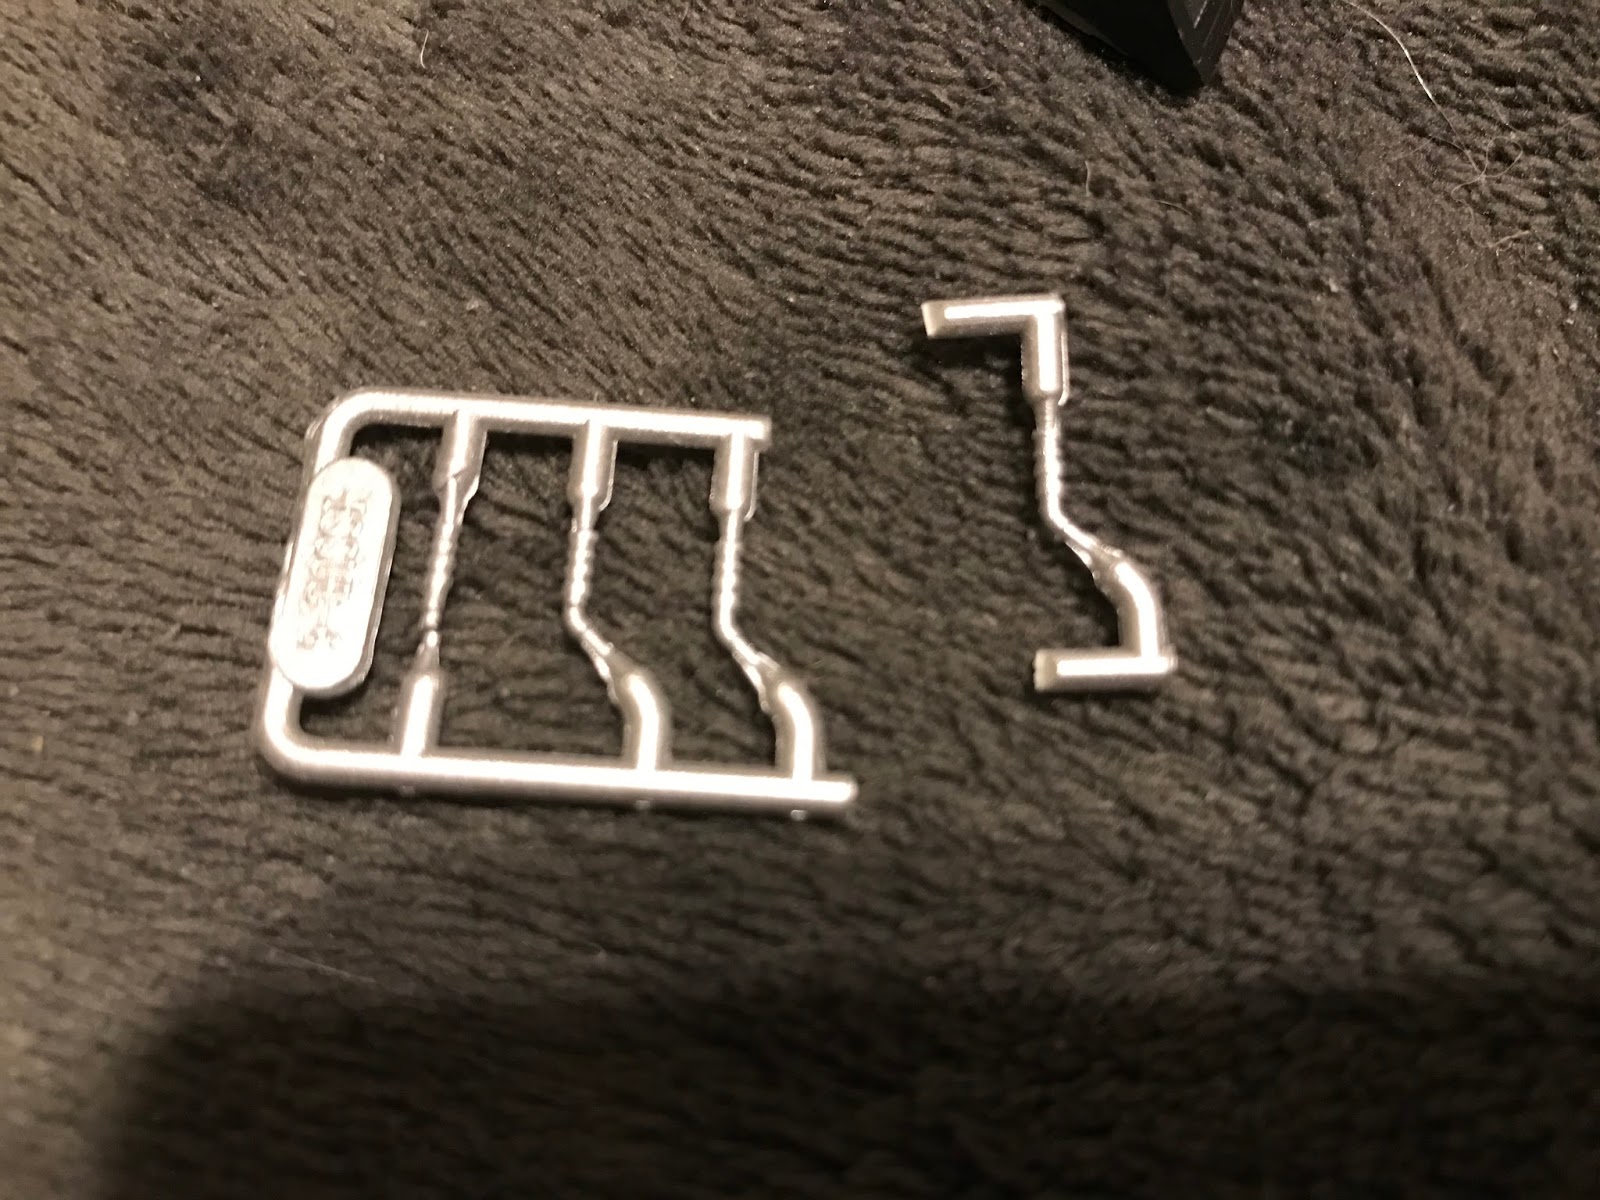
One last thing. We've got to add the levers to the control panel. They come on a tiny little tree, so:
I found it best to cut off the main parts of the tree and then ease off the actual levers, so:
Even so, I did have one casualty.
In any case, I still had 3 levers which I pasted into position, and got them looking nice. They really do add something to the cockpit.
I also wound up gluing the seats down in the cockpit, since they were too loose and I'm done with 'em anyway. I'm leaving the control panels and things loose for now, as I may come back with fiber optics later. So that's that for the cockpit (for now) and also Issue 6. Onward, to the next adventure!