Showing posts with label rockler bearing. Show all posts

Sunday, February 15, 2015

COM8 Frame and more

Friday was a good day for me. My COM8 frame showed up, as did the dome gear for the motorized rotation, and the first part of my PADAWAN automation system (a PS2 extension cable).

COM8's frames tend to come in "pizza boxes". They flat pack down but have a LOT of stuff in them:


Fortunately, they do include the instructions:


First, the top ring gets the two side panels where the legs go:


Then the middle ring gets attached to the bottom of those side panels.


Up at the top, this support bar gets mounted across the middle:


Note the circle cut out here in the middle: this is for a slip ring, which if you don't know is a mechanism that legs you hook wires to an object that spins. The slip ring rotates while keeping the connection and not letting your wires get all wound up in the process.


One slight flaw: it appears one of the holes wasn't drilled quite deep enough. I'll have to get a shorter screw.


Next up is the front assembly, with the three "shelves". The top is for the large data port, the other two are where the utility arms go.


Finally, the bottom disc is added, with 8 pipes to support it (also note the two long support bars in the back):


(The thing in the lower left-hand corner, btw, is the middle leg plate. That gets added when it's leg time.)

Anyway, off to the store to pick up some smaller screws for that one hole. While I was there, however, I came across these:


3/4 inch vinyl pads, just the right size for the dome buttons.

Anyway, while the paitn was drying on those, I broke out the dome gear and the rockler bearing and started to work on them. Turns out I hadn't drilled all the mounting holes in the outer ring yet, so I had to do that. And of course after that I had to disassemble and clean the rockler all over again.

Lesson learned:
  • Drill ALL the holes in the rockler bearing, AND tap the holes for the outer ring, BEFORE you replace the bearings.
 Okay. So once that was all done, I put the rockler together, then I bolted the dome gear to it. After that I took the whole thing and bolted it down to the frame where it fit like a glove:


Next stage was to drop the dome ring over the bolts (I used 2" ones to get enough clearance, and 3 nuts for enough space that the ring could spin without disturbing the main body):


After that, it was just a question of mounting the dome to the bolts and using a couple of wingnuts to keep it in place.

After that, I broke out the bondo and started working on the legs. They and the horseshoes were very uneven, so I went ahead and gave them both heavy work on the edges:


I'll sand them down later, but for now I'm just letting them cure up nicely. Besides, all things considered, I think I've done enough this weekend:


(And that's fighting a cold!)

Sunday, January 18, 2015

One down, eleven to go.

This marks one month since I started on this project, and this weekend has been a good one.At the end of Friday, I made sure the blue ring and the lower dome ring were all fitting together.


Then Saturday it was time to go over the Rockler bearing and replace the ball bearings. I more or less went with the video here to do this, and was done in about an hour. Here you see the bearing disassembled:


Here's my dome ring catching the bearings as I let them out.


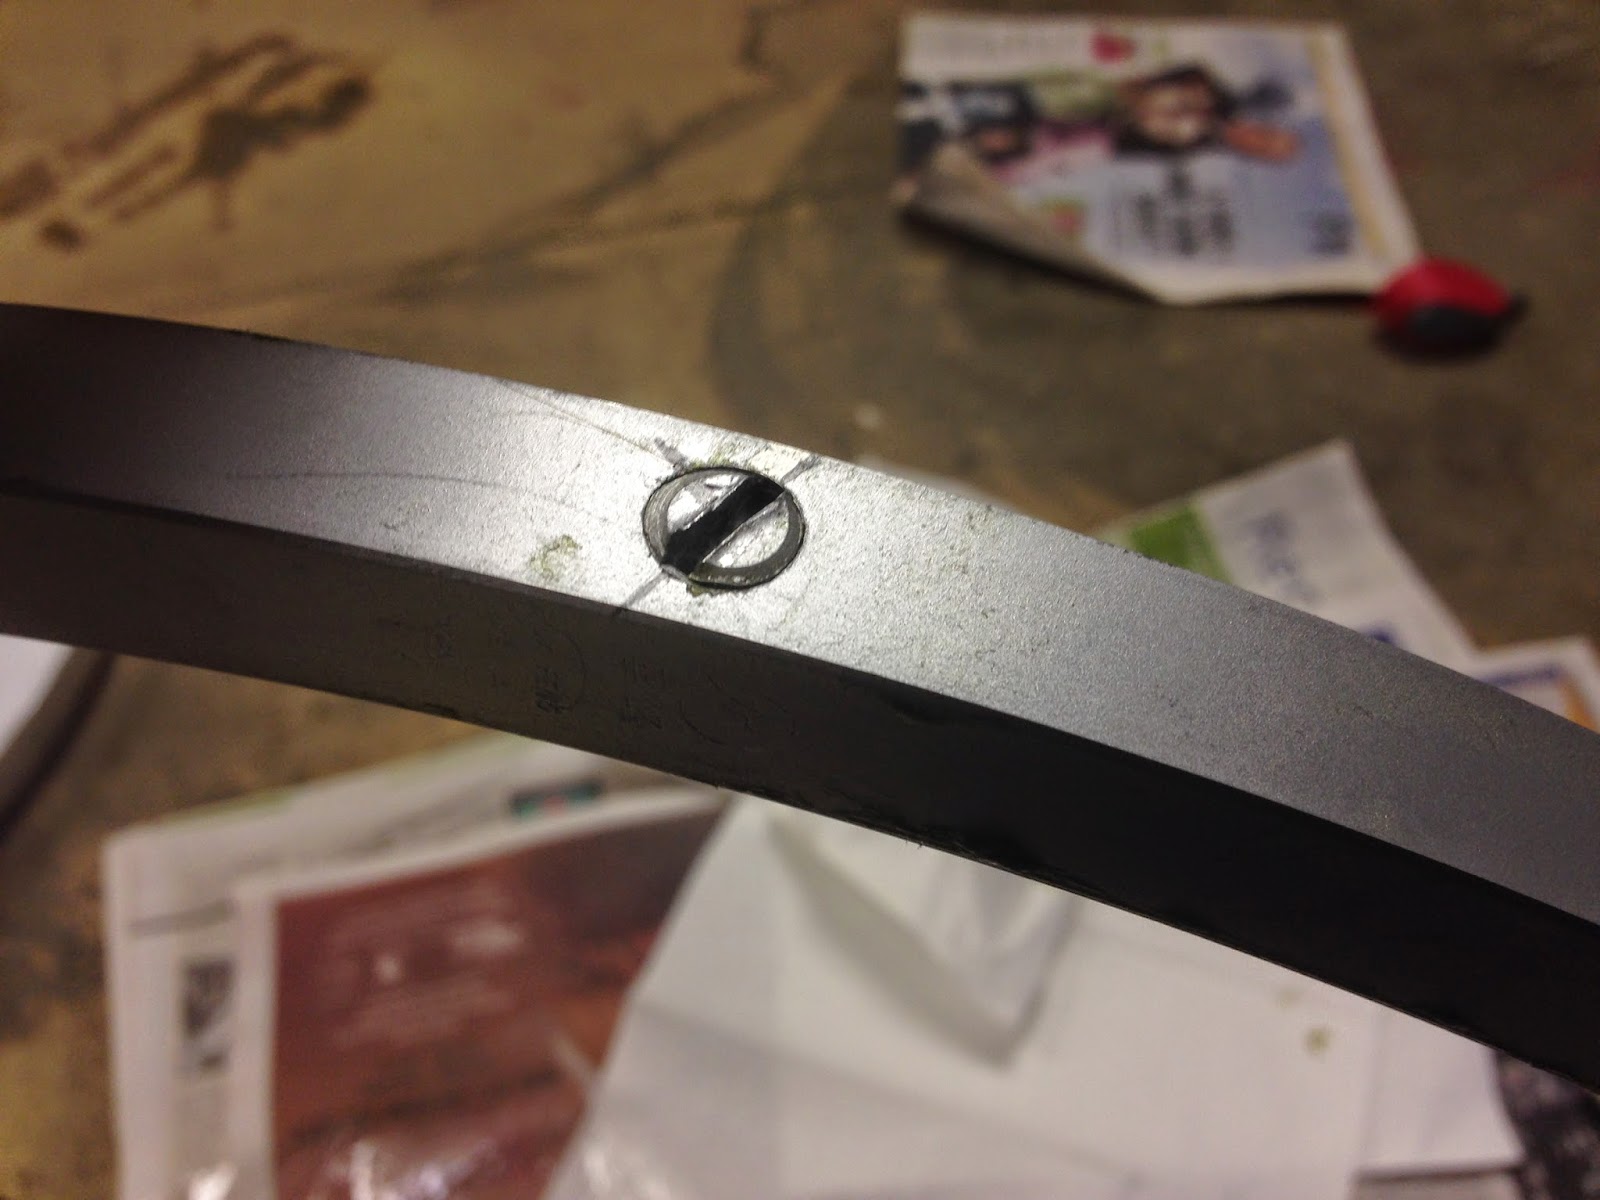
Per the video, I made sure to mark the starting point of the plug screw so I could line it up exactly when I was done:


After that, I needed to cut the dome ring itself. The owner of the makerspace showed me a neat Dremel tool (shown below) where I made a mark at the center, drilled a hole, and used it as a guide to cut a perfect circle. Came out nice.


Sunday was quiet, mostly drilling holes between the dome ring (note the hole) and the MDF supports, as well as the bearing itself (I should have drilled before I replaced the bearing; I'll probably empty it out here shortly just to get rid of any stray metal filings). I basically followed this tutorial for the drilling, even if the holes didn't match up I'm pretty close to the mark.


Here you can see the inside with the bearing mounted inside the dome ring. I'll need to get some nuts for spacers so the ring will actually turn, but that's no big. And when my holoprojectors come and I verify the fit, I'll be able to glue the MDF ring into the inside of the dome and secure everything, and still have the ability to get in there and do maintenance.


So. With only one month down, I've got the dome nearly done: just need to get the logic display frames cleaned up and painted, finish building the light systems, cut out some milk jugs for the diffusers on the logic displays, and glue on all the outside bits. Basically, I'm waiting on parts and then a flurry of soldering (I'm as far as I can get on that right now without a primary smoke test). I've got a frame on the way in February, legs in March, all kinds of body bits printed and ready, and I'm even starting to glance a little at the intricacies of getting this sucker moving. This is coming along fast. And it is fun.

Monday, December 29, 2014

Lazy susan and painting

So today is a paint day. First off, I set up a paint area in my workshop, and by paint area I mean cardboard box with newspaper. Then I lined up my paints:


I hope that's enough. Note the XTC-3D on the far right.

Now, it's time to see about aging some of this stuff. I'm scuffing up some of the chrome bits to make it look old:


That looks nice and scratch-and-denty. Now let's see about adding some rust:


The one on top is the "Before" shot, the one below has been aged and had some Testors rust applied to it here and there. Taking a light touch, but enough to make it look like it's been around a bit.

Now, it's time to start in on the blue bits. I'm using the Krider Blue method because I'm a cheapskate. To wit:

  • 2 coats of Rustoleum Metallic Blue 7251
  • 2 coats of Duplicolor Anodized Blue
  • 3 coats of Rustoleum Crystal Clear 7701
15 minutes between each coat, and 48 hours to cure. I'm starting with the blue bits for one power coupling. If these go well, then I can go ahead and do the rest. Wanted to make sure it came out all right before I tried it something big like the radar eye.


Meanwhile, my Rockler lazy susan showed up. This is a surprisingly heavy bit of hardware, but it's good and solid:


Also, my dome should have been shipped off today, with any luck. So, off to a solid start.

Friday, December 26, 2014

Score!

So today I was on the astromech.net forums as usual, looking for parts and I did rather well for myself. First off, I found that the Rockler lazy susan, the standard for mounting the head to the body, has gone on sale with free shipping, so I went and took advantage of that real fast (still had to pay sales tax but eh, worth it).

Secondly, I had started a thread about the dome itself. Now, a steel or aluminum dome is expensive as hell, and I didn't want to do that. The fiberglass ones are cheaper and easier to work, but from what I'd read the guy who did them was kind of out of business. The styrene ones were great, but there was no sign of a new run of the many time soon. So, I was digging and saw that the old Ikea lamps were once used as a substitute. The lamp in question is 18x9 hemisphere in steel, whereas the R2 is closer to 18.25x11 or so. Anyway, I got several messages from folks saying basically don't bother, wait until there's a part run. One person suggested I keep an eye on the junkyard, where used stuff gets posted. So I wander over there, and dang me if someone hadn't posted this:


It's an unused styrene dome set from the last part run, perfectly pristine, pre-cut and ready to go. And terribly cheap too. It was first-come-first-sell, and I managed to pounce on it before anyone else. So I've got a primo dome coming pretty soon. YES.