OK, so it's day 2 and turret time. This is the second of the two bits that come with Issue 1, so this will close out the issue.
Here we see the bits for the top turret. Note that we get metal parts for this, which is a nice touch.
You've got top and bottom lasers, the yoke, two mounting panels, and 4 screws (you only need 3, but they kindly include a spare). The screws are Philips-head, fitted for your smaller "jeweler" style screwdrivers. You get one in Issue 2, but I already had a rather nice set for electronics work.
Anyway, first thing to do is to put the mounting panels onto the yoke, like so. Note the yoke pretty much is symmetrical, so there's no upside-down, but the panels need to be a certain way. You want the long side down, and the "tabs" inward as shown below.
Now, you need to take the two gun sets. These are actually 3 pieces each, the "barrels" are friction mounted into the base. I found a couple of mine weren't staying put, so a dab of metal-compatible superglue took care of that little problem. Your mileage may vary, of course.
Anyway, the way to tell these two apart is to look at the base. The "upper" one has that square thing mounted on it (it's the one on the bottom of the picture):
Now, take the lower (without the square) assembly, and put it as shown here, with the groove lining up with the pegs on the yoke.
Now, the upper goes on top of it, also lining up with the pegs:
Now, you carefully flip the whole thing over and put screws in the 3 holes. Don't tighten them too tight; leave enough slack that you can move the turret around on the yoke easily.
And that's it. Part 2.
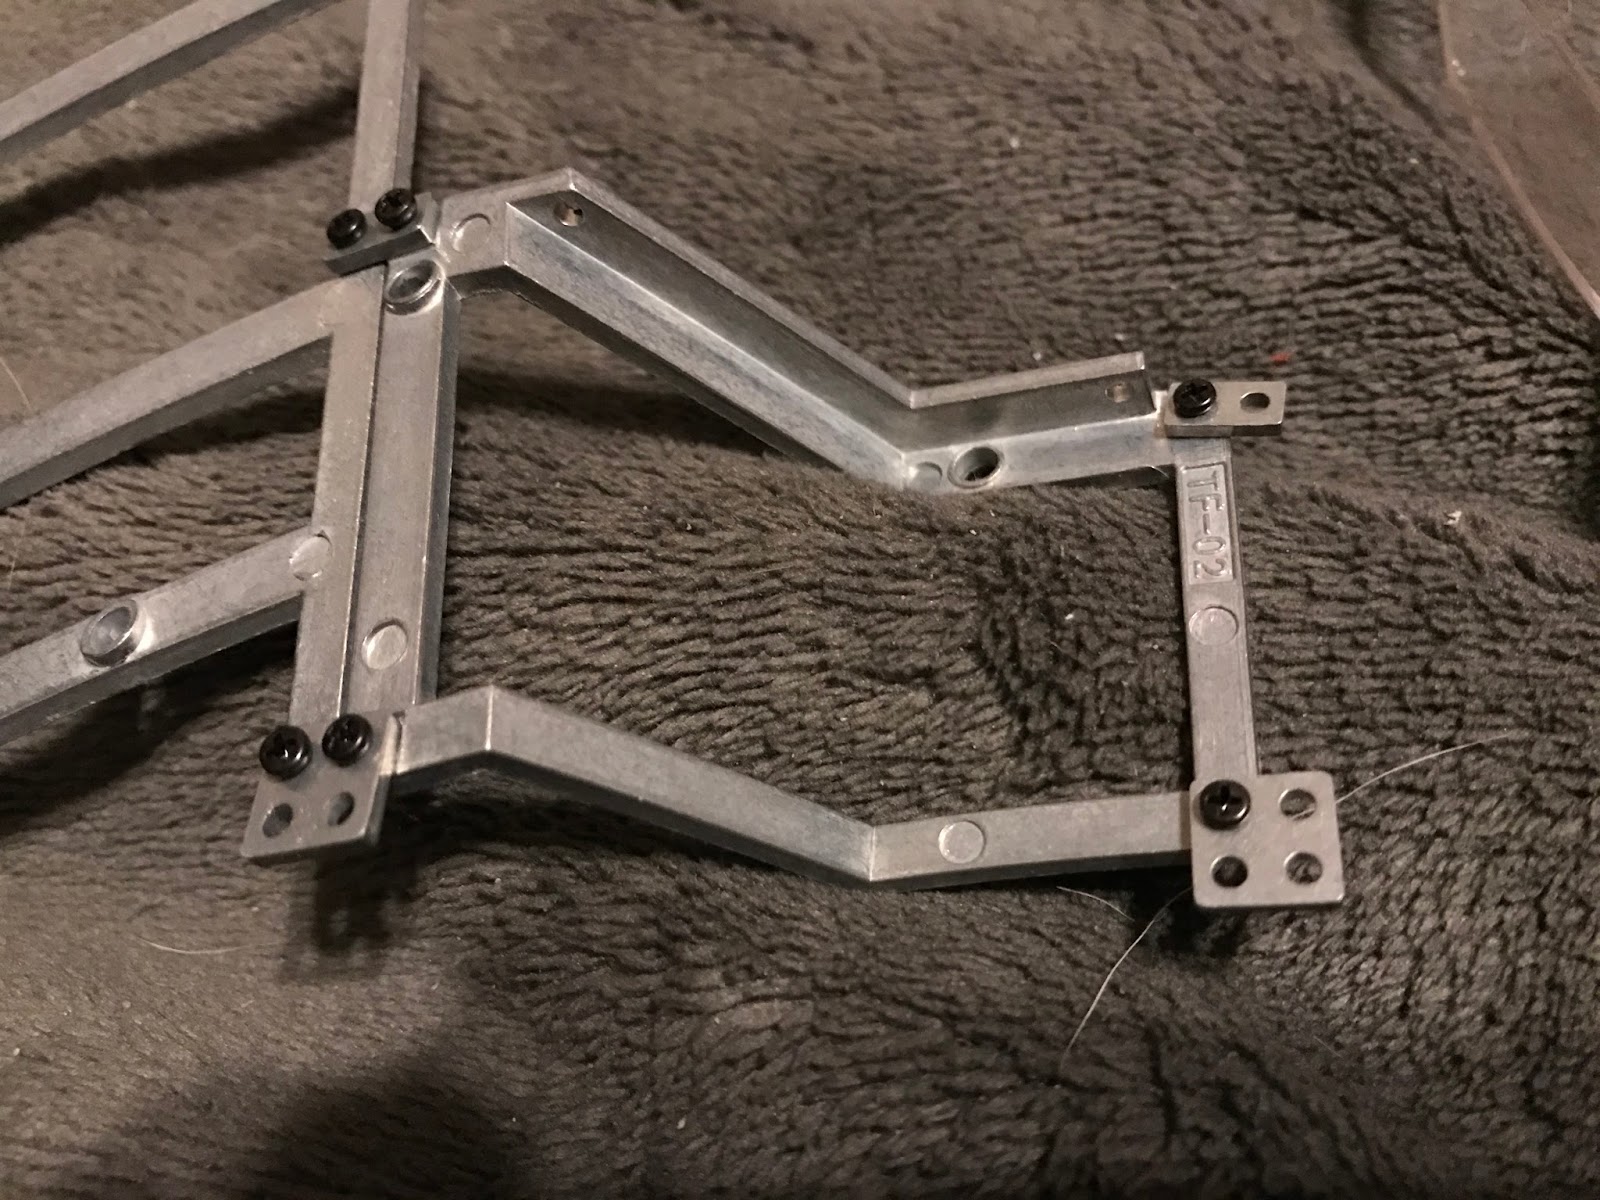
Note there are still some parts left over from this issue, to wit: one body panel and two metal parts which will form part of the "skeleton" the body panels get attached to. This looks like it's going to be a very solid build.
Issue 1's parts complete:
I'm going to have to circle back and do some serious painting on these things before long, but I think I'm going to wait on the body parts until the whole "shell" is complete. Still, it would be fun to practice a little on those turrets. They're just too darned clean altogether.
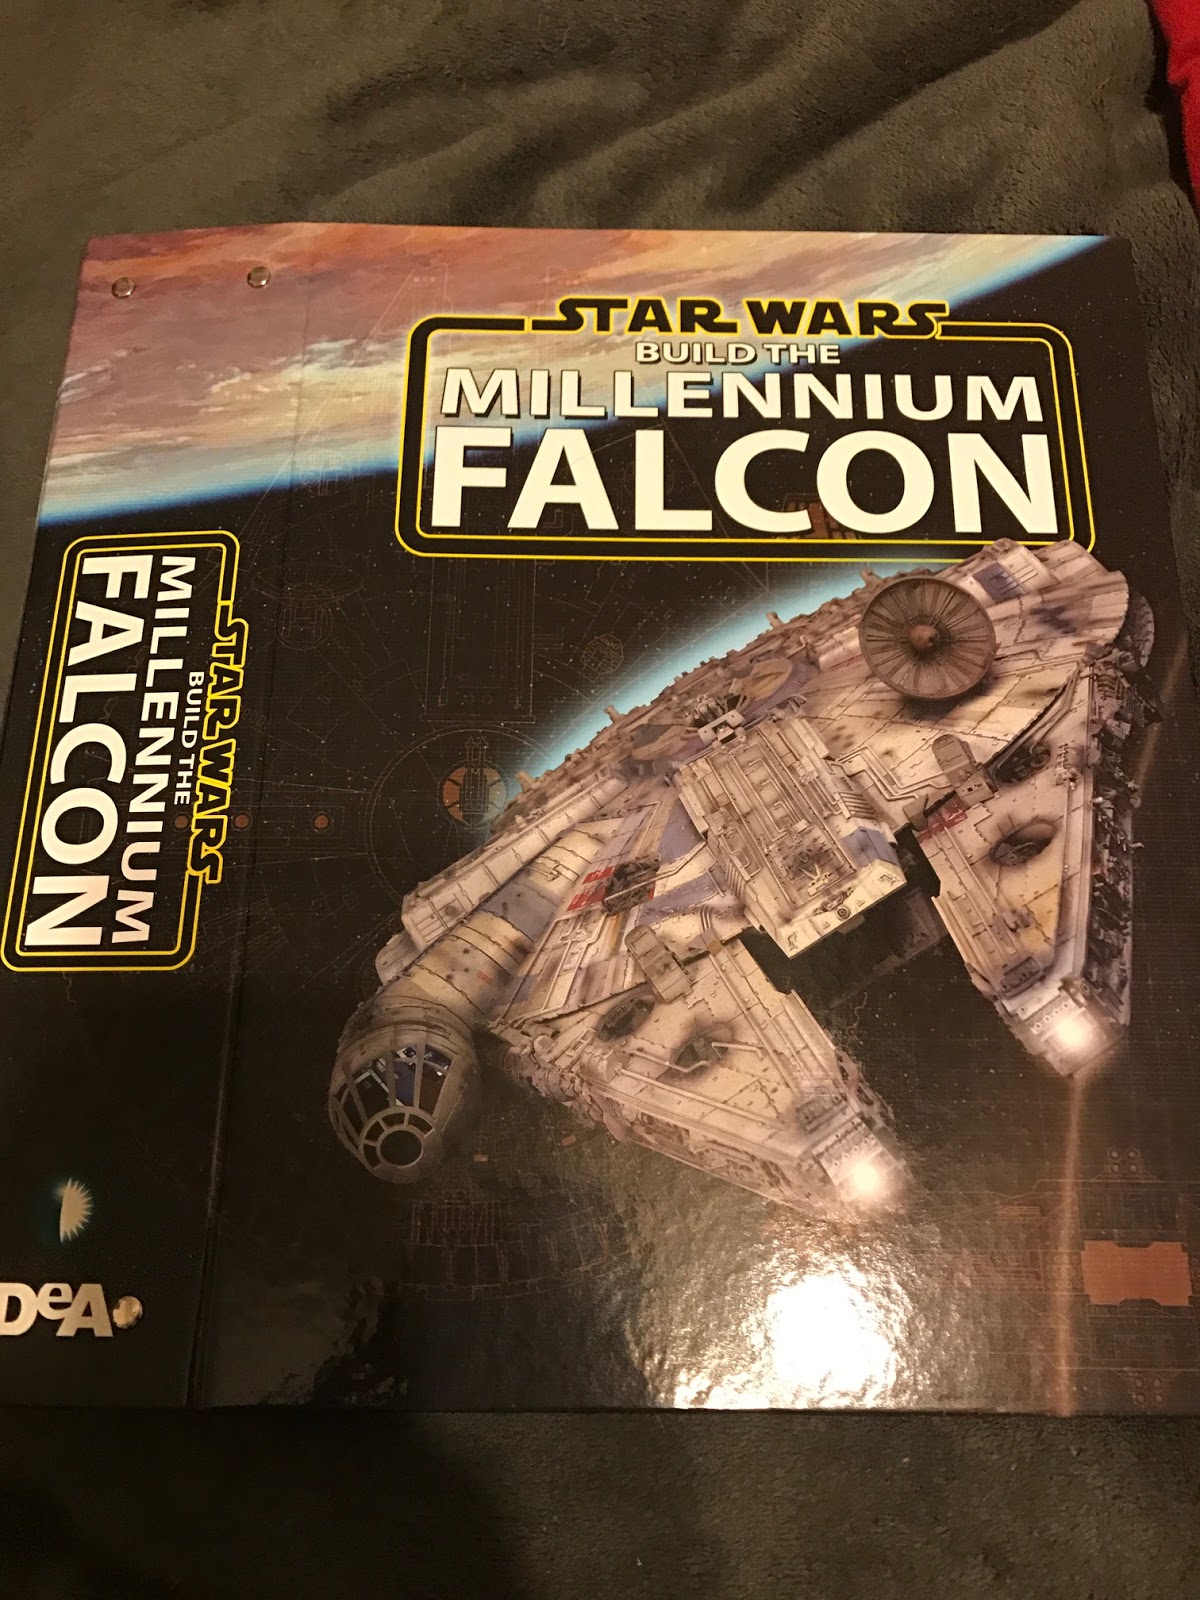
In the meantime, let's wrap this issue up by putting it in its binder. You get one with your subscription, capable of holding 20 issues. The upshot is that you'll need 4 more before it's done. Well, ptt. Anyway, here's how you do that.
Inside, you'll see these kinds of ladder-things attached to the top and bottom of the spine. I suggest removing the assemblies and putting them somewhere where you can easily get to them as you add new issues. For now, pop off two of the little "rungs".
Place your issue, open to the middle, along the spine where you want it to go. Then, take a rung, and push it in pointy-end first into the little grooves along the top and bottom of the binder assemblies as shown below (notice I stuck this pin in the 2nd slot instead of the first. My mistake. I went back and opened the first slot up a bit more and was able to use it).
Do this for top and bottom both and hey presto, it's secure.
All right, that's it. Tomorrow, I crack open Issue 2. Should be an eventful one, as I'll be starting on the support skeleton, adding interior and cockpit details, and fixing a DeAgostini booboo (cue dramatic music...)