Sunday, May 21, 2017

Issue 20

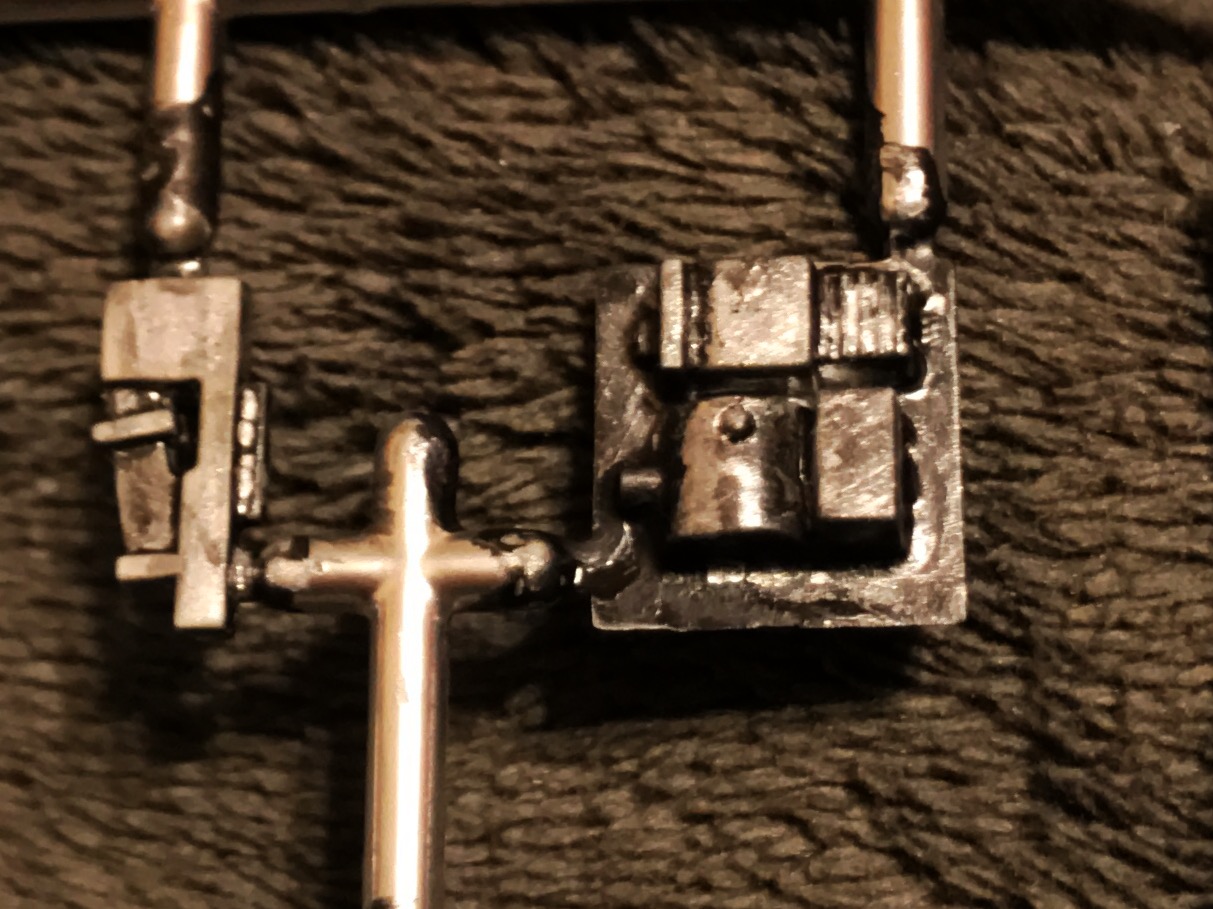
OK, so we're going through what seems to be a long phase with issues that contain bits that will be needed later, with maybe one or two things that can be done now. This number, for example, has a couple of small bits of corridor that need padding. They go in the cockpit corridor where it joins with the other one.

So, as usual I gave them a coat of flat black first:


Then glued the pads on (I left off one on the bottom left because it as too tiny even with tweezers, and anyway who's gonna kvetch?)


Now a little weathering:


And a test fit on the corridor.


Looks like at least 3 more issues will be dealing with this corridor. The next two particularly are going to be quick ones. Still, more skeleton and other body stuff is being accumulated, so hopefully they will all soon bear fruit. Til then.


Wednesday, May 17, 2017

Issue 19

OK, a pretty cool issue this time around. First off, we have another bit of corridor and yes, everybody's favorite, more of those portal things with all the pads going around them.

First, the corridor...


Hmm, wait:


 Ah. That's better.


A nice worm's-eye view. As I understand it, this will go to the cockpit eventually.

Anyway, the next part is an "open" area on the lower hull. It looks like this:


First off, my usual matte black primer coat:


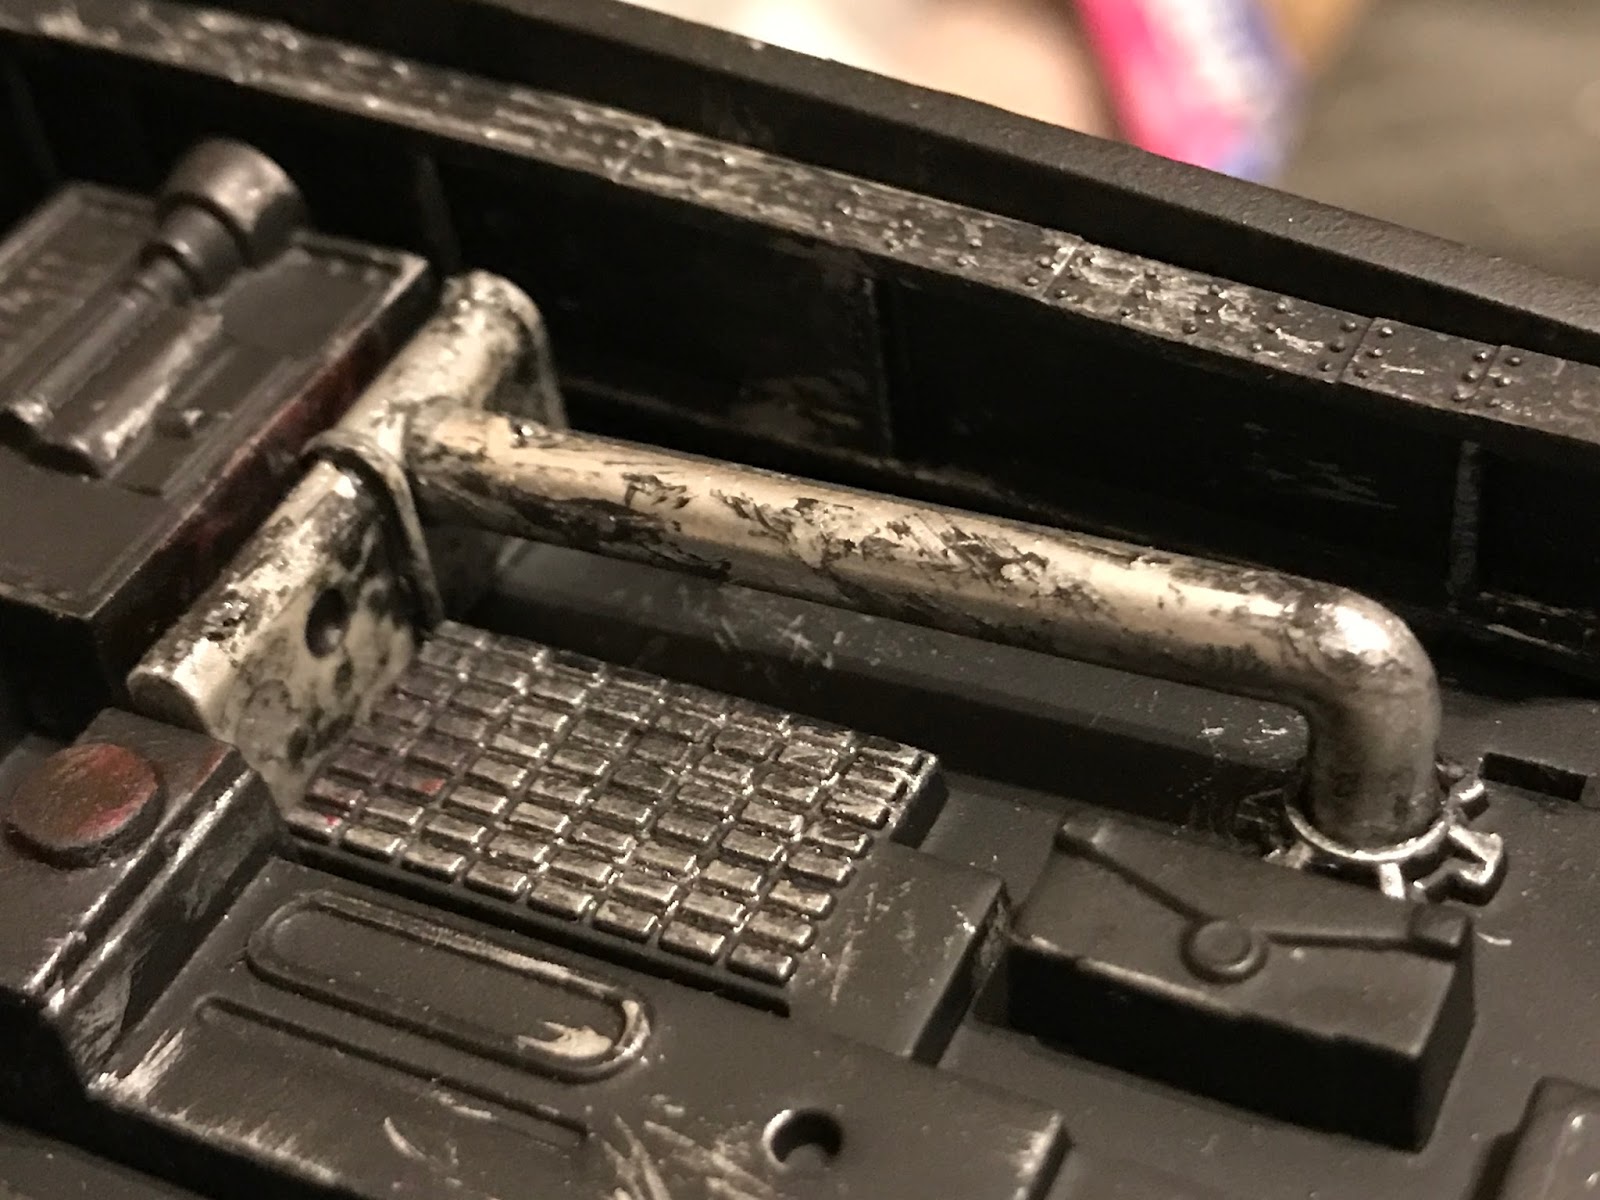
Now, the magazine says to just use spray paint, couple different shades of gray. But if you think I'm gonna miss out on the opportunity to do some detail painting, you must be new here ;) First, a little groundwork on the part:


Next, some tooling on the glue-on bits. The pieces on the tree are metallic coated, and then "grimed" with black Testor's which I then wiped away partially.


Shot for detail:


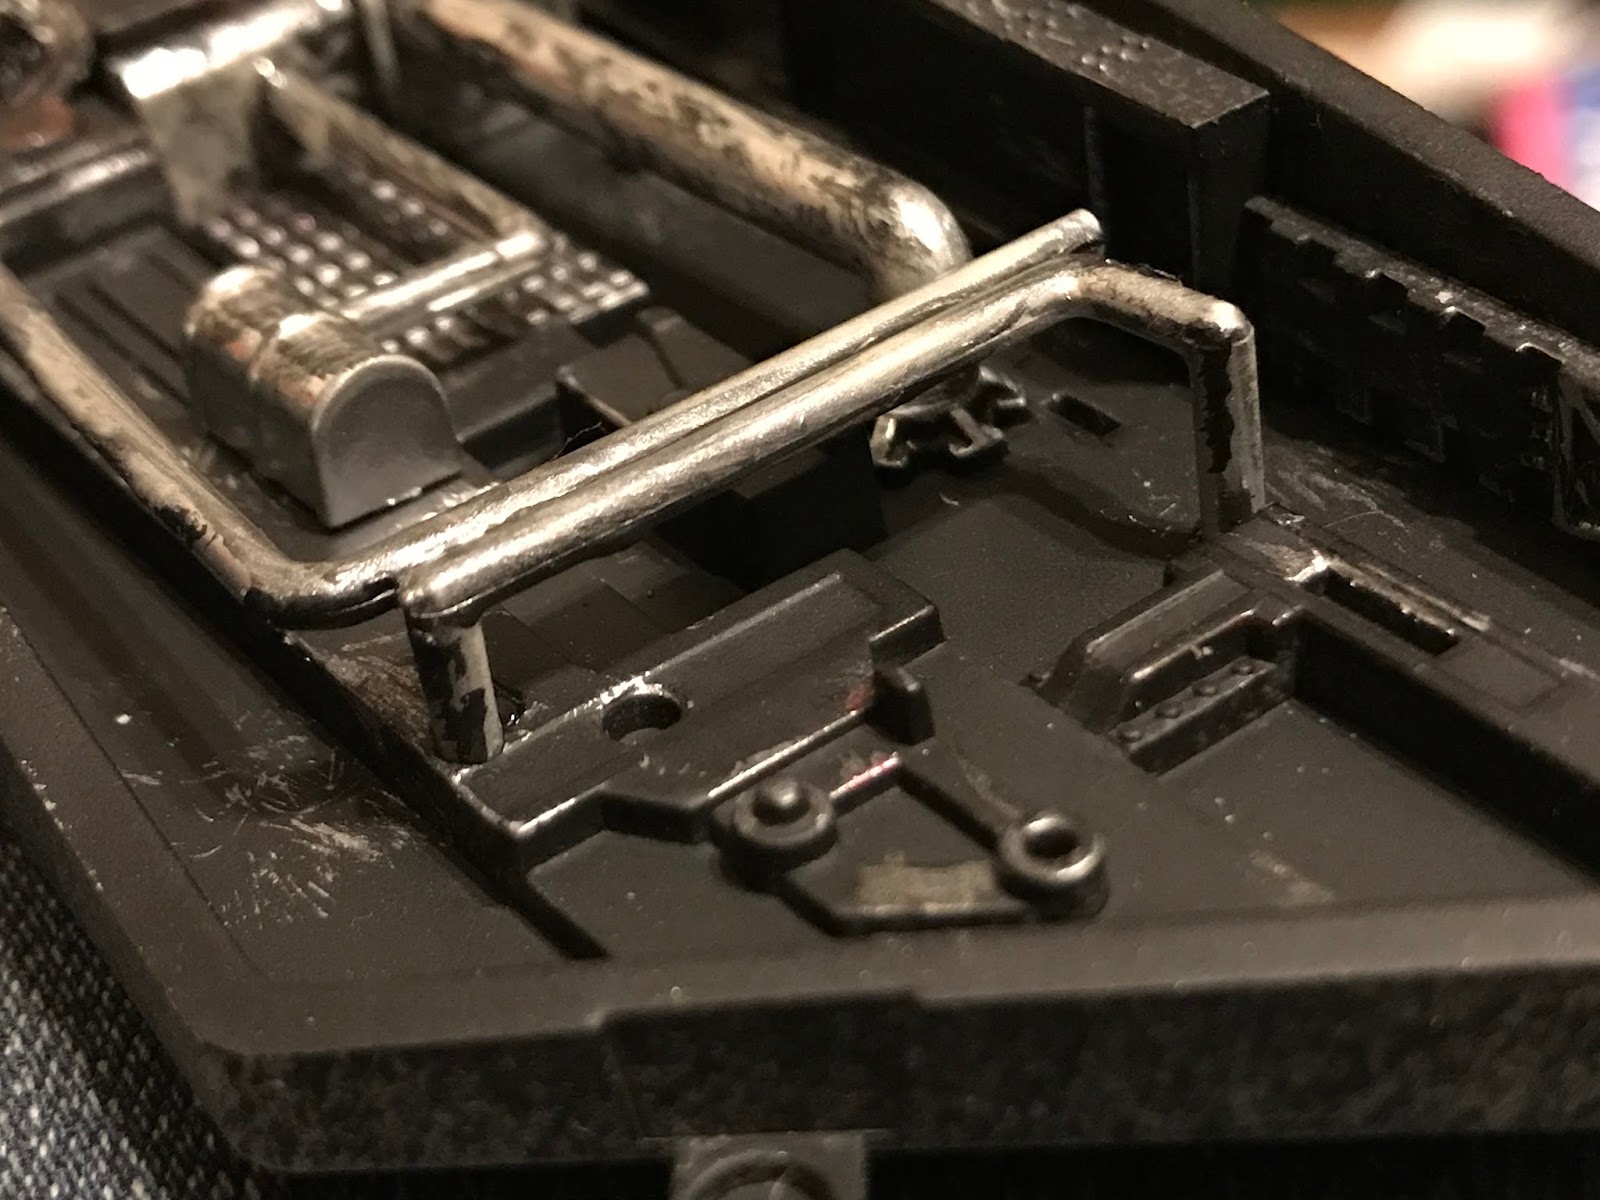
Now, the photos in the mag don't really do a good job of showing what goes where, so I've zoomed in to show each bit, step by step. So here are the various parts (I went ahead & did the first "big" part as it's fairly easy to see where that goes):


Here's the other "big" piece:


And finally the end result:


I don't know about you, but nothing warms my cockles like lovingly and painstakingly painting a piece that hardly anyone is ever going to see and even fewer are going to look closely at ever. :) Seriously though, rather proud of how this came out.

Anyway, that's this issue. Looks like next couple issues will finish out the current corridor, so hey, nice reprieve from those stupid padded doorways. I'll crack into 'em tomorrow probably. Later!


Sunday, May 14, 2017

Issue 18

This issue brings us back to the lower front skeleton. As you may recall, we left off with it looking like this:


Now, here are the bits from the previous issues that we will be adding on this time:


The outermost bit goes on first, as usual (btw, I found out the plates mounted on here are used to mount the front sections of the ship):


Then the other two go on, nice and straightforward:


Don't forget to add the two 2x1 connectors as seen below:


And viola, the new additions:


That's pretty much the whole lower front, there. We'll be getting some scaffolding soon to support this ship as it is beginning to get pretty big. In the meantime, next issue brings us back inside.

Issue 17

OK, this issue is mostly down to the new corridor. We got the bottom half, now we need teh top. And some more detailing.

First off, here's the top and a "fastening ring" which goes on the end. Here's the before-painting version:


While the paint is drying, I take the padding that came with this issue, and apply it to the lower half of the corridors, so:


After the top half is ready, it gets a few bits of padding as well:


Now, I do a little bit of weathering (again with the muddy wash), and it's time to put these pieces toegether. IMPORTANT NOTE: the pegs up top of the doorways are not symmetrical: they have to go in a very particular way. So if your hallway halves don't want to get together, check that first you don't have to turn one or more of those suckers around. Anyway, when you got them together, they should look like this:


And a shot from the hold:


You might notice I removed the red/green wires on the left side of the doorway. That's because I'm going to put them back in later, threading them down the hall. I'm going to wait until I have the interior done so I know how far to go.

Pretty spiffy. There will be more later, it seems we get a fair whack of the interior of this thing.

Sunday, May 7, 2017

Issue 16

Issue 16 is pretty quick and easy. We're adding a length of corridor to the hold. First off, we have the floor and bottom half, which look like this unpainted:


And here they are again after a dash of paint:


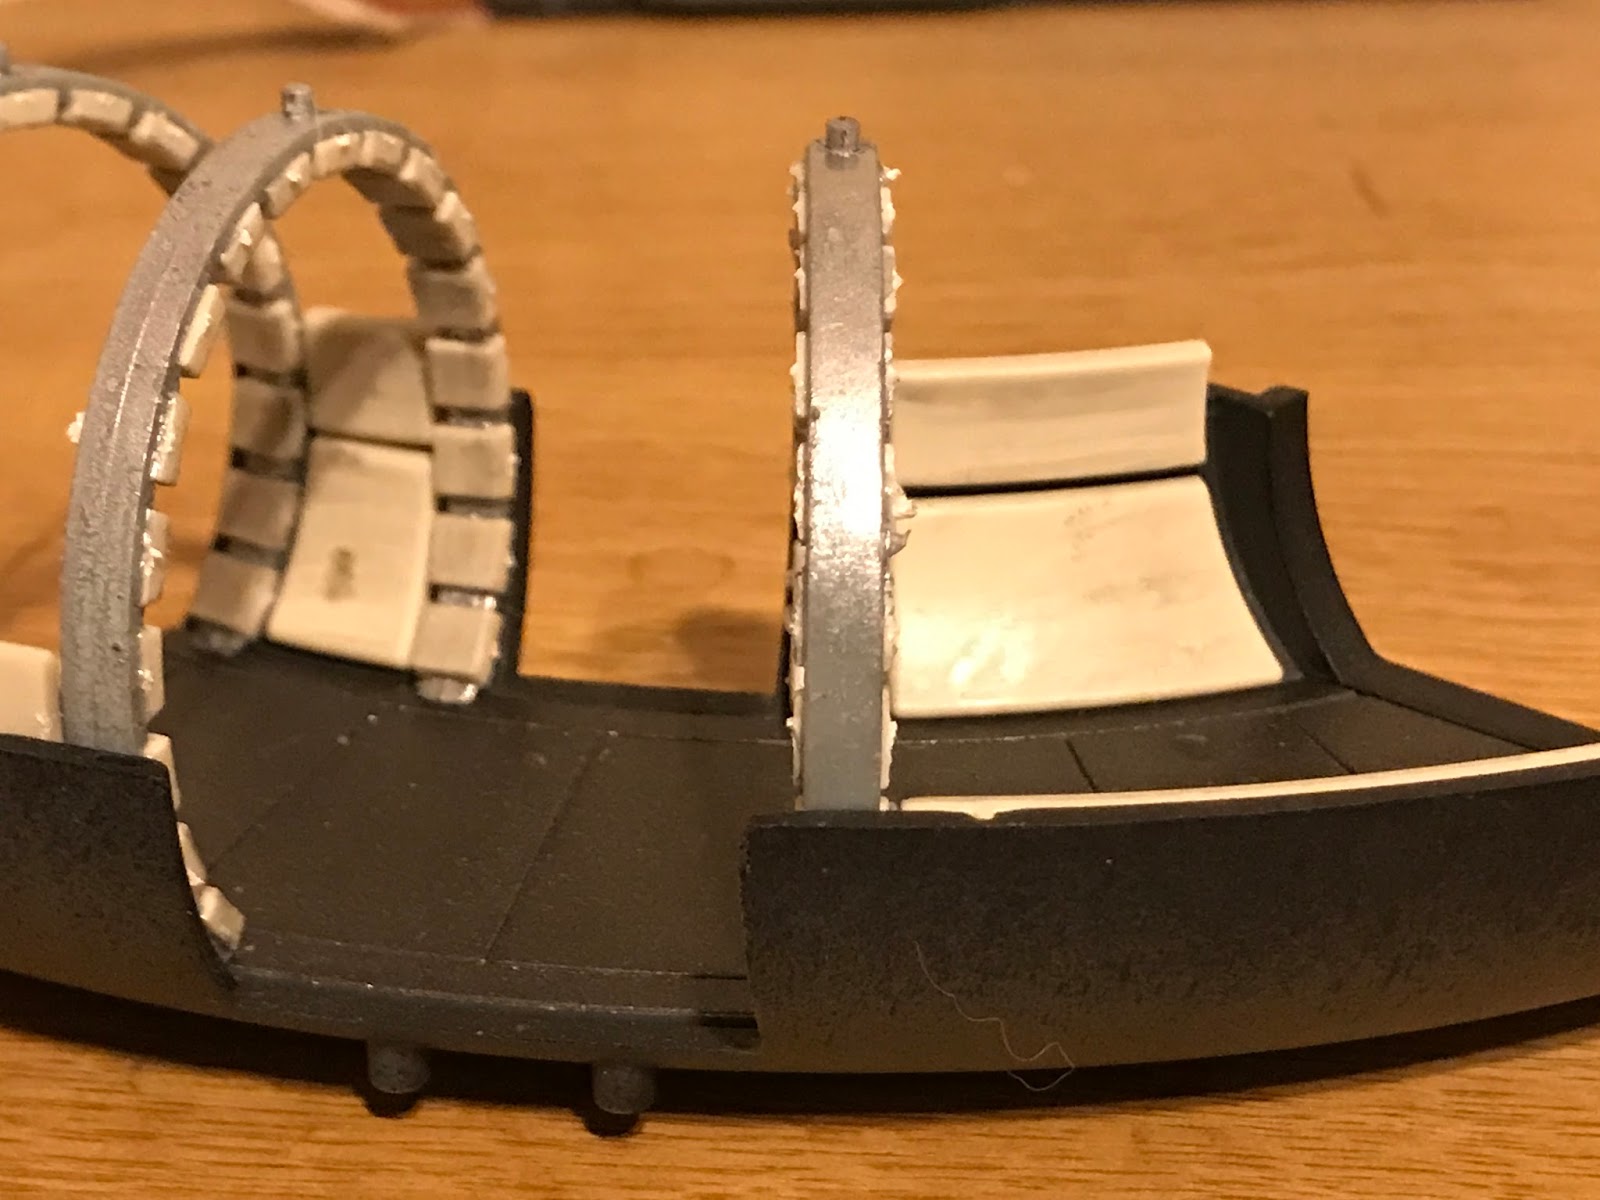
Didn't bother with wear & tear on the floor because I dunno how much people are going to even see them. Still, the hall is at least somewhat visible because they gave us 3 more of those padded archways to do. I'll spare you the boring details: suffice to say it's exactly like the other two we've done so far.

Anyway, once those are done, they click ring into the hallway floor, and the whole thing goes together. I believe it's supposed to go to the rest of the hold like so:


...but we'll find out for sure later on down the line.

(Note the little "pegs" on top of each archway; presumably those lock into the top half of the hallway and keep everything in place.)

There's also another bit of skeleton and body panel in this issue, but the magazine recommends holding it off until a future issue. Fortunately, my next bundle of magazines comes (drum roll please) Tomorrow, so I should be able to keep grooving right along. I don't know how I do it.

Can't wait to see what this next bundle of goodies has for me. OK, more skeleton and body panels, and probably more (*@*&#$ archways. But we'll see.

Wednesday, May 3, 2017

Issue 15

Welcome to Issue 15. Now we're going to work on the skeleton some more, and we're getting some more of those cushion-y doorway thingies for the corridor. We'll tackle those next issue. Meantime, it's skeleton time.


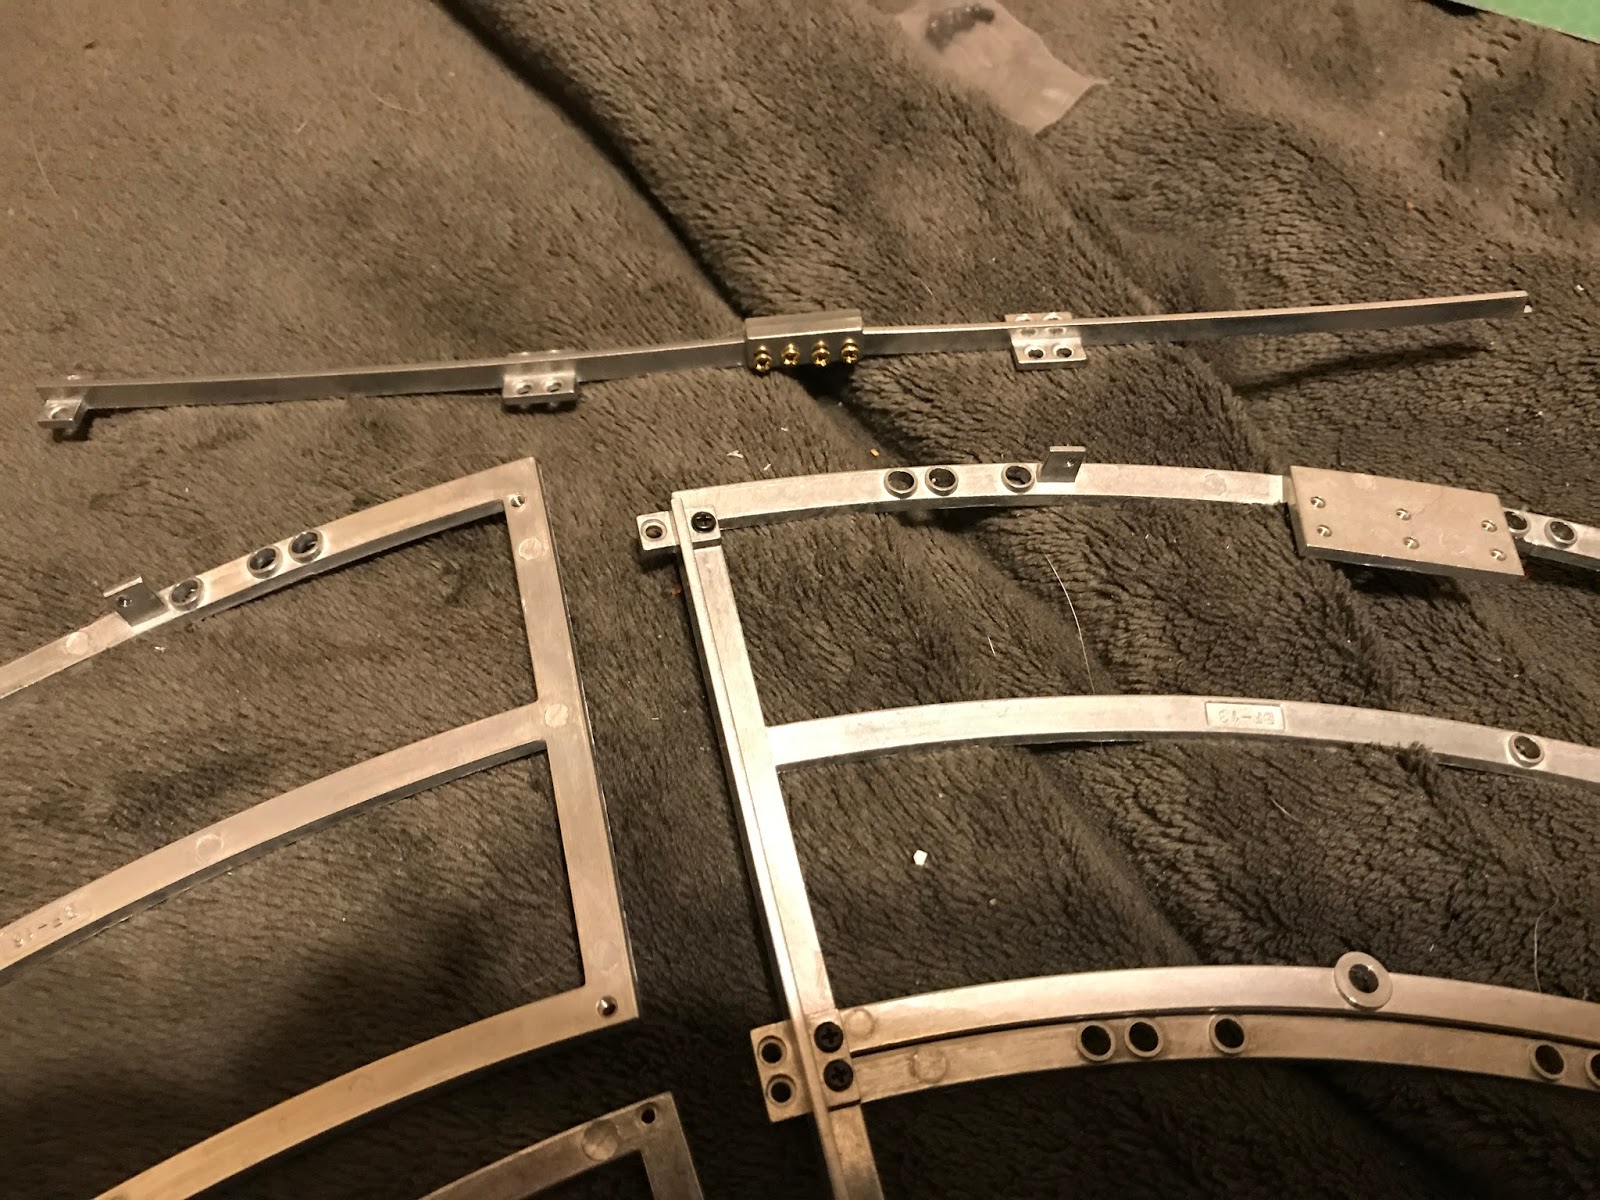
Taking what we've done of the lower skeleton so far, we line up the bits we have to add to it on the left, thus:


Go ahead & attach these bits on the top here together right away before you attach them to the framework:


Now, attach the framework pieces in the order shown:


Then take the long bar we assembled first and attach it to the left edge, like so:


And there you have it. 1/4 of the bottom frame. This is beginning to take shape. And we're beginning to see that this is going to be a big sucker for sure.

Special bonus: here's what the currently available body panels look like. See if you can spot which ones I've repainted thus far, and which are still original colors:


Next week: corridors


Issue 14

Welcome to Issue 14. As you can see, we're finishing off the final wall of the hold:


First off, let's paint the doorway to the electronics area a nice silver:


...and then mung it up with some grease and stuff. We'll wipe it "clean" before adding it, of course.


And now the same for the corridor frame:


Another one of those padding things that go all the way around (I'll spare you the play by play on those, cos it's just the same as ever), and we're ready for our test fit. Note the two circles on the left. Those lock the pipes in the pipe holder area into place, so you have ot be careful with them when putting in the wall.


And there you have it. One hold.


Special bonus: enjoy a 360-degree view of the hold below. Image partially obscured so you won't see what a mess my room is ;)

DeAgostini Millennium Falcon, interior hold - Spherical Image - RICOH THETA

Anyway, more skeleton next issue. Hooray! See you then.