OK, so first off apologies for the long delay between last entry and this. This was primarily due to my Issue 38 not including the 4 tiny little pins that are used to put the hydraulic rams together. Fortunately, they do send replacements. Unfortunately, it seems to take a bit of a while. Anyway, they showed up tonight, and so I'm back in the saddle.
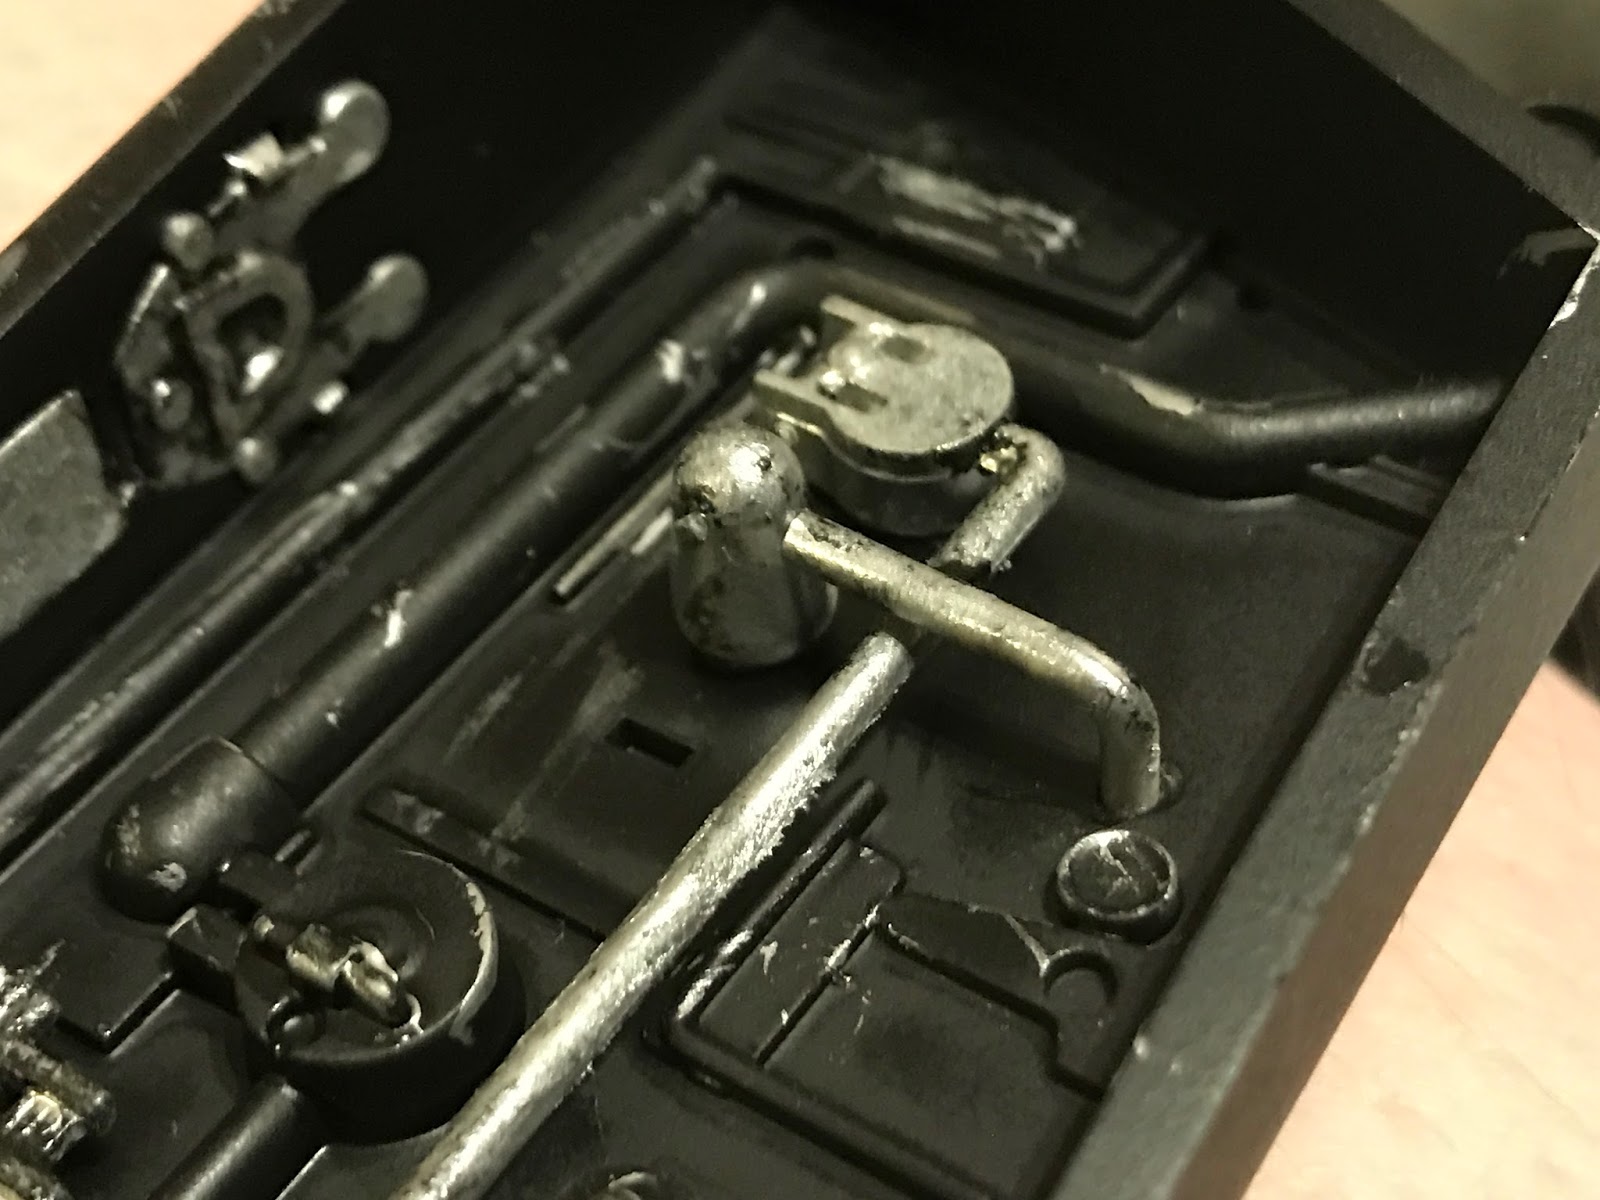
So. Speaking of tiny little pins, you want to make a flat surface with sticky-side-up tape to hold the pins on, like so:
Note that the "flat head" is on the tape. Now, we take a hydraulic ram (note which way up it is by the shape of the bit on the end) and get ready to attach it. I have pix of the assembly of these, but they're way back when I first attempted this sucker. Honestly it's very simple...
Ease the ram down onto the pin, thus:
Then take one of the 4 ram bases on the tree in 38, and push it down onto the pin, until it's flush. Do this for all four, and you should have this:
Now would be a good time to paint these if you're going for weathering.
Now, it's time to put everything together. Get your ramp skeleton and body part:
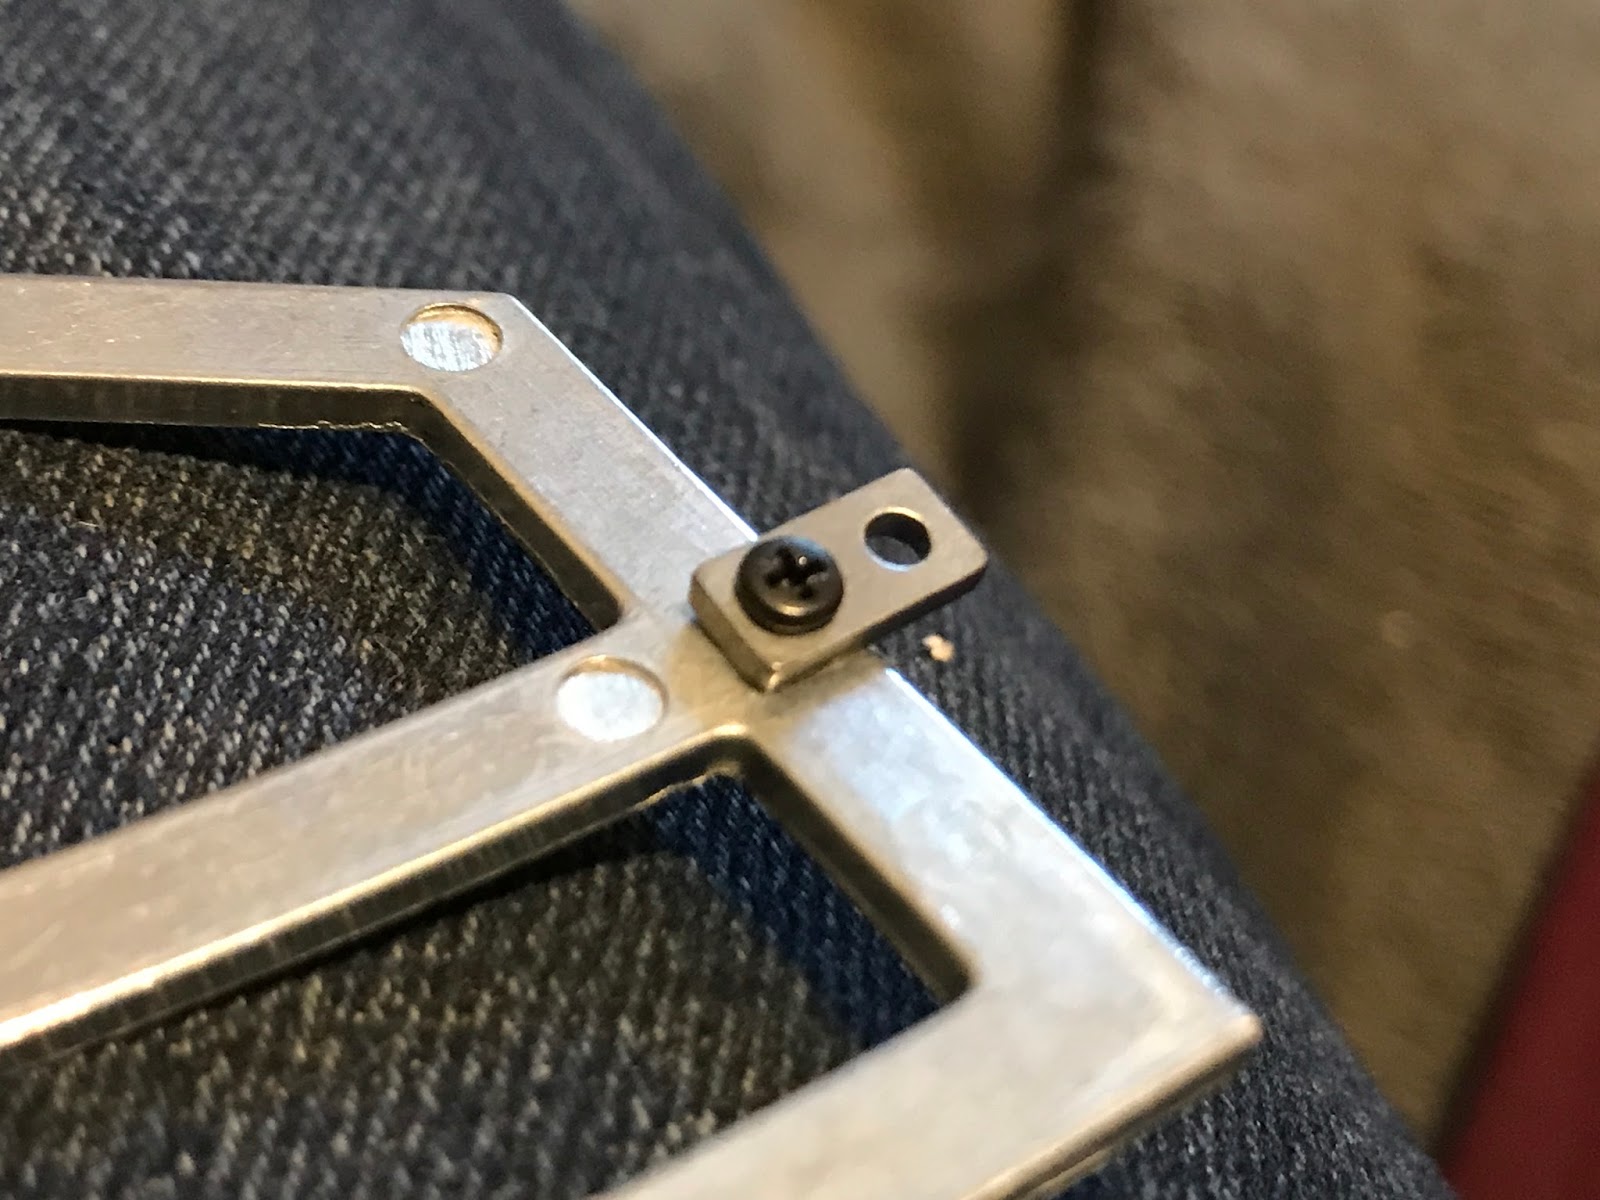
Attach the body part to the skeleton, and screw it down:
Next, take the hinge off of the same tree from 38.
Now, very carefully take one of the pins that came with the motor in 39 (there should be one and a spare)...
...and ease it in to the motor and hinge, putting them together.
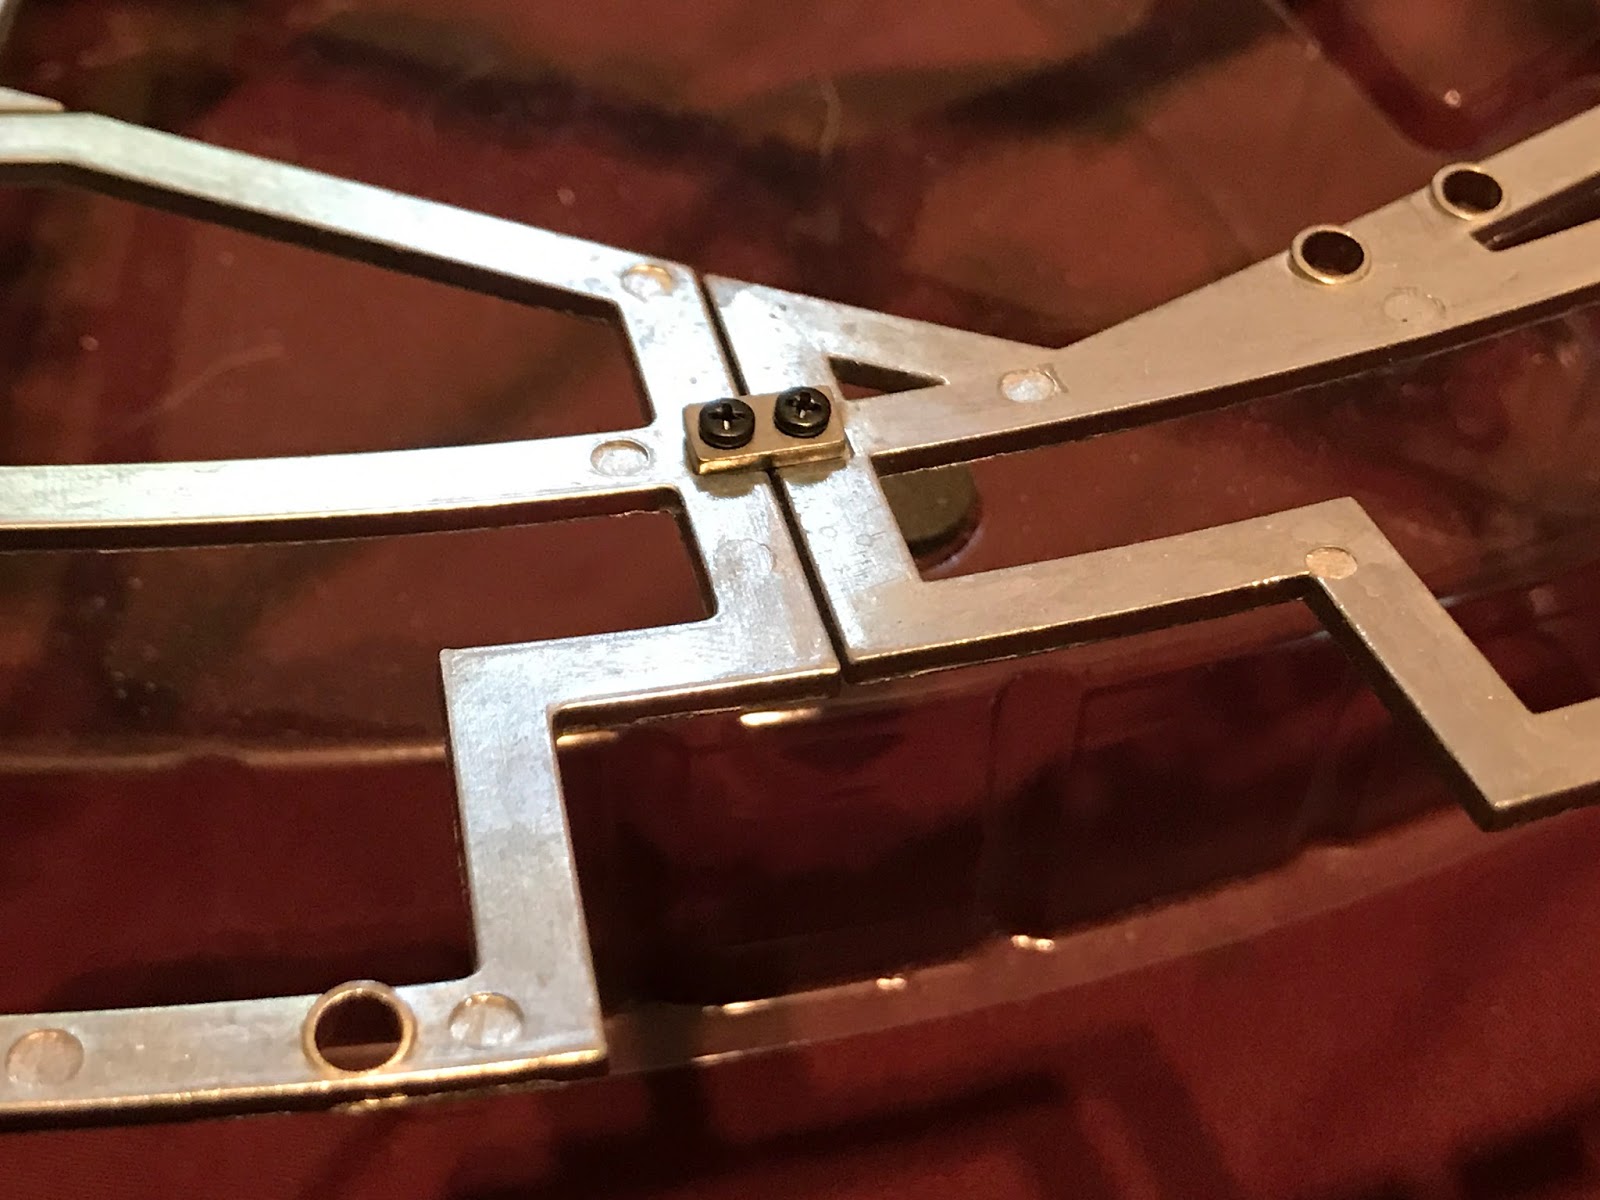
Next, put some glue on the pin on that hinge, and lower it through the assembly to fasten to that bit in the middle of the ramp. Once it's secured, bolt down the motor in the places provided.
Once that's done, it's time to add the hydraulic rams. Start with the left outer one (the key is the hydraulic stuff sticks out in front and the pins we installed face inward). Glue the base and screw down the base, like so:
Now, outer right:
...and the two inner.
...and there we have it.
OK, so it's nice to be off and going again. Hopefully updates will be more common again :)