Showing posts with label ramp. Show all posts

Wednesday, October 11, 2017

Issue 57

Okay, big week this time around! We get to add in the electronics and test the gangplank!

First up, in goes the circuit board on the four posts in the back:


Now, we poke the little rubber "plug" for the power port out (on yours this is probably camouflaged with black "damage". I cleaned mine up--whoops!) Just push the "ring" end up and into the interior.


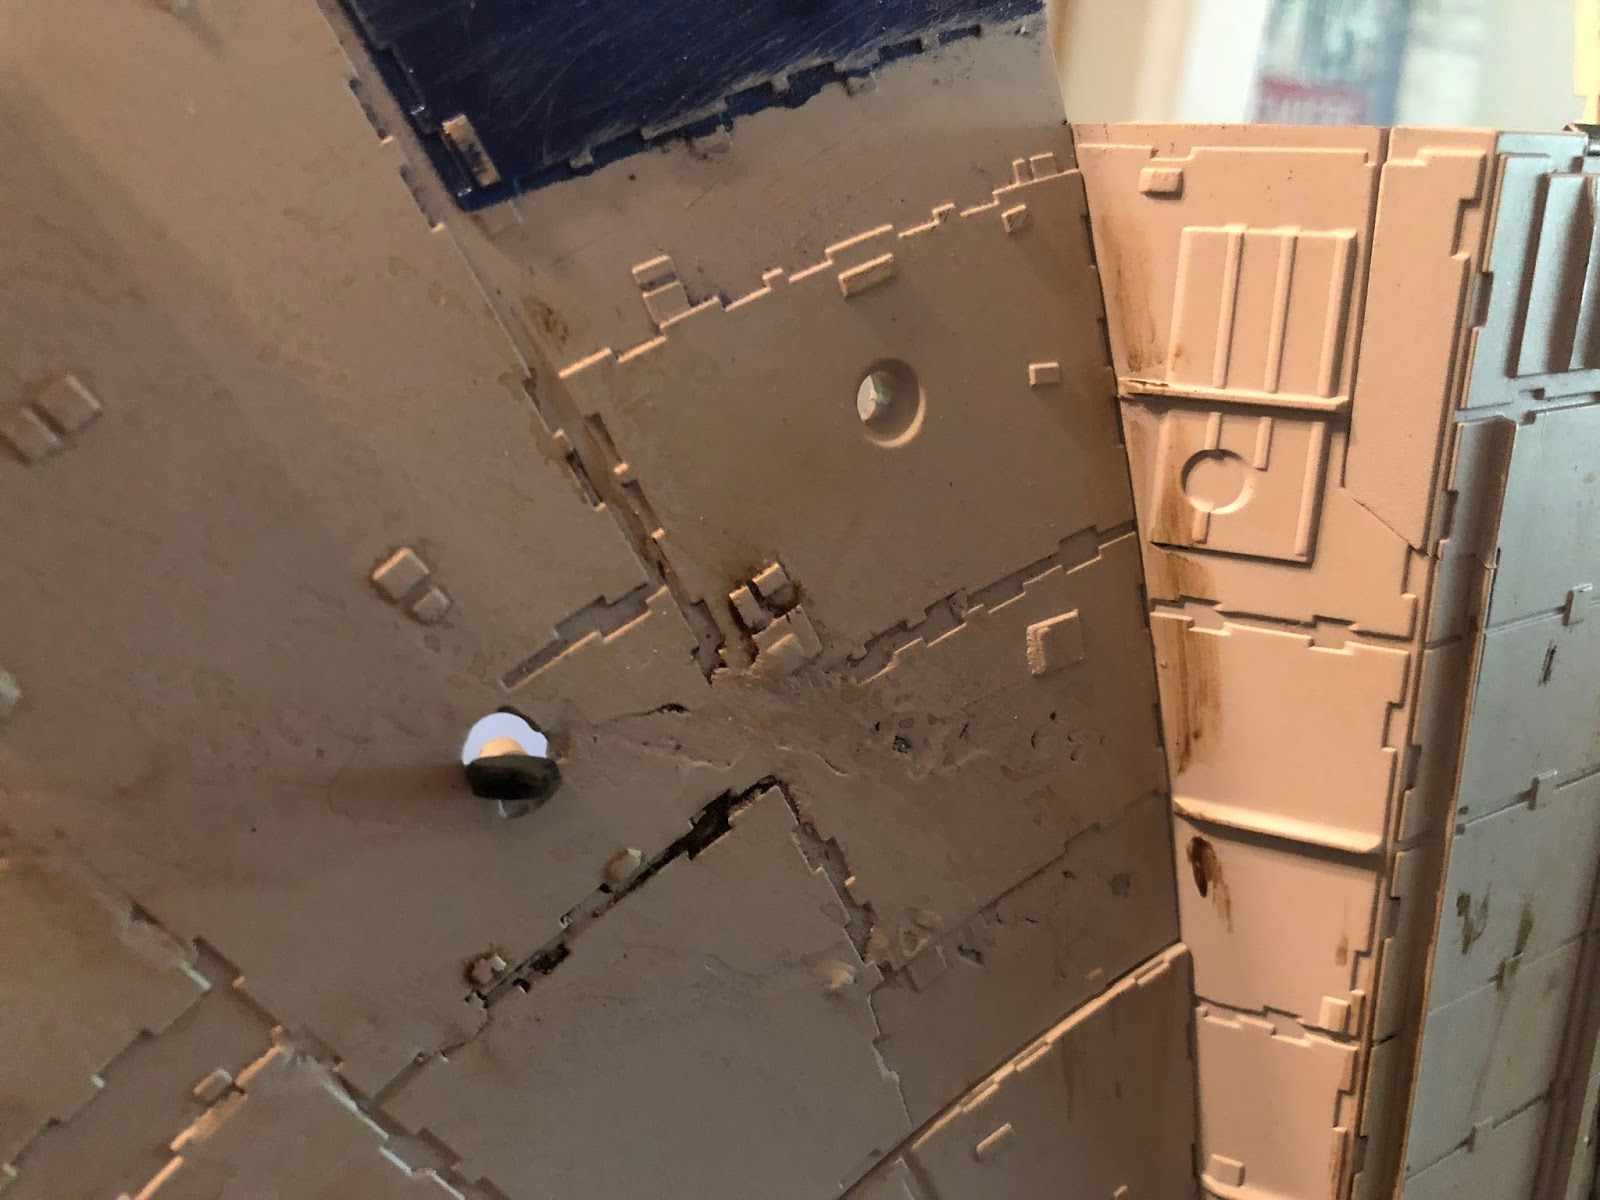
The ring goes around the post shown, and one of the short silver screws with the wide head is used to secure it.


Next, the port itself is attached. Make sure it is lined up so that the port is right over the hole, as shown here.


Two of the long golden screws will do this.


Now, remember how they said not to bolt down the battery box to the frame just yet? Yeah, here's why. Go ahead & plug it in to the port shown.


Next to it goes the power connection we just added.


After that, the motor connection to the gangplank.


And finally, the gangplank lights.


Power on the battery box, and find the blue switch in-line from the power connection. Turn it on, and you should get a red light on the board...


Note that the board has two buttons on it, A and B. B tests lights we don't have installed yet, but A should test the gangplank. Give it a shot.


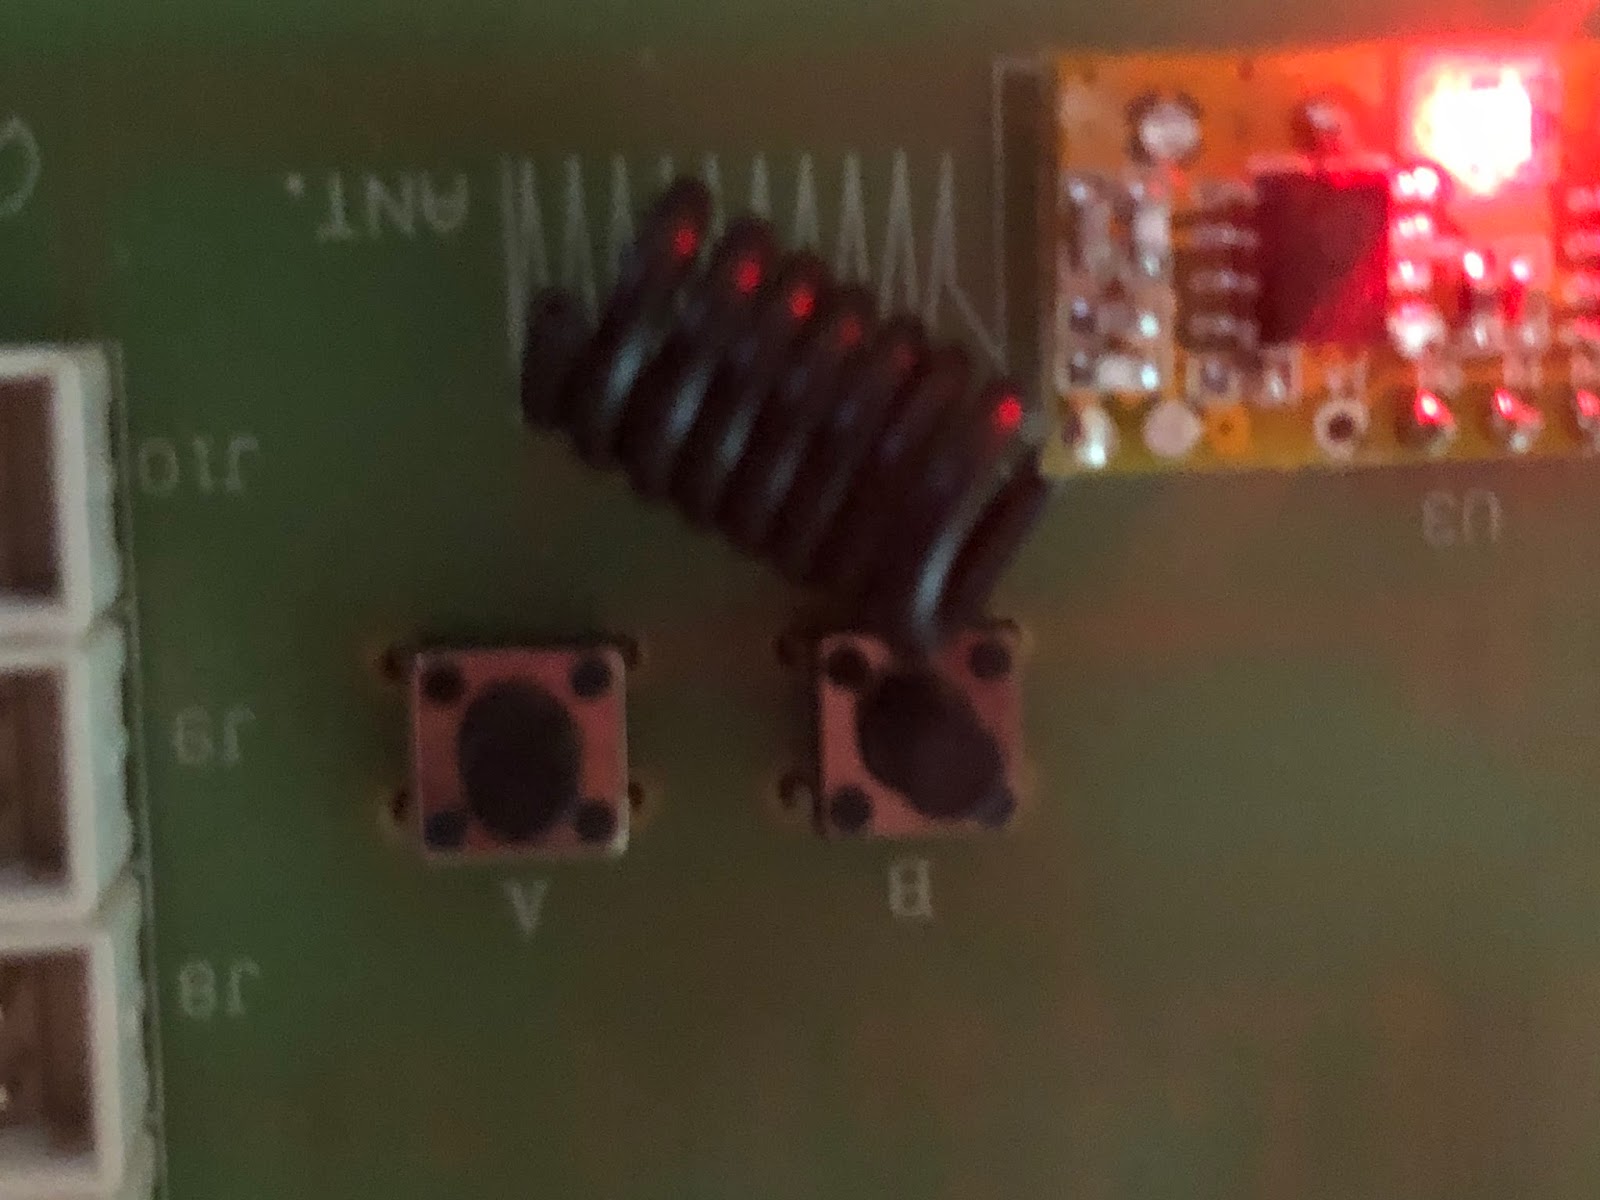
If all goes well, you should get this...


NOTE: It may happen that your gangplank goes down and then keeps trying to go down. In which case, look at the top of the motor for the two paddles and the white "hook", shown here:


Essentially, the problem is that the top paddle should be carried down by the white hook until it makes contact with the lower paddle, which stops the ramp descent. Make sure it's tucked in under the hook, like so.


Anyway, that's it for this time. Cool stuff.

Monday, August 21, 2017

Issue 39

OK, so first off apologies for the long delay between last entry and this. This was primarily due to my Issue 38 not including the 4 tiny little pins that are used to put the hydraulic rams together. Fortunately, they do send replacements. Unfortunately, it seems to take a bit of a while. Anyway, they showed up tonight, and so I'm back in the saddle.

So. Speaking of tiny little pins, you want to make a flat surface with sticky-side-up tape to hold the pins on, like so:


Note that the "flat head" is on the tape. Now, we take a hydraulic ram (note which way up it is by the shape of the bit on the end) and get ready to attach it. I have pix of the assembly of these, but they're way back when I first attempted this sucker. Honestly it's very simple...


Ease the ram down onto the pin, thus:


Then take one of the 4 ram bases on the tree in 38, and push it down onto the pin, until it's flush. Do this for all four, and you should have this:


Now would be a good time to paint these if you're going for weathering.

Now, it's time to put everything together. Get your ramp skeleton and body part:


Attach the body part to the skeleton, and screw it down:


Next, take the hinge off of  the same tree from 38.


Now, very carefully take one of the pins that came with the motor in 39 (there should be one and a spare)...


...and ease it in to the motor and hinge, putting them together.


Next, put some glue on the pin on that hinge, and lower it through the assembly to fasten to that bit in the middle of the ramp. Once it's secured, bolt down the motor in the places provided.


Once that's done, it's time to add the hydraulic rams. Start with the left outer one (the key is the hydraulic stuff sticks out in front and the pins we installed face inward). Glue the base and screw down the base, like so:


Now, outer right:


...and the two inner.


...and there we have it.


OK, so it's nice to be off and going again. Hopefully updates will be more common again :)

Thursday, July 27, 2017

Issue 38

OK, an action-packed issue this time. After all that monotonous schlepping about with the skeleton, it's cool to get up and roaring.

Fist off, we add the hatch lights. First, thread them through from the top of the skeleton like so:


They should come all the way out through the bottom.


Next, the adhesive backing tape is removed...


...and they get stuck into place. Easy as that.


Next up is the landing ramp. I went ahead & painted this before assembly, so first off I dosed it with the same paint I've been using for my floors.

Next up, I found my masking blue tape just exactly fit that part of the ramp, so on it went and I gave it a dose of Tamiya:


(you can also see here I took a sanding block and scuffed up the ramp to show wear & tear loading stuff aboard.)

Anyhow, next I test fit it against the body panel it comes with (ignore the paint difference, will paint the body panel to match later):


Then I assembled the hinge. They say you may need loc-tite on the single-screw parts, but I did not find this to be the case. What I did find, though, was that screwing this bit together was a pain in the neck. I wish the screwdriver that came with this kit was somewhat stronger in the magnet department.


 Anyway, once it's together, it goes in like so.


Next issue, we get to put in the motor and the piston-thingies. Cool.