Add the detail parts in the following order:


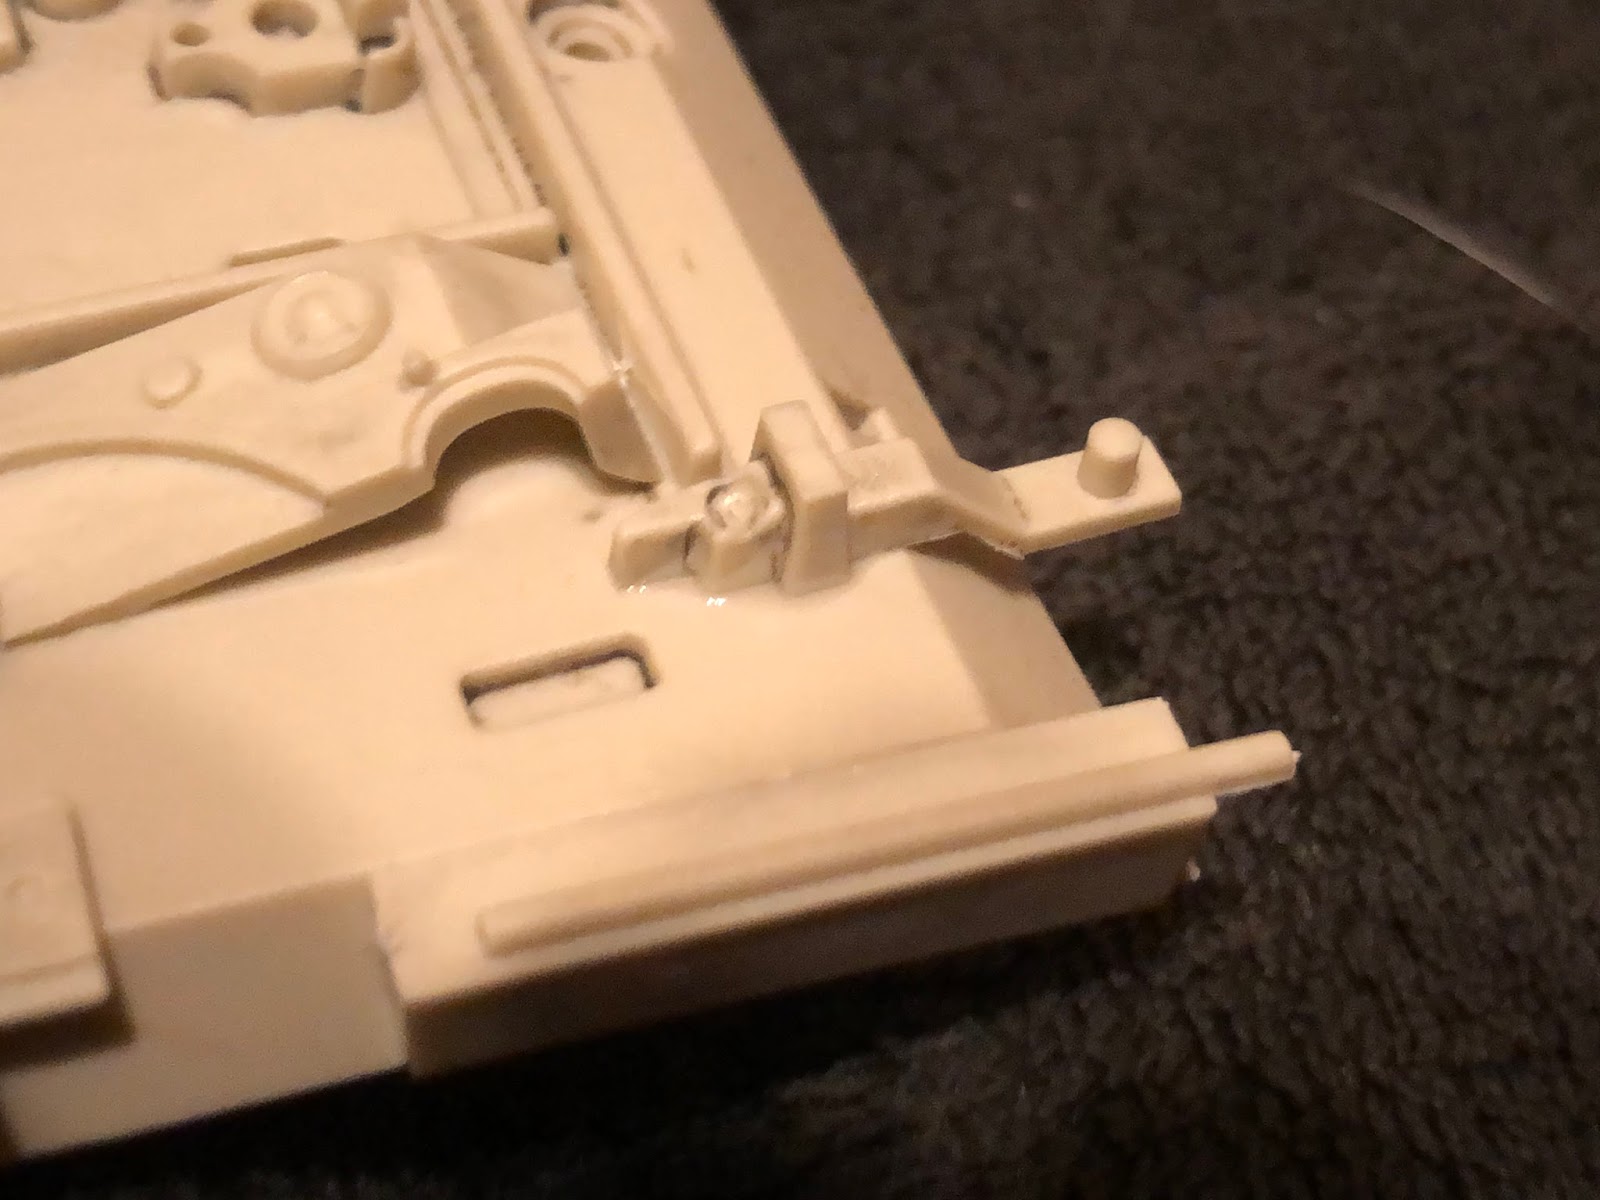
There's a last piece that goes in the lower-right corner (the little slot just above the big one), but it sprung out of my tweezers and managed to get itself lost. Fortunately we can get along without it. Call it battle damage. Anyway.
Let's move on to the 'tenna itself:

Mind you, the original was a rectangle, but by ESB (which this model is based off of), they'd replaced it with the dish. So go figure. Anyway, glue the mount on it. Note in the first photo how the tabs on the mount and the impressions on the dish match up:


Now, we add this little doodad here:

Now to the mounting hardware. Take the A-frame with the holes in it, and the little piece off the small sprue as shown:

Attach part A to part B, making a note of the orientation:

Now, get parts 9, 10, and 11 and gather them together:

Glue the side covers onto the frame so they cover the opening.

Do the same with the other set of three.

Now, we'll need all 5 of these parts:

Fit the spindle through one of the frames (with the glued side of the frame facing inward):

Put the barrel over the spindle, as shown:

Now, fit the other frame over the other end of the spindle. Push them in good and hard to make sure the square ends of the spindle poke out both sides:

Take the 2 A-frames and put them on the ends of the spindle as shown (you may use a tiny bit of glue on the very tip of the spindle, but be careful because you don't want to block the rotation of the assembly):

Now, mount the whole shmeer on the base we finished earlier:

Finally, glue the other end onto the dish, on the indentations seen on the back. It may take a little finagling, just be patient and get it right before the glue dries.

You can now, if you wish, give it a test try on the frame. It should swivel back and forth and up and down.

Okay, that's that. Next up, we get kickin' on the mandibles.