First off, take this little piece, and glue the two tiny magnets into it:
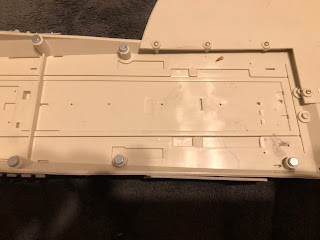
Then take the two metal posts, and glue them into the holes on the aft end of the big piece, as shown.
Should go on just like that.
Now, add this piece on as well.
Take the piece that came with this issue, and line it up with the big piece:
Secure it with 4 screws, as shown.
Now, a quick note: on the left, 7 magnets. On the right 7 steel posts. Don't get them mixed up (actually, the steel posts are thicker, so it shouldn't be too much of a problem).
The magnets go into the bottom of the new assembly, with 5 of them as shown on the big piece:
The last two on the new piece.
Then we glue this bit on the end.
Lots of little glue-ons now. First, this bit that goes onto the aft end:
This bit goes with it.
Now, these two pieces, one on each side.
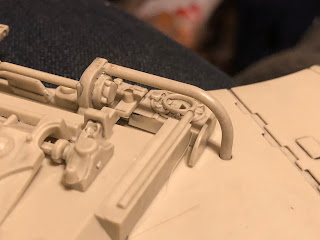
Next goes in this pole. Get it so that the bend is lined up with the place where the little piece we did first goes.
This next piece goes on the other end, and the other end of the pole goes in there. I would secure one end of it just to make sure at this point.
Now this tiny little bastard goes on.
And now this pipe goes as well.
Moving to the frame, we start putting in the steel posts. First, 4 that go under (well, over, really) the battery box:
Then two here:
And the last one here.
It should magnetically snap on now, neat as you please.
And there we go. Next up is the rectanna, and after that, looks like we're ready to tackle the mandibles!


No comments:
Post a Comment