Just to be clear, this is by no means an expert blog. It is me documenting my attempt to build this 'droid, both for my own future reference and for others to pick up and learn from. And part of that is me making mistakes and documenting them so that I don't do them again, and hopefully others can avoid them altogether. Let's have a look at the utility arm print I did as an example.
This morning before work I did the final sanding, and glued all the bits together. This evening, the paint came out, and I gave it the standard Krider blue treatment. Here is the result:
Looks good in this picture, doesn't it? But let's look a little closer, take in a few details:
Gyhhh, what's that? I'm afraid that's carelessness. I waited for the top paints to dry, then rolled it over to paint the bottom. Unfortunately, I positioned it on a part of the newspaper that was still wet, so it stuck. By this point I had already decided this was a no-go, but I sprayed it real quick to see what it would look like. As you can see, the result is not great.
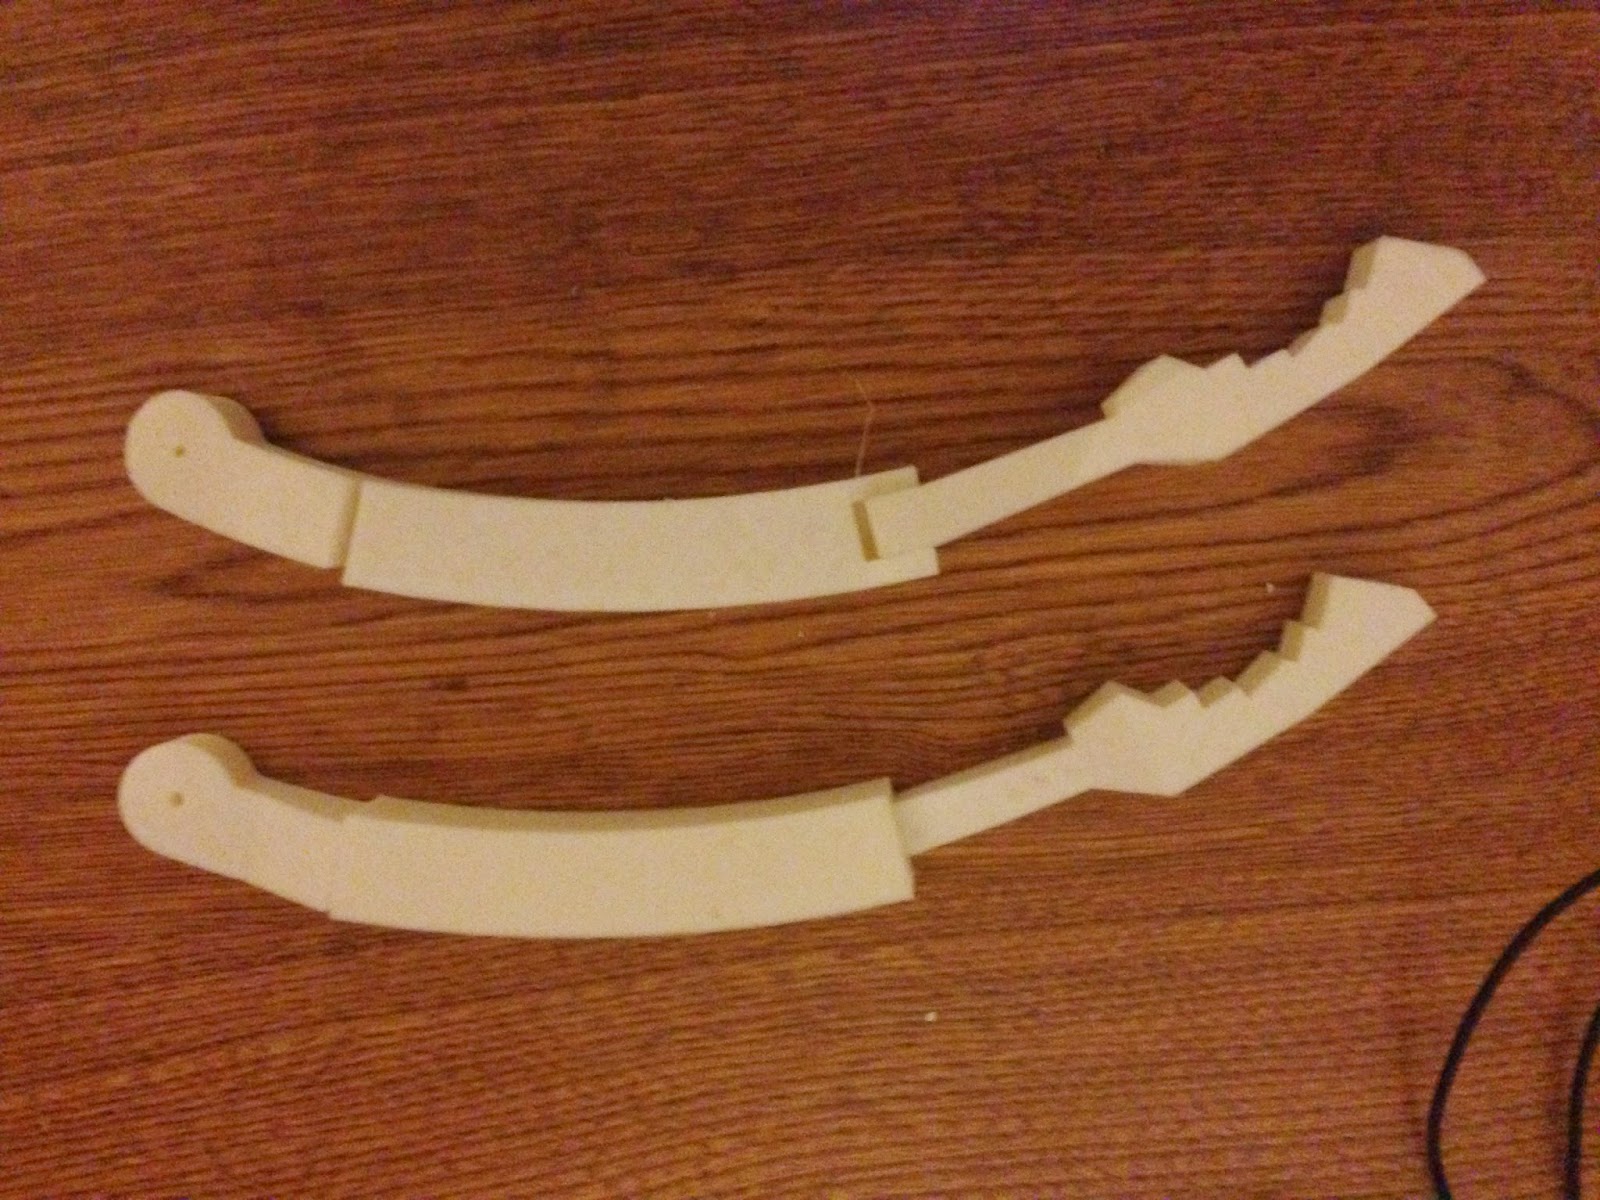
As you can also see, the seam is really quite visible. Even after last night's adventure with the belt sander, the seam (which is quite smooth to the touch) is nevertheless quite visible at all join spots. Which leads us to the second mistake:
I basically tried to "paint over" the seams to cover the blemishes and faults. Unfortunately, that's a bad idea. Painting should be done in short bursts back and forth, not blasting full throttle. I have the worst time with that. Here you can see the paint has flowed down to the end of the arm and puddled up horribly. So yeah, painting over your surface issues does not work.
Speaking of surface issues:
You can see where where I joined some sections together and tried to smooth the transition with XTC-3D instead of bondo or similar. Part of it seems OK, but there's that big bit on the end. And also I didn't take time to sand it down properly, as you can see.
Anyway, I spent a lot of time trying to make up for the fact that this isn't a single piece. More skilled hands might have pulled it off, but I unfortunately could not. So, lesson learned: I'll be getting this as a resin cast version.
Meanwhile, still acquiring bits and pieces for the Teeces lighting system. My components and the boards are on the way, and I just ordered a bunch of LEDs (you need just shy of 300 for the full setup; I got 600 bulk for just about $20). Due to advice on the boards I avoided the "water clear" LEDs and went for the actual tinted ones. Some of them are flangeless but a box of mixed I got for the 5mms are flanged. The boards advise taking nail clippers to them. I'll let you know how that goes.
Wednesday, January 7, 2015
Tuesday, January 6, 2015
More fun with the utility arm
So after gluing the three sets of half-components together last night, I brought them in to the makerspace after work to sand down the seams:
This largely went well, the only main problem being that on one piece I accidentally sanded the top layer off (if you look at the picture below, you can see the damage on the left).
Fortunately, this is fixable. I broke out the XTC-3D and slopped some over the damaged area, as well as the seam where the other two components were joined, as seen below. I'll let them cure overnight, sand, and I should be ready to combine them and paint.
Meantime, holding off on printing any other components for now. A major resin part maker is having a "scratch-and-dent" thing going on, so I'm trying to see what I can snag--almost got some holoprojectors, but a miscommunication happened. Oh well. I can always get the pristine ones.
Actually, I think I may be getting close to the end of what I can 3-D print. Mostly ankle and foot parts, and some large bits that aren't really condusive to 3-D printing, better off getting as resin cast. For example, the boosters on the side of the legs come in 3 parts which are hollow but that leaves a lot of empty space for support structures when printing. Then there's the "skirt" that goes under the main barrel. I did some tests yesterday and worked out that to print it (in PLA at least) would cost a bit over $120 in PLA using standard settings and a 20% fill rate. On the other hand, A&A does a styrene one for $60, so...yeah.
In the meantime, I'm concentrating on the dome, and particularly the dome light system. I'm goign with Teeces, which is based off of arduinos and has multiple "sketches" (arduinese for programs) including random blinkenlights and one that would let me control them via an iPhone app (once I wire up a wifi connection and all that jazz. That can wait.) I ordered the set of 5 bare boards for it, and a bunch of the standard ICs, resisters, sockets, etc with which to populate the board. Good thing the makerspace has a soldering station. I'll be sure and detail every step of it when I create the lighting system.
Until that stuff all shows up? Well, I've got plenty of dome stuff to do.
Monday, January 5, 2015
More ankle details and utility arm attempts
So the road cleaned up pretty decent, no problems getting in to work. Then over to the lab to pick up the prints from the weekend. This version of the utility arm is broken into six parts to aid in printing, as seen below:
Basically the two identical parts get epoxied together, and then all three parts are combined into one. For the first part, after sanding and all that, I broke out my old faithful loctite 2-part.
This is the heavy duty stuff, right here. Bonds fast, and hard. Quite a bit of my proton pack is held together with this stuff. Anyway, I glued and clamped each set of pieces:
And in no time had three hunks o'plastic. These will be going with me to the makerspace tomorrow to get properly belt-sanded so the seams don't show, and then more epoxy and the Krider blue treatment.
Hopefully this will work out. If not, there is a backup version of the arms but it's static (whereas these would be able to swing in and out due to a little hole going through the component on the right). Still, I'm going to go ahead with this one and see how it looks before trying the static one (I may print a static one anyway, just to make sure this one's properly sized and proportioned and all that).
In the meantime, I printed out the other two ankle details (for the right side) and gave them the same treatment as the left-side ones.
Anyway, I'm not looking more at the dome stuff. I found a few good build blogs covering other peoples' takes on the dome (see the helpful links list), so I'm studying that, including the fun of wiring up the lights and things. That should be fun. Ordered the blank breadboards and I'll have to acquire and solder all the bits and pieces on them, including over 200 LEDs. Hooboy.
Saturday, January 3, 2015
printprintprint sandsandsand paintpaintpaint
So as I said yesterday, the ankle wedges taper to a top. Here you can see they came out nice:
Unfortunately, printing something like that meant I didn't notice another goofed up setting on the printer. When I tried to print the left-side ankle details, the "roof"--that is, the solid top layer--wasn't printing at all, even though the support material was getting printed. Worse, I started it before I went for my volunteer shift and by the time I got back, it was 96% done so that was a waste of filament. Anyway, fixed the setting and reprinted. As you can see, they came out properly this time:
So these get painted silver, but I had been feeling the chrome-y look the Valspar had been giving me was a little too shiny. Then I remembered that applying clear coat to the dome had made it look rather dull. I tried it again, and lo and behold, it gave me the look I was wanting: clean and metallic but not overly shiny. Very close to aluminum, in fact. In the picture below, the model on the left is just 2 coats of Valspar. On the right, same plus two coats of Crystal Clear. Hopefully you can see the difference.
Anyway, had another go with the utility arms, which have been perpetually uncooperative. This time I tried a version that has been broken up into multiple pieces for ease of print. We'll see how that looks tomorrow, weather permitting.
Friday, January 2, 2015
Dome Paint Part III, The Saga Continues
So my first day back to work. Fortunately Friday is a work-at-home day for me, so that helps. Also I managed to get the first layer of paint on my inner dome after work, then the second coat a little later. Then I headed over to the makerspace to print some more parts, but unfortunately the weather turned yucky and so I went home before they finished.
Incidentally, if you've never seen a 3-D printer at work, I recommend you do so. Essentially, instead of a regular printer that prints a layer of ink onto a paper surface, these printers print a layer of melted plastic onto a special heated surface. The surface is warm enough for the plastic to stick, yet cool enough that it will solidify immediately. Then layer after layer is built up one on top of the other until you have the finished product.
Here's a picture of the ankle wedges printing. Note the square "honeycomb" inside each one. That provides support structure so that the model has some solidity and also gives it a framework to print the top across, if the model has one (these come to a point as I'll show you when I get the finished products from the shop, but most 3-D printed models do have a top). You can set the fill from 0 (completely hollow like the ankle cylinder holders from yesterday) to 100 (completely solid). I'm using 20, which is a good balance point that provides enough solidity and support to print a good top over it while still staying nice and lightweight.
Anyway, while I was out, I picked up some tinting paint at the auto body store to tint the radar eye lens I'm making form a pop bottle. First things first, time to check it out:
Clear bottom of the bottle for testing.
After about 3 coats: good tinging but not entirely uniform. Need to practice more.
The stuff in question. I go through more Rust-oleum products these days.
Anyway, that's pretty much been my day. The only other thing I did was a little touch up paint, as see here on the radar eye. Doesn't it look nice against the outer dome? I can't wait to bring all the pieces together:
Oh, and one more thing: they always say to create a notebook filled with all the hints and tips you want to use as part of your build. But I being a 21st century kinda gal, have instead collected them into a meta-document filled with all the links I found useful. Feel free to have a peek at them yourself (note, that some of them are links to private Yahoo! groups or the astromech.net forums, which are reserved for people actually wanting to build an R2).
My Helpful Links Collection
Thursday, January 1, 2015
Dome Paint Part II and more
So today I started on the outer dome. Here's how it looked originally:
And here it is with the paint:
I went with the Valspar metallic on the dome. It came out quite nice, even if there's a bit more texture than I would like. In any case, I did 2 coats of that, then tried some clear-coat but it was dullign the finish so I reapplied the Valspar and that brought it back.
Then, off to the hackerspace. I picked up some metallic blue Testors to do some touch-up work on the power couplers, thus:
If you can't tell, it's the blue ring in the middle. Also, I noticed that I missed a couple of dome pieces, saw the sides of the radar eye could use some touchups, and I noticed when looking at reference photos that the outer ring of the octal ports is meant to be blue (hence why it's separate to the inside). So...
Meanwhile, I tried to print some ankle cylinder holders, but they came out very thin and hollow for some reason. We think we figured it out, but in the meantime I have the ones below. I think I can fudge it with any luck. I may have glue them down directly to the leg or something. In any case, I'll see how they work. In any case, that's my vacation over with. Got a lot done. Cool.
Wednesday, December 31, 2014
Dome Paint Part I: The Blue Bits
OK, so while I was waiting on the other paint jobs to cure (and since the hackerspace is closed on New Years Eve), I decided to start in on the dome. Now, the dome consists of an inner (solid) dome, and an outer one with all the bits and pieces cut, as you can see here:
So the first thing to do is to break those pieces out so that they can be painted. A word of caution: it is possible to break things more than you want to, as I found out when inspectign the dome:
(It wasn't me.)
Anyway, using some reference photographs, I went around the dome removing all the bits that needed to be removed and sorting them into blue, silver, or scrap. When I was done, I had a nice set of stuff to be painted:
(Note the top half of the large data port in the corner.)
Now, before you can paint, you have to do a little fixing. See, these were attached to the outer shell with little "tabs" of plastic, and they're still there. See here:
So it's a question of getting rid of those tabs. Depending on circumstances, sometimes I used a file:
Quite a few fell victim to the sanding block:
Anyway, when it was all done, I gave everyone the Krider Blue treatment and in between coats worked on removing the "tabs" from the outer dome so that it would be ready to paint. Hopefully I'll be able to get a few coats down on that tomorrow before heading out to the hackerspace and printng off some more parts. Vacation is almost over.
Subscribe to:
Posts (Atom)