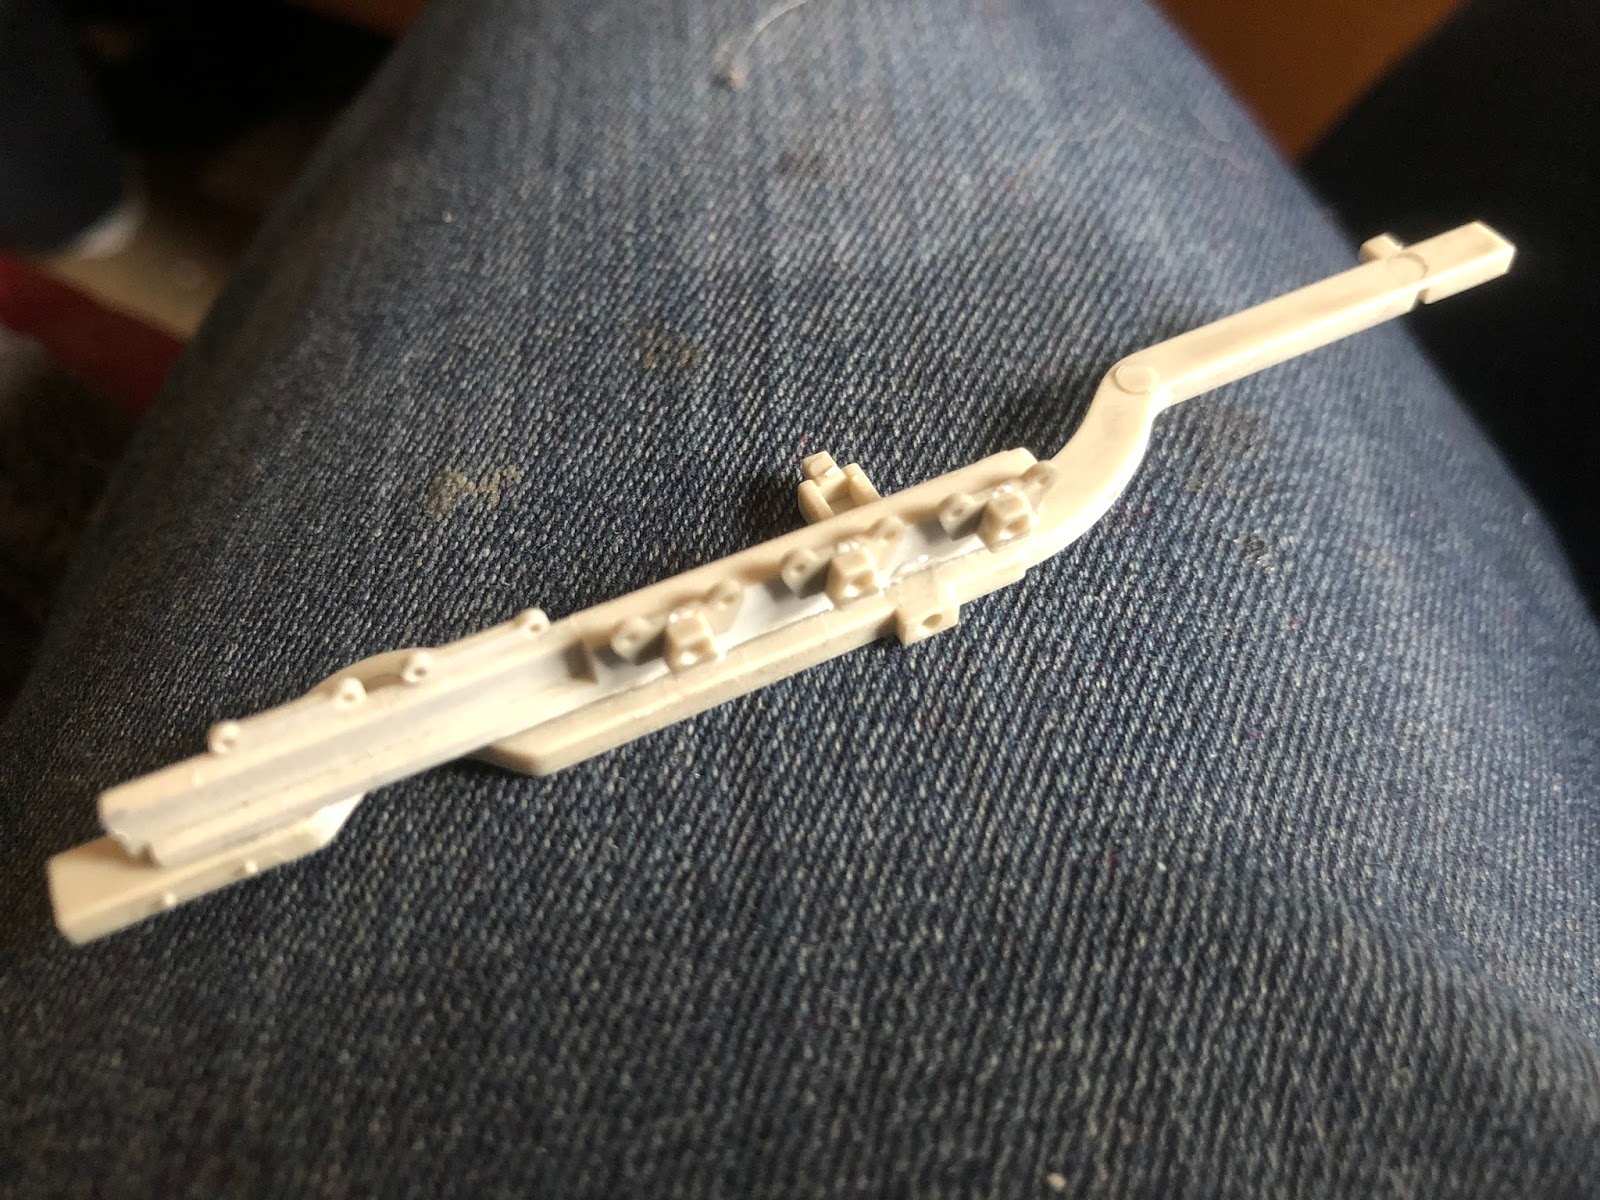
You may remember I got them in the wrong order before. So I pried 'em out and put in the proper details so they'll look right. Here's how the fore inner mandible panels go together:


Goes in here:

Now the other one:


The two finished mandibles:

Now it's time to bolt them to the lower frame. HINDSIGHT ALERT! Before doing this, you may want to check the next issue for a step that might best be done beforehand. I wish I had.
Anyway. You take the gold screws and attach them as shown. You'll have to use the screwdriver that came with the kit back in Issue 1 if you haven't been using it all along, because it's thin enough to get down through the holes.

Once you do that, thread the two red headlight wires back to the control board, and plug them in as shown. Portside light on the left, Starboard light on the right.

Having done that, fire up the battery and control panel, and hit the B button to make sure the lights come on.

Now, take two of the three wire caddies and use them to organize the cables as shown here:

Here, in the aft of the bottom turret panel, we are holding some of the gangplank wires as well.

Now, it's time for the diffuser. Peel off the plastic film protecting the outer side of it.

Now, mount it in the groove aft of the engine lights as shown.

Test it again with the B button. You should get a very satisfyingly diffuse effect.

No comments:
Post a Comment